Double Chocolate Buckwheat Waffles

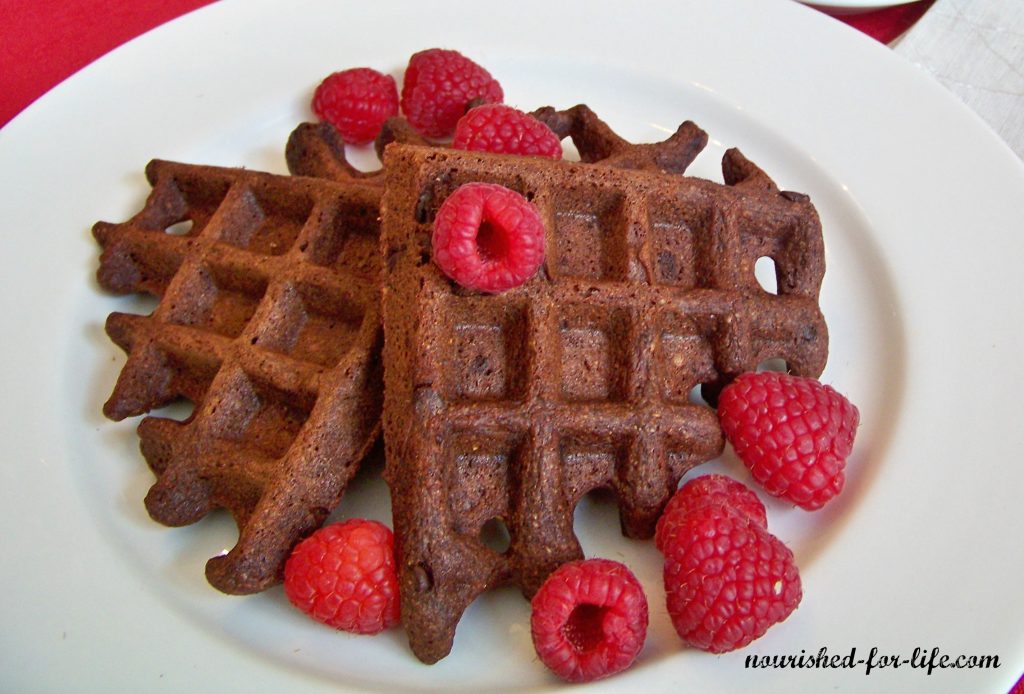
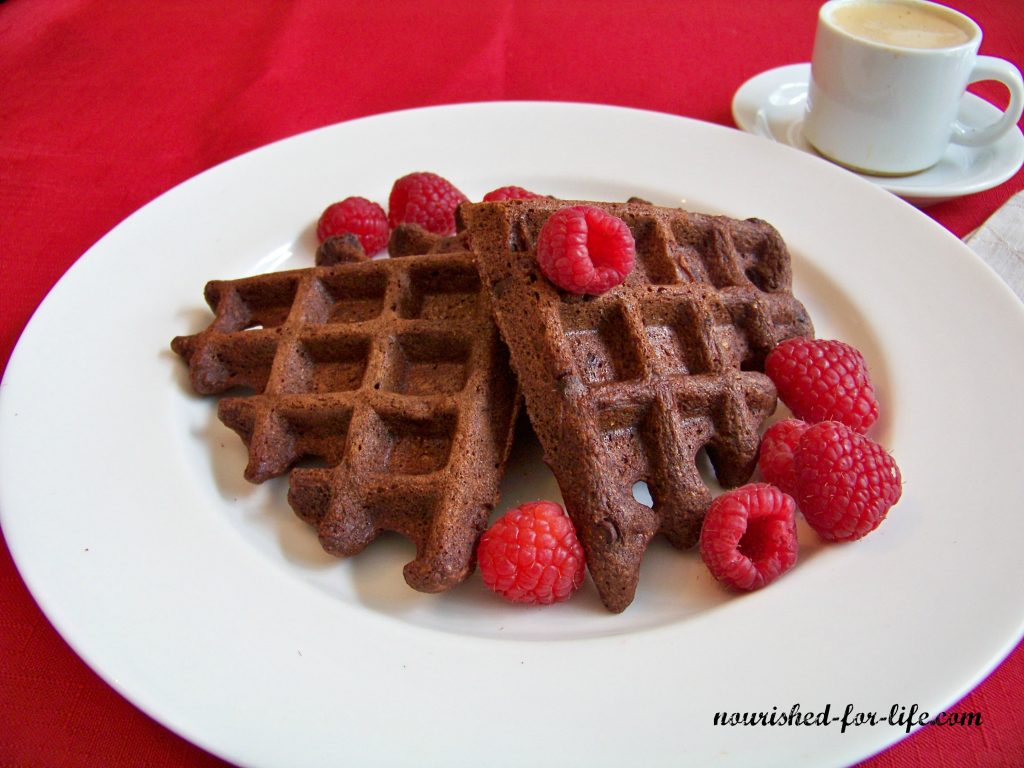
You all know I love my chocolate, and I also love buckwheat. And these Double Chocolate Buckwheat Waffles, well, they’re pretty magical!

So when my son and I went on a date to a local coffee shop where they sell the most amazing gluten free, chocolate waffles (warm chocolate-y goodness that reminded me of my Buckwheat Brownies) we had to come home and try to recreate them.

After trying out the few recipes I found on Pinterest, none of them were really what we were looking for. So we started experimenting. At least a dozen batches later, my tasters finally said this one was the winner. It’s not quite Honey + Moon’s chocolate bubble waffles (which I highly recommend trying if you’re local), but they’re just as delicious! We don’t have a bubble waffle iron, but if you do please try these out in it and let me know what you think.

Double Chocolate Buckwheat Waffles

If you’re interested in some of the healthful properties of buckwheat, you can read more about that (and get the recipe for Matteo’s Buckwheat Pancakes) here.

Or just dive right in to making these! They’re part healthy breakfast, part dessert, and 100% delicious. They will make the perfect Valentine’s Day breakfast for all of your loves!

XO,

Kristi

Double Chocolate Buckwheat Waffles (gluten free, dairy free, refined sugar free)

Delicious, healthful, chocolatey goodness in these gluten, dairy and refined sugar free waffles. Egg free/vegan option.
Calories: 2093kcal

Ingredients

  • 1 1/2 cups Buckwheat flour
  • 3/4 c. raw cacao (I like Navitas Organics Raw Cacao)
  • 1 tsp. unrefined sea salt
  • 1 tsp. baking soda
  • 1 tsp organic cinnamon (optional)
  • 1 1/2 c. vegan "buttermilk" (1 T apple cider vinegar or lemon juice + unsweetened, unflavored almond milk, or your favorite plant based milk, to fill a 1-1/2 cup liquid measure; let sit for a few minutes to sour)
  • 2 farm fresh or organic eggs
  • 1/2 c. pure maple syrup
  • 2 tsp vanilla extract
  • 1/2 c. melted coconut oil
  • 1 c. Enjoy Life Dark Chocolate Morsels

Instructions

  • Whisk together dry ingredients in a mixing bowl.
    In a separate bowl, whisk together the buttermilk, eggs, maple syrup & vanilla. Stir buttermilk mixture into the dry ingredients, then add the coconut oil. (This prevents the coconut oil from solidifying if your milk and eggs aren't at room temperature.) Stir until well combined.
    Stir in the chocolate chips. Let the batter sit for a few minutes for the buckwheat to absorb the wet ingredients and the batter to thicken up a bit, If your batter is too thick, add a tiny bit more almond milk. Meanwhile, heat your waffle iron.
    When waffle iron is hot, scoop about 1 cup of batter onto your waffle iron and cook according to your waffle maker's directions. With my waffle iron, the indicator light comes on well before the waffles are actually done. I found setting a timer for 4-5 minutes worked perfectly. If your waffles don't come cleanly & easily out of the waffle maker, you probably need to cook them longer.
    Carefully remove waffles from waffle maker, place on a plate, and keep warm in a 200 degree preheated oven, if desired, while you make the rest of the waffles.
    We enjoy these waffles plain or with berries or banana slices. Feel free to serve with pure maple syrup if you wish! These will keep well in a zip lock baggie for 2-3 days (although I can't say any of ours have lasted that long!) or they freeze well. To reheat, place on a sheet pan and warm in the oven or pop in the toaster.
    Enjoy!!    

Notes

MAKES APPROX. 6 FULL SIZE WAFFLES (24 QUARTERS) OR 9-12 SERVINGS
You can substitute an equal amount of coconut palm sugar in place of the maple syrup if you prefer. I've tried both and it works great.
I haven't tried this recipe with flax eggs, but I think it would work fine for a vegan/ egg free version. If you try it, please let me know!
I'm a dark chocolate girl, so I love the dark chocolate morsels, but we also tried this recipe with Enjoy Life milk chocolate mini chips and they work just fine too.

Summer Tomato Corn Salad

Hello friends!

One of the fun things about focusing on eating fresh fruits and vegetables is that your meals change with the seasons and what is available locally at any given time. In the summertime, the way I cook changes completely. In the winter I tend to make a lot of soups, stews, chili, crock pot meals and heavier pasta dishes. When we have an abundance of local goodness from the farm and our farmers market, I love to eat as fresh and close to the earth as possible.

I actually don’t know if you can really call most of what I do during the summer “cooking”. And this hardly even qualifies as a recipe. But its still one of our favorite summer dishes.

Summer Tomato Corn Salad
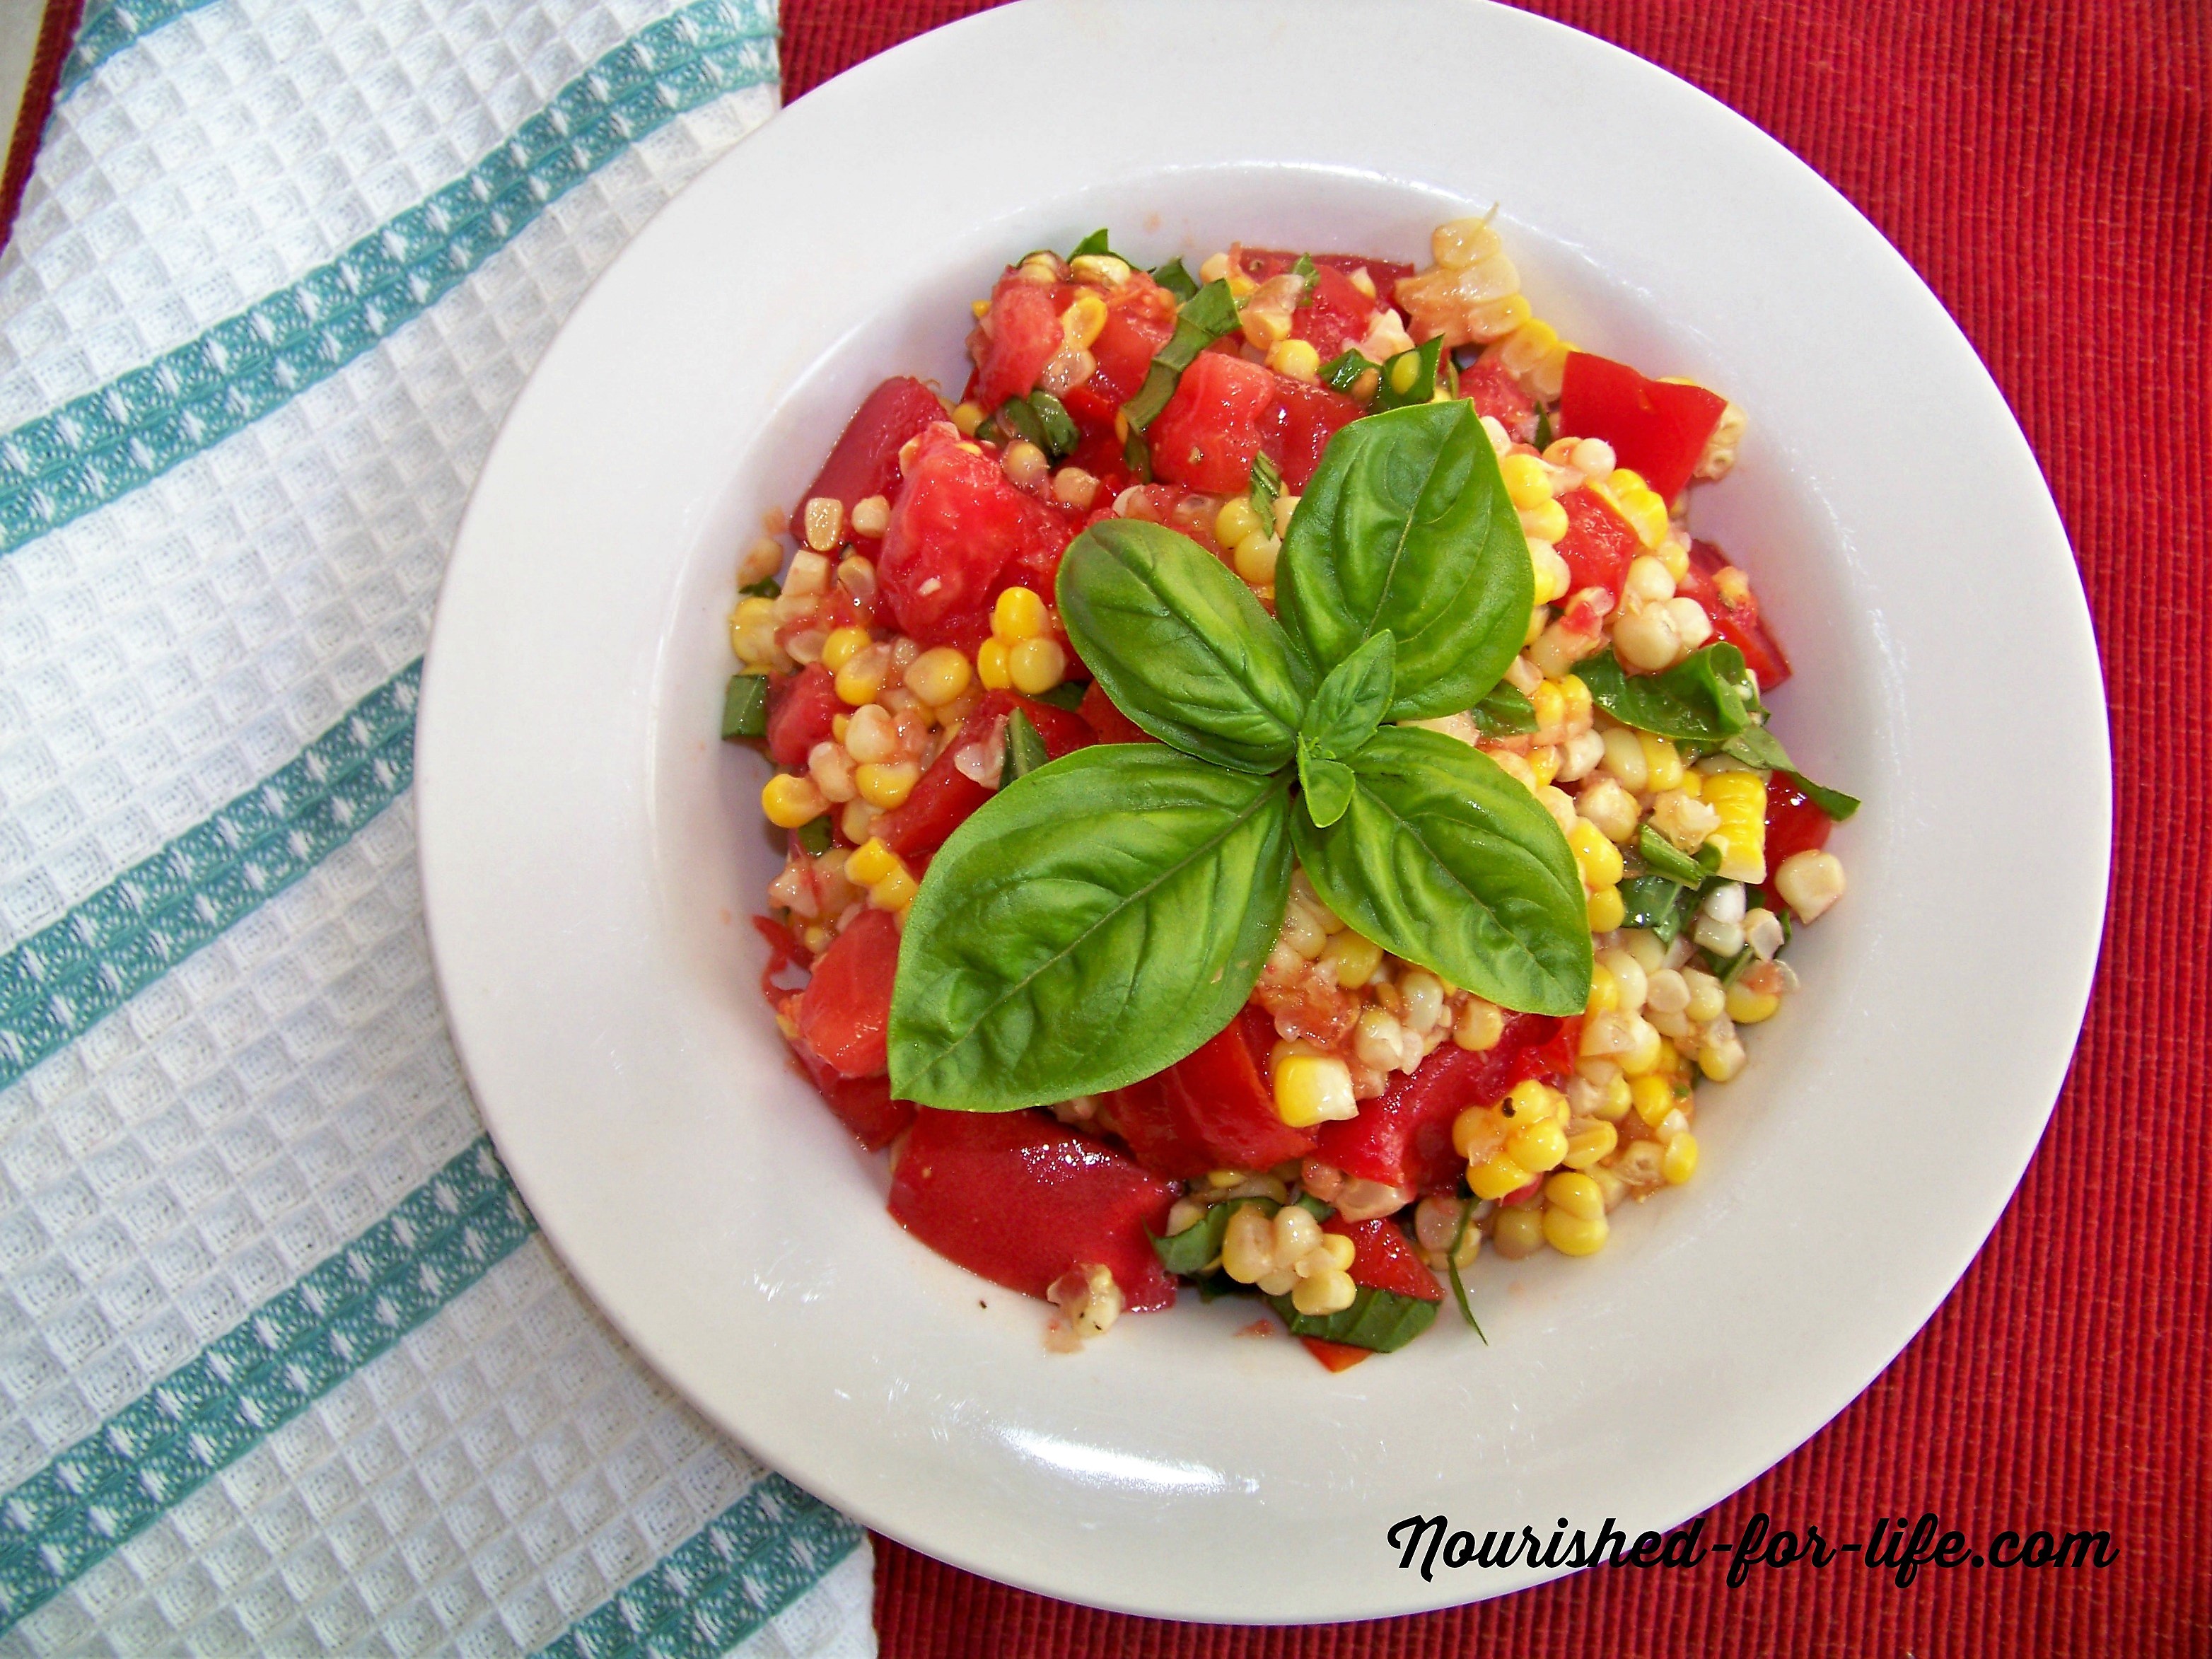
When we make sweet corn, I always cook a few extra ears for this salad. If your corn is really fresh and tender, you don’t even have to cook it! I chop the freshest most delicious tomatoes we have (preferably a mix of sungolds, grape or cherry, and different colors of heirloom tomatoes) and then add the leftover corn (cut from the cob).

Drizzle with a good quality extra virgin olive oil, sprinkle with sea salt and pepper. and a generous handful of fresh basil. Summer heaven on a plate!

This salad is delicious on its own or as a side salad with an organic, pastured chicken breast.

Summer Tomato Corn Salad

Calories: 235kcal

Ingredients

  • 2-3 cobs sweet corn kernels removed (please use organic, non-GMO corn)
  • Aprrox. 1 lb fresh local summer tomatoes 3 medium tomatoes or a combination of sun gold, grape, cherry and heirlooms
  • Approx. 1/4 c. Fresh basil leaves thinly sliced
  • Extra virgin olive oil
  • Sea salt & pepper to taste

Instructions

  • Combine corn, tomatoes & basil in bowl. Add extra virgin olive oil, salt and pepper & toss gently to combine.
  • Enjoy immediately or store, refrigerated, up to 2 days.

Make sure to check out the Upcoming Events on my website and follow me on Facebook for all of the latest news!

Have a great week! Especially those of you heading back to school this week!!!

XOXO,

Kristi

PS:  If you’re heading back to school this week and need some lunch box inspiration, check out my blog post on Real Food School Lunches in Ten Minutes a Day!

Chocolate Crisp Rice Protein Treats

Hello Friends! I promised you I would post this Chocolate Crisp Rice Protein Treats recipe this week, so here it is!

Chocolate Crisp Rice Protein Treats

I can’t really take the credit for this one. I originally got this recipe from my friend and mentor Bonnie Schnautz, ND of BRenewed Wellness Center. But it is so deliciously addictive and is a regular at our house so I have to pass it on to all of you!

I make these with Juice Plus Complete, my favorite whole food, plant-based protein powder. When it comes to protein powders, I’m extremely picky. Plant-based is a must. I avoid anything with whey (a highly processed by-product of the commercial dairy industry loaded with hormones and antibiotics) or any artificial flavors, colors, sweeteners or other questionable additives. Complete contains 15 different plants including nutrient dense legumes, ancient grains, broccoli sprouts, pomegranate, spirulina and even mushrooms. It is also high fiber, low glycemic, non-GMO and is NSF certified to be free of chemicals, heavy metals and any other contaminants or fillers.

Chocolate Crisp Rice Protein Treats

Try these for a delicious treat or (don’t tell my kids) they could even be a high protein, nutrient dense breakfast bar. Just don’t eat the whole pan at once!

Chocolate Crisp Rice Protein Treats

Ingredients

  • 1/2 c. all natural organic peanut butter (make sure to buy a brand with no sugar added. We use Aldi's Simply Nature brand)
  • 1/2 c. raw honey
  • 1 scoop 1/3 c
  • Chocolate Complete
  • or your favorite whole food plant-based protein powder
  • 1-1/2 to 2 c. gluten free crisp rice cereal (I use
  • Barbara's Organic Brown Rice Crisps
  • )

Instructions

  • Stir together the peanut butter, raw honey and Chocolate complete. Mix in the crisp rice cereal. I start with 1-1/2 cups and then add more as needed. It really varies depending on your brand of peanut butter and how runny or thick your honey is.
  • Press into an 8x8 pan and cover tightly. I keep ours in the refrigerator. If you like them softer, room temperature is fine too. Enjoy!

Garlicky Roasted Sweet Potatoes

One of our favorite places is our local CSA, Seton Harvest, otherwise known as “the farm”. Of course we get amazing, locally grown, chemical free produce, usually harvested the day we pick it up. But its more than that. Going to the farm to pick up our weekly share, we get to escape our normal routine and stresses and breathe in the fresh country air; visit with friends; pet the dogs; feed the chickens; pick strawberries, fresh herbs, arugula, sungold tomatoes or whatever is in season and available for u-pick; hunt for caterpillars; chase butterflies; climb piles of mulch and make mazes out of bales of hale (yes that was us, sorry Joe and Julie!)

My big kids have practically grown up at the farm and it makes me so happy to see my youngest experiencing her first year running around the farm and loving it just as much as the rest of us do. Perhaps most of all, I LOVE that my kids know who grows their food and where it comes from (not just the supermarket!) and that they love things like eggplant and eagerly ask Farmer Joe when it will be in season and that they love to pick greens like arugula and sorrell and eat them on the drive home.

Garlicky Roasted Sweet Potatoes

One of our favorite places is our local CSA, Seton Harvest, otherwise known as “the farm”. Of course we get amazing, locally grown, chemical free produce, usually harvested the day we pick it up. But its more than that. Going to the farm to pick up our weekly share, we get to escape our normal routine and stresses and breathe in the fresh country air; visit with friends; pet the dogs; feed the chickens; pick strawberries, fresh herbs, arugula, sungold tomatoes or whatever is in season and available for u-pick; hunt for caterpillars; chase butterflies; climb piles of mulch and make mazes out of bales of hale (yes that was us, sorry Joe and Julie!)

My big kids have practically grown up at the farm and it makes me so happy to see my youngest experiencing her first year running around the farm and loving it just as much as the rest of us do. Perhaps most of all, I LOVE that my kids know who grows their food and where it comes from (not just the supermarket!) and that they love things like eggplant and eagerly ask Farmer Joe when it will be in season and that they love to pick greens like arugula and sorell and eat them on the drive home.

One of our favorite events at the farm is the annual sweet potato harvest, when we enjoy a beautiful fall evening of fellowship and digging sweet potatoes. Sadly, kid schedules haven’t allowed us to participate the last couple of years, so these pictures are a few years old, but we have been enjoying the labors of our fellow shareholders this week. When was the last time you dug up a sweet potato and then took it home and roasted it with fresh garlic (also fresh from the farm)? If you haven’t been so lucky, put it on your bucket list and find a time and place to experience this!

Even if you can’t harvest your own sweet potatoes, you can still make these sweet potatoes! This recipe is very loosely based on a recipe I found in Victoria magazine many years ago. I can’t tell you what issue or who the original author was but I do know it was a Thanksgiving recipe and it had crispy sage leaves on top. We’ve kept it simple, just sweet potatoes and fresh garlic, maybe a pinch of sea salt at the end if you think you need it. That’s it. And they are so good.

Garlicky Roasted Sweet Potatoes

Whether you need a new sweet potato recipe for your Thanksgiving dinner or just a nutrient dense side dish for the next time you grill  — these will hit the spot. In a pinch, you can make them without the marinating time, but that is truly the secret to this recipe. Skip it and you will have perfectly fine roasted sweet potatoes. Plan ahead a bit and you will be rewarded with amazingly delicious, crispy potatoes infused with garlicky goodness.

One quick equipment note:  I highly recommend a good mandoline for this recipe and any others involving sliced vegetables. It makes quick work of the sweet potatoes here, and ensures that they are all the same thickness so they cook evenly and at the same speed. I have this OXO Mandoline and love it!

Garlicky Roasted Sweet Potatoes

These sweet potatoes are marinated in garlic and extra virgin olive oil and roasted to crispy golden perfection. So simple and yet so delicious!
Prep Time2 hours 15 minutes
Cook Time30 minutes
Total Time2 hours 45 minutes

Ingredients

Instructions

  • Peel and slice the sweet potatoes into 1/4 inch thick slices. Use a mandoline to make this much easier and ensure your slices will be the same size and cook evenly.
  • Mince the garlic.
  • Put the sliced potatoes and garlic in a gallon size zip lock freezer bag. Add the olive oil. Zip the bag and then turn and massage the bag until the garlic and olive oil is distributed well. You want every slice of potato to be well coated, with some oil accumulating in the bottom of the bag. Lay the bag on one side and let it sit on the counter for at least 2 hours or in the refrigerator up to 24 hours. Turn the bag over a few times. This allows the olive oil to become infused with garlic flavor and gives the potatoes plenty of time to marinate in the garlic infused olive oil. The longer they marinate, the more flavor you will have.  
  • Preheat oven to 400 degrees. 
  • Remove the potato slices from the bag and lay evenly in a single layer on 2 or 3 baking sheets. The slices can overlap a bit, but you don't want to pile them up or the potatoes will steam, rather than roast, and will be mushy not crispy. 
  • Roast for about 30 minutes, rotating the pans from top to bottom of your oven part way through. At 20 minutes, start checking the potatoes. There is a very fine line between crispy potatoes and burnt potatoes. We like ours just this side of burnt. So it may seem a bit fussy, but I check them, remove any slices that are dark enough, and then put the pans back into the oven, checking every 2-3 minutes and repeating this procedure until they are all done perfectly. If you prefer not to fuss over your potatoes this much, just take them out when the first few are browned but not yet burned and the others are just beginning to turn golden brown around the edges or on the underside when you flip one over. They will be delicious either way! 

Maple Pecan Pumpkin Spice Muffins

Maple Pecan Pumpkin Spice Muffins

It’s fall!

I’m already seeing pumpkin everything, everywhere. So in honor of the first day of fall and one of my favorite times of year, I’m joining in the pumpkin love today.

You should absolutely jump on the pumpkin bandwagon this fall too. Not just because its delicious, but because pumpkin is packed full of nutrition. Pumpkin is very high in Vitamin A, one serving providing 245% RDA. It is also a good source of calcium, Vitamin C, several B vitamins (including folate) and a number of minerals including magnesium, potassium and phosphorus.

Maple Pecan Pumpkin Spice Muffins

These amazingly moist and flavorful muffins are the perfect way to satisfy your pumpkin spice cravings with health promoting ingredients and without any sugar or other harmful ingredients.

They are free of gluten, dairy, sugar and refined oils. They are paleo and vegetarian, and can easily be made vegan as well by substituting flax eggs. They are high in protein due to the almond butter, almond meal and eggs. Use eggs from pastured chickens for a healthy dose of omega -3s. And they freeze well too. I love to keep these in the freezer to pull out and pop in the oven for a quick healthy weekday breakfast.

Treat yourself to some delicious, healthful, pumpkin-y goodness!

Maple Pecan Pumpkin Spice Muffins (gluten & dairy free, paleo)

Ingredients

  • 1 very ripe banana mashed
  • 1 c.
  • Organic pumpkin purée
  • 3 eggs
  • 1 c.
  • Almond butter
  • 1/2 c.
  • Real maple syrup
  • 1 tsp.
  • Vanilla extract
  • 1 c.
  • Almond meal
  • 1 tsp.
  • Baking soda
  • 1 tsp. Unprocessed sea salt (I use
  • Celtic Sea Salt
  • or
  • Redmond Real Salt
  • )
  • 2 tsp. Ground cinnamon
  • 1 tsp. Ground ginger
  • 1/2 tsp. Ground nutmeg

Instructions

  • Preheat oven to 350 degrees and grease a muffin tin well with coconut oil or a bsking spray. If you prefer you can use paper or silicone muffin wrappers, but I really like these muffins with a bit of a crusty edge from baking directly in the pan.
  • Placed ripe, peeled banana in a mixing bowl and mash it with a fork.
  • Add the pumpkin purée and eggs and mix well. Add in the almond butter, maple syrup and vanilla, mixing until the batter is smooth and well combined.
  • Stir in the dry ingredients and spices and mix until combined.
  • Spoon into muffin tins,filling each cup about 3/4 of the way full. You should have 18 muffins. Bake 20-22 minutes. Cool for 10 to 15 minutes and then carefully remove the muffins from the pan and allow them to finish cooling on a wire cooling rack.
  • Enjoy your healthy pumpkin-y goodness!