One of our favorite places is our local CSA, Seton Harvest, otherwise known as “the farm”. Of course we get amazing, locally grown, chemical free produce, usually harvested the day we pick it up. But its more than that. Going to the farm to pick up our weekly share, we get to escape our normal routine and stresses and breathe in the fresh country air; visit with friends; pet the dogs; feed the chickens; pick strawberries, fresh herbs, arugula, sungold tomatoes or whatever is in season and available for u-pick; hunt for caterpillars; chase butterflies; climb piles of mulch and make mazes out of bales of hale (yes that was us, sorry Joe and Julie!)
My big kids have practically grown up at the farm and it makes me so happy to see my youngest experiencing her first year running around the farm and loving it just as much as the rest of us do. Perhaps most of all, I LOVE that my kids know who grows their food and where it comes from (not just the supermarket!) and that they love things like eggplant and eagerly ask Farmer Joe when it will be in season and that they love to pick greens like arugula and sorrell and eat them on the drive home.
One of our favorite places is our local CSA, Seton Harvest, otherwise known as “the farm”. Of course we get amazing, locally grown, chemical free produce, usually harvested the day we pick it up. But its more than that. Going to the farm to pick up our weekly share, we get to escape our normal routine and stresses and breathe in the fresh country air; visit with friends; pet the dogs; feed the chickens; pick strawberries, fresh herbs, arugula, sungold tomatoes or whatever is in season and available for u-pick; hunt for caterpillars; chase butterflies; climb piles of mulch and make mazes out of bales of hale (yes that was us, sorry Joe and Julie!)
My big kids have practically grown up at the farm and it makes me so happy to see my youngest experiencing her first year running around the farm and loving it just as much as the rest of us do. Perhaps most of all, I LOVE that my kids know who grows their food and where it comes from (not just the supermarket!) and that they love things like eggplant and eagerly ask Farmer Joe when it will be in season and that they love to pick greens like arugula and sorell and eat them on the drive home.
One of our favorite events at the farm is the annual sweet potato harvest, when we enjoy a beautiful fall evening of fellowship and digging sweet potatoes. Sadly, kid schedules haven’t allowed us to participate the last couple of years, so these pictures are a few years old, but we have been enjoying the labors of our fellow shareholders this week. When was the last time you dug up a sweet potato and then took it home and roasted it with fresh garlic (also fresh from the farm)? If you haven’t been so lucky, put it on your bucket list and find a time and place to experience this!
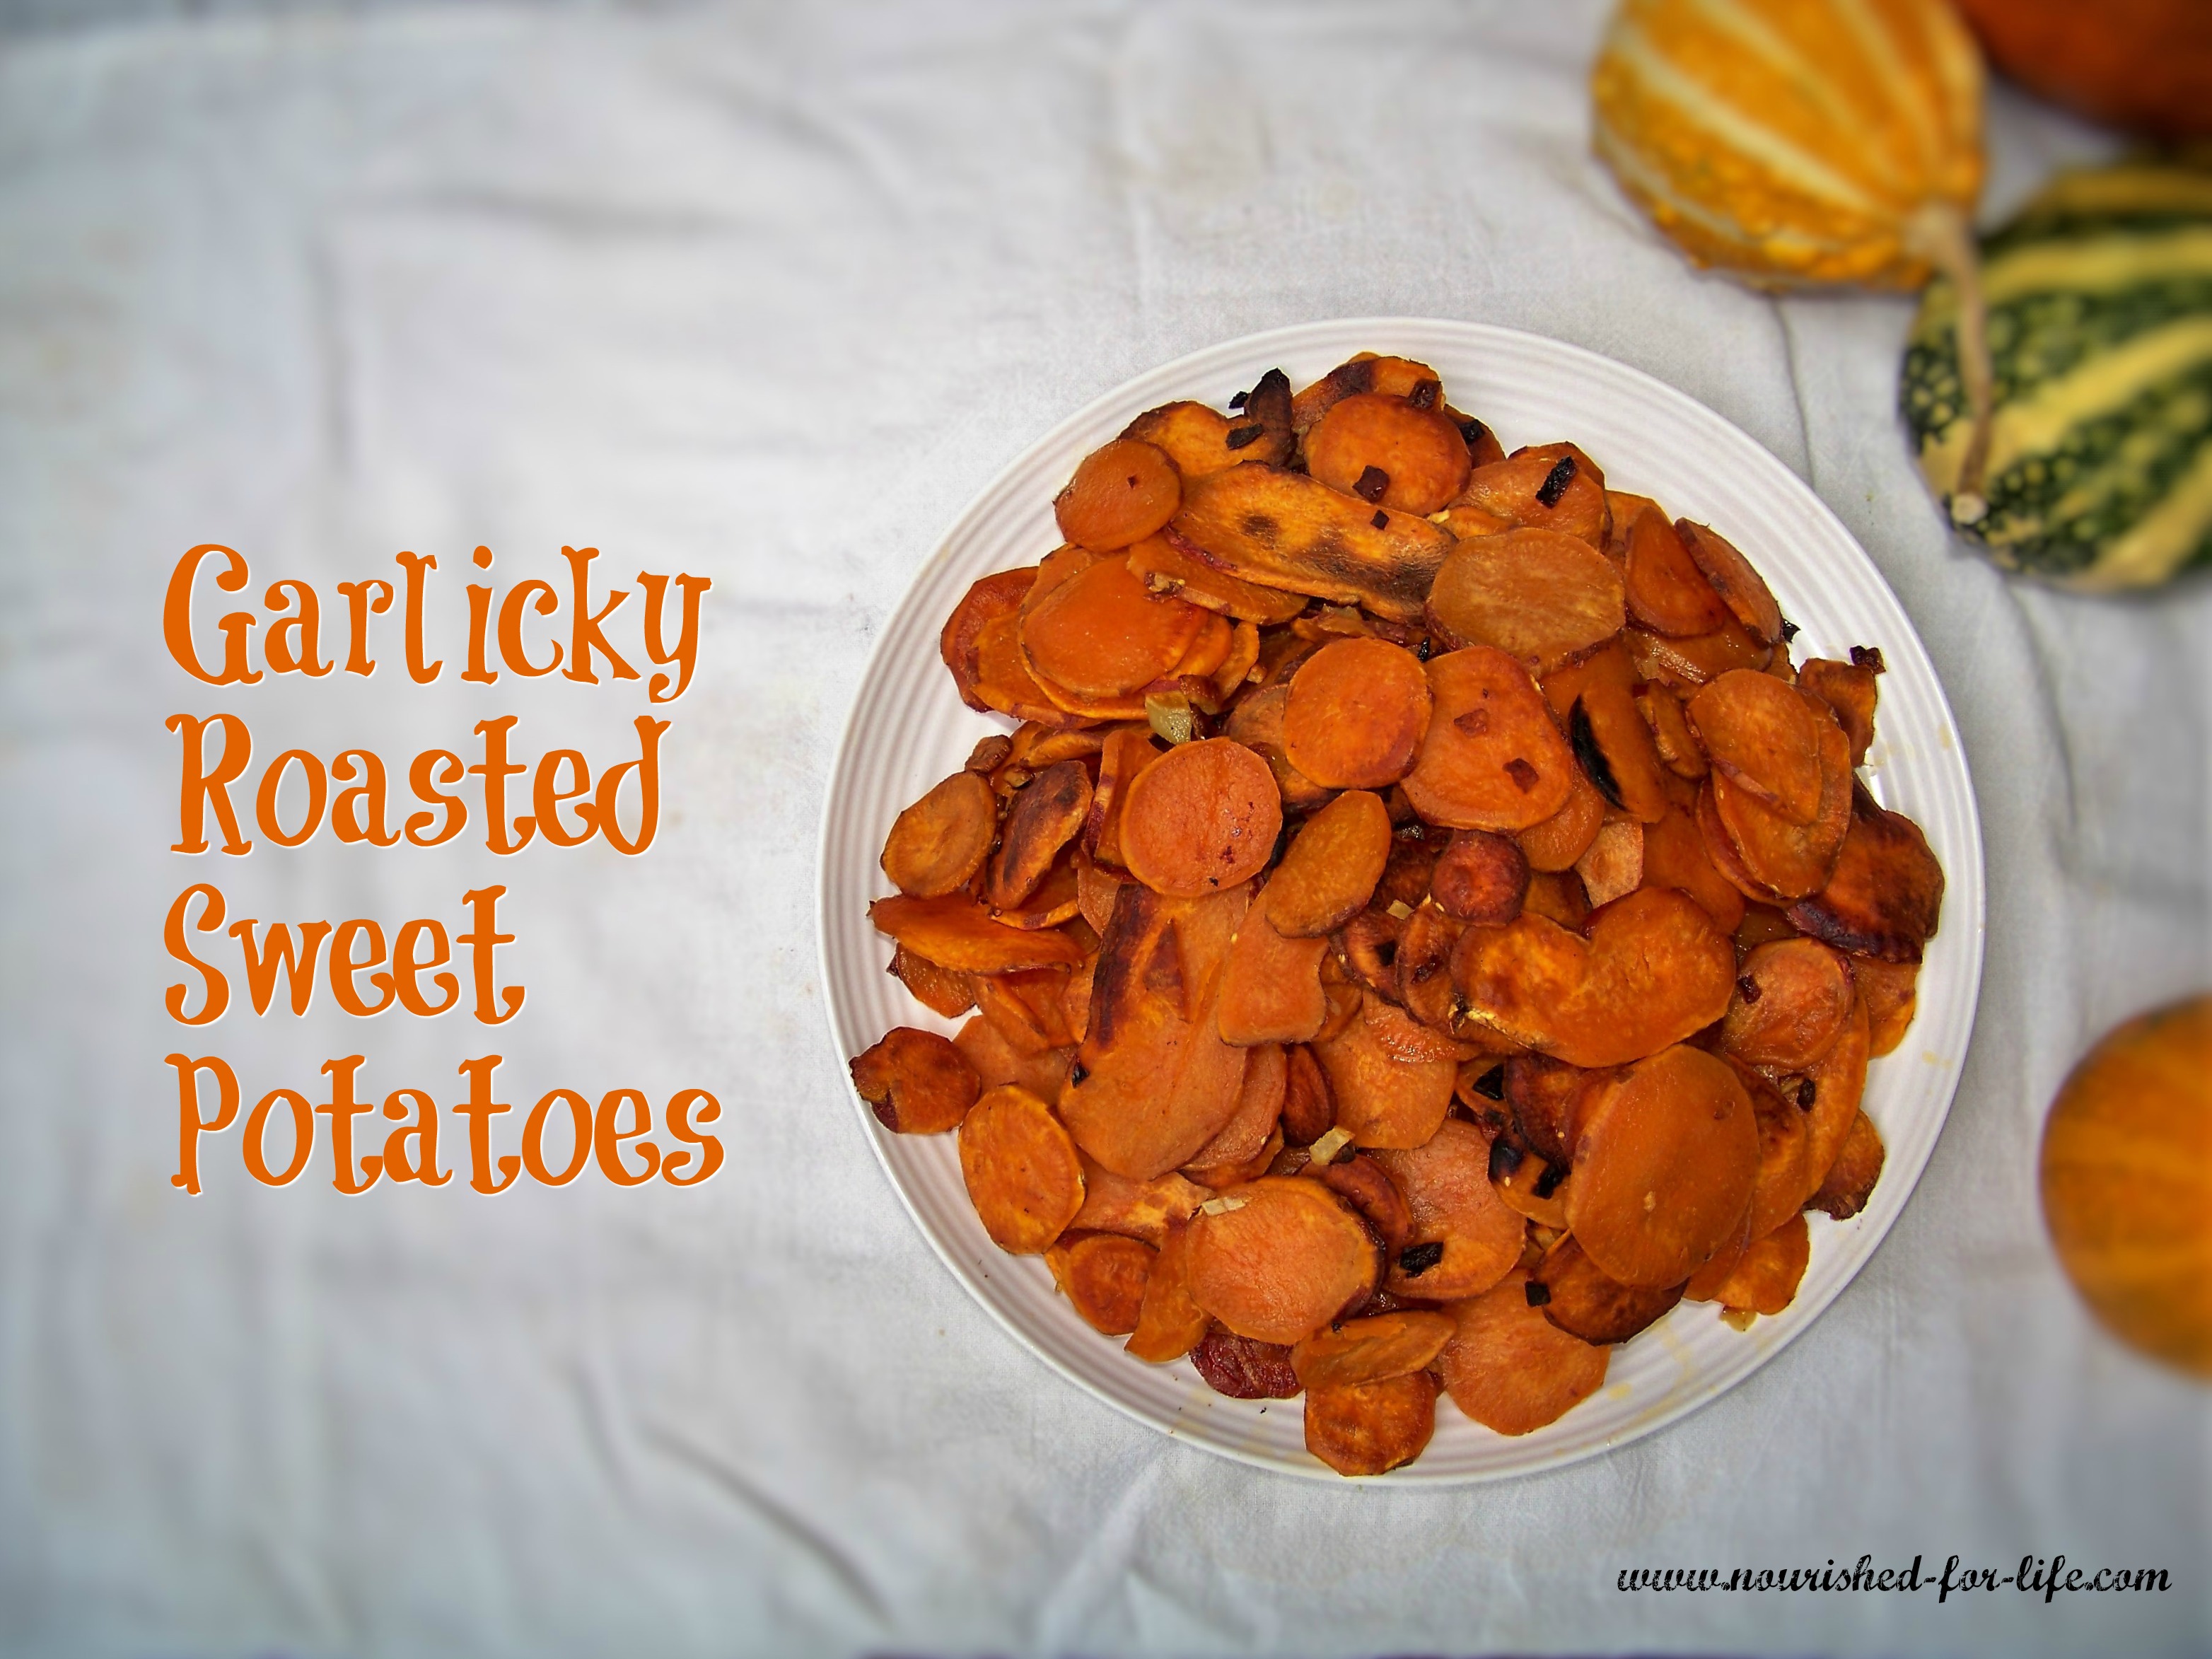
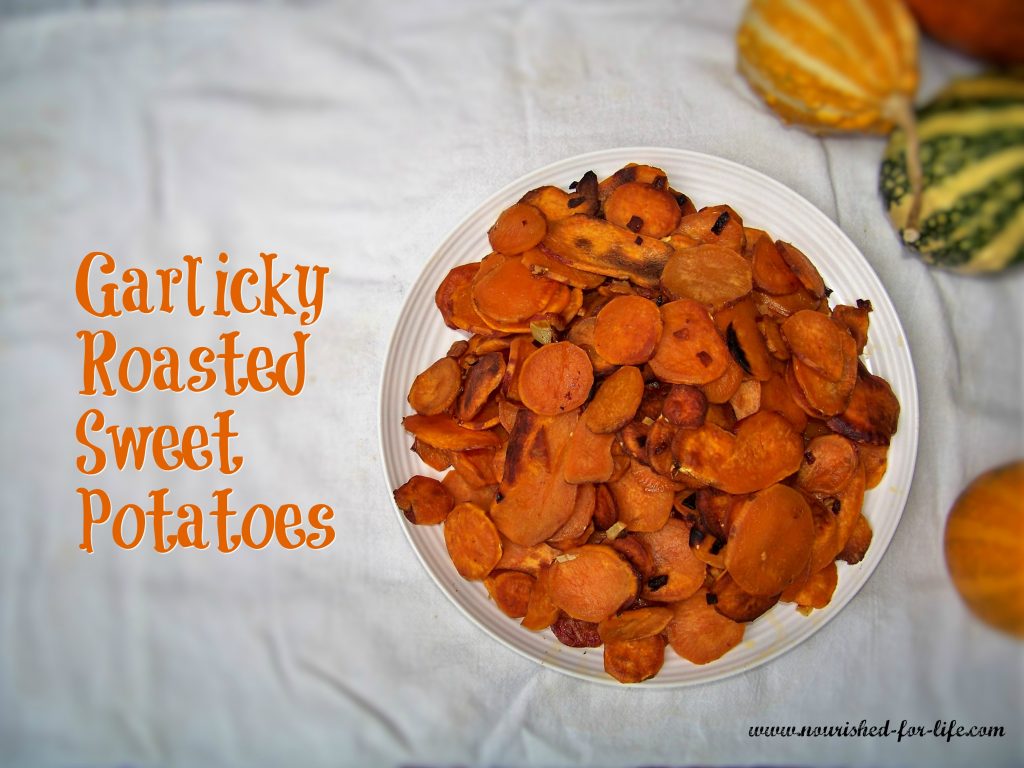
Even if you can’t harvest your own sweet potatoes, you can still make these sweet potatoes! This recipe is very loosely based on a recipe I found in Victoria magazine many years ago. I can’t tell you what issue or who the original author was but I do know it was a Thanksgiving recipe and it had crispy sage leaves on top. We’ve kept it simple, just sweet potatoes and fresh garlic, maybe a pinch of sea salt at the end if you think you need it. That’s it. And they are so good.
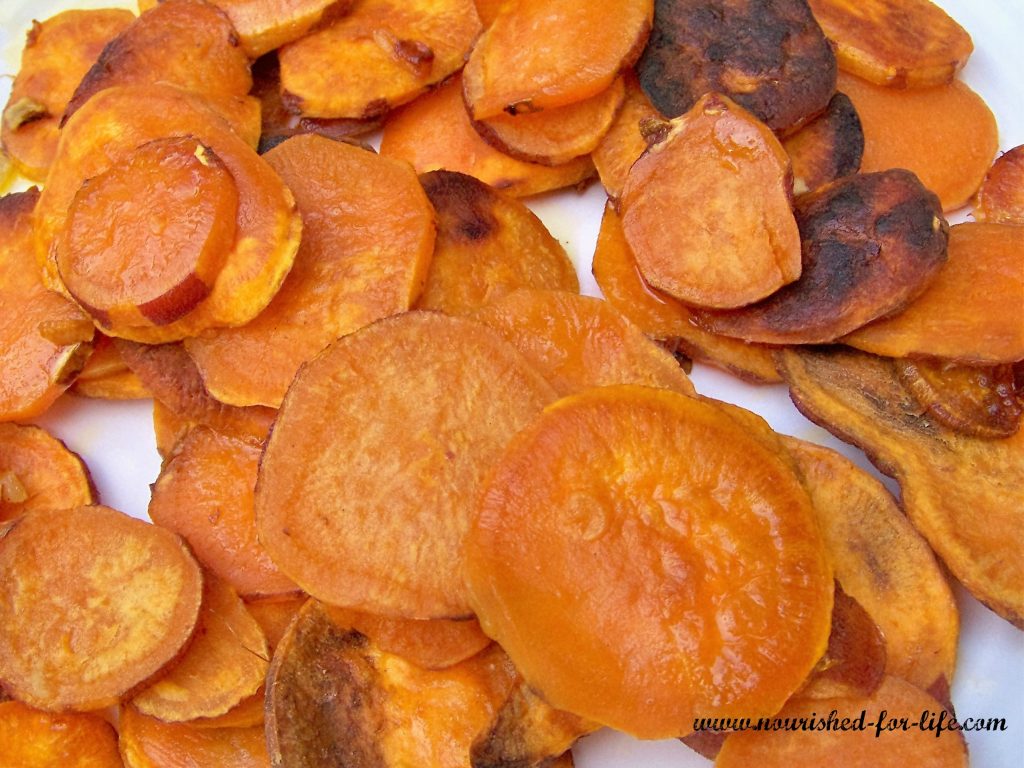
Whether you need a new sweet potato recipe for your Thanksgiving dinner or just a nutrient dense side dish for the next time you grill — these will hit the spot. In a pinch, you can make them without the marinating time, but that is truly the secret to this recipe. Skip it and you will have perfectly fine roasted sweet potatoes. Plan ahead a bit and you will be rewarded with amazingly delicious, crispy potatoes infused with garlicky goodness.
One quick equipment note: I highly recommend a good mandoline for this recipe and any others involving sliced vegetables. It makes quick work of the sweet potatoes here, and ensures that they are all the same thickness so they cook evenly and at the same speed. I have this OXO Mandoline and love it!
Garlicky Roasted Sweet Potatoes
These sweet potatoes are marinated in garlic and extra virgin olive oil and roasted to crispy golden perfection. So simple and yet so delicious!
Prep Time2 hours hrs 15 minutes mins
Cook Time30 minutes mins
Total Time2 hours hrs 45 minutes mins
Peel and slice the sweet potatoes into 1/4 inch thick slices. Use a mandoline to make this much easier and ensure your slices will be the same size and cook evenly. Mince the garlic.
Put the sliced potatoes and garlic in a gallon size zip lock freezer bag. Add the olive oil. Zip the bag and then turn and massage the bag until the garlic and olive oil is distributed well. You want every slice of potato to be well coated, with some oil accumulating in the bottom of the bag. Lay the bag on one side and let it sit on the counter for at least 2 hours or in the refrigerator up to 24 hours. Turn the bag over a few times. This allows the olive oil to become infused with garlic flavor and gives the potatoes plenty of time to marinate in the garlic infused olive oil. The longer they marinate, the more flavor you will have.
Preheat oven to 400 degrees.
Remove the potato slices from the bag and lay evenly in a single layer on 2 or 3 baking sheets. The slices can overlap a bit, but you don't want to pile them up or the potatoes will steam, rather than roast, and will be mushy not crispy.
Roast for about 30 minutes, rotating the pans from top to bottom of your oven part way through. At 20 minutes, start checking the potatoes. There is a very fine line between crispy potatoes and burnt potatoes. We like ours just this side of burnt. So it may seem a bit fussy, but I check them, remove any slices that are dark enough, and then put the pans back into the oven, checking every 2-3 minutes and repeating this procedure until they are all done perfectly. If you prefer not to fuss over your potatoes this much, just take them out when the first few are browned but not yet burned and the others are just beginning to turn golden brown around the edges or on the underside when you flip one over. They will be delicious either way!
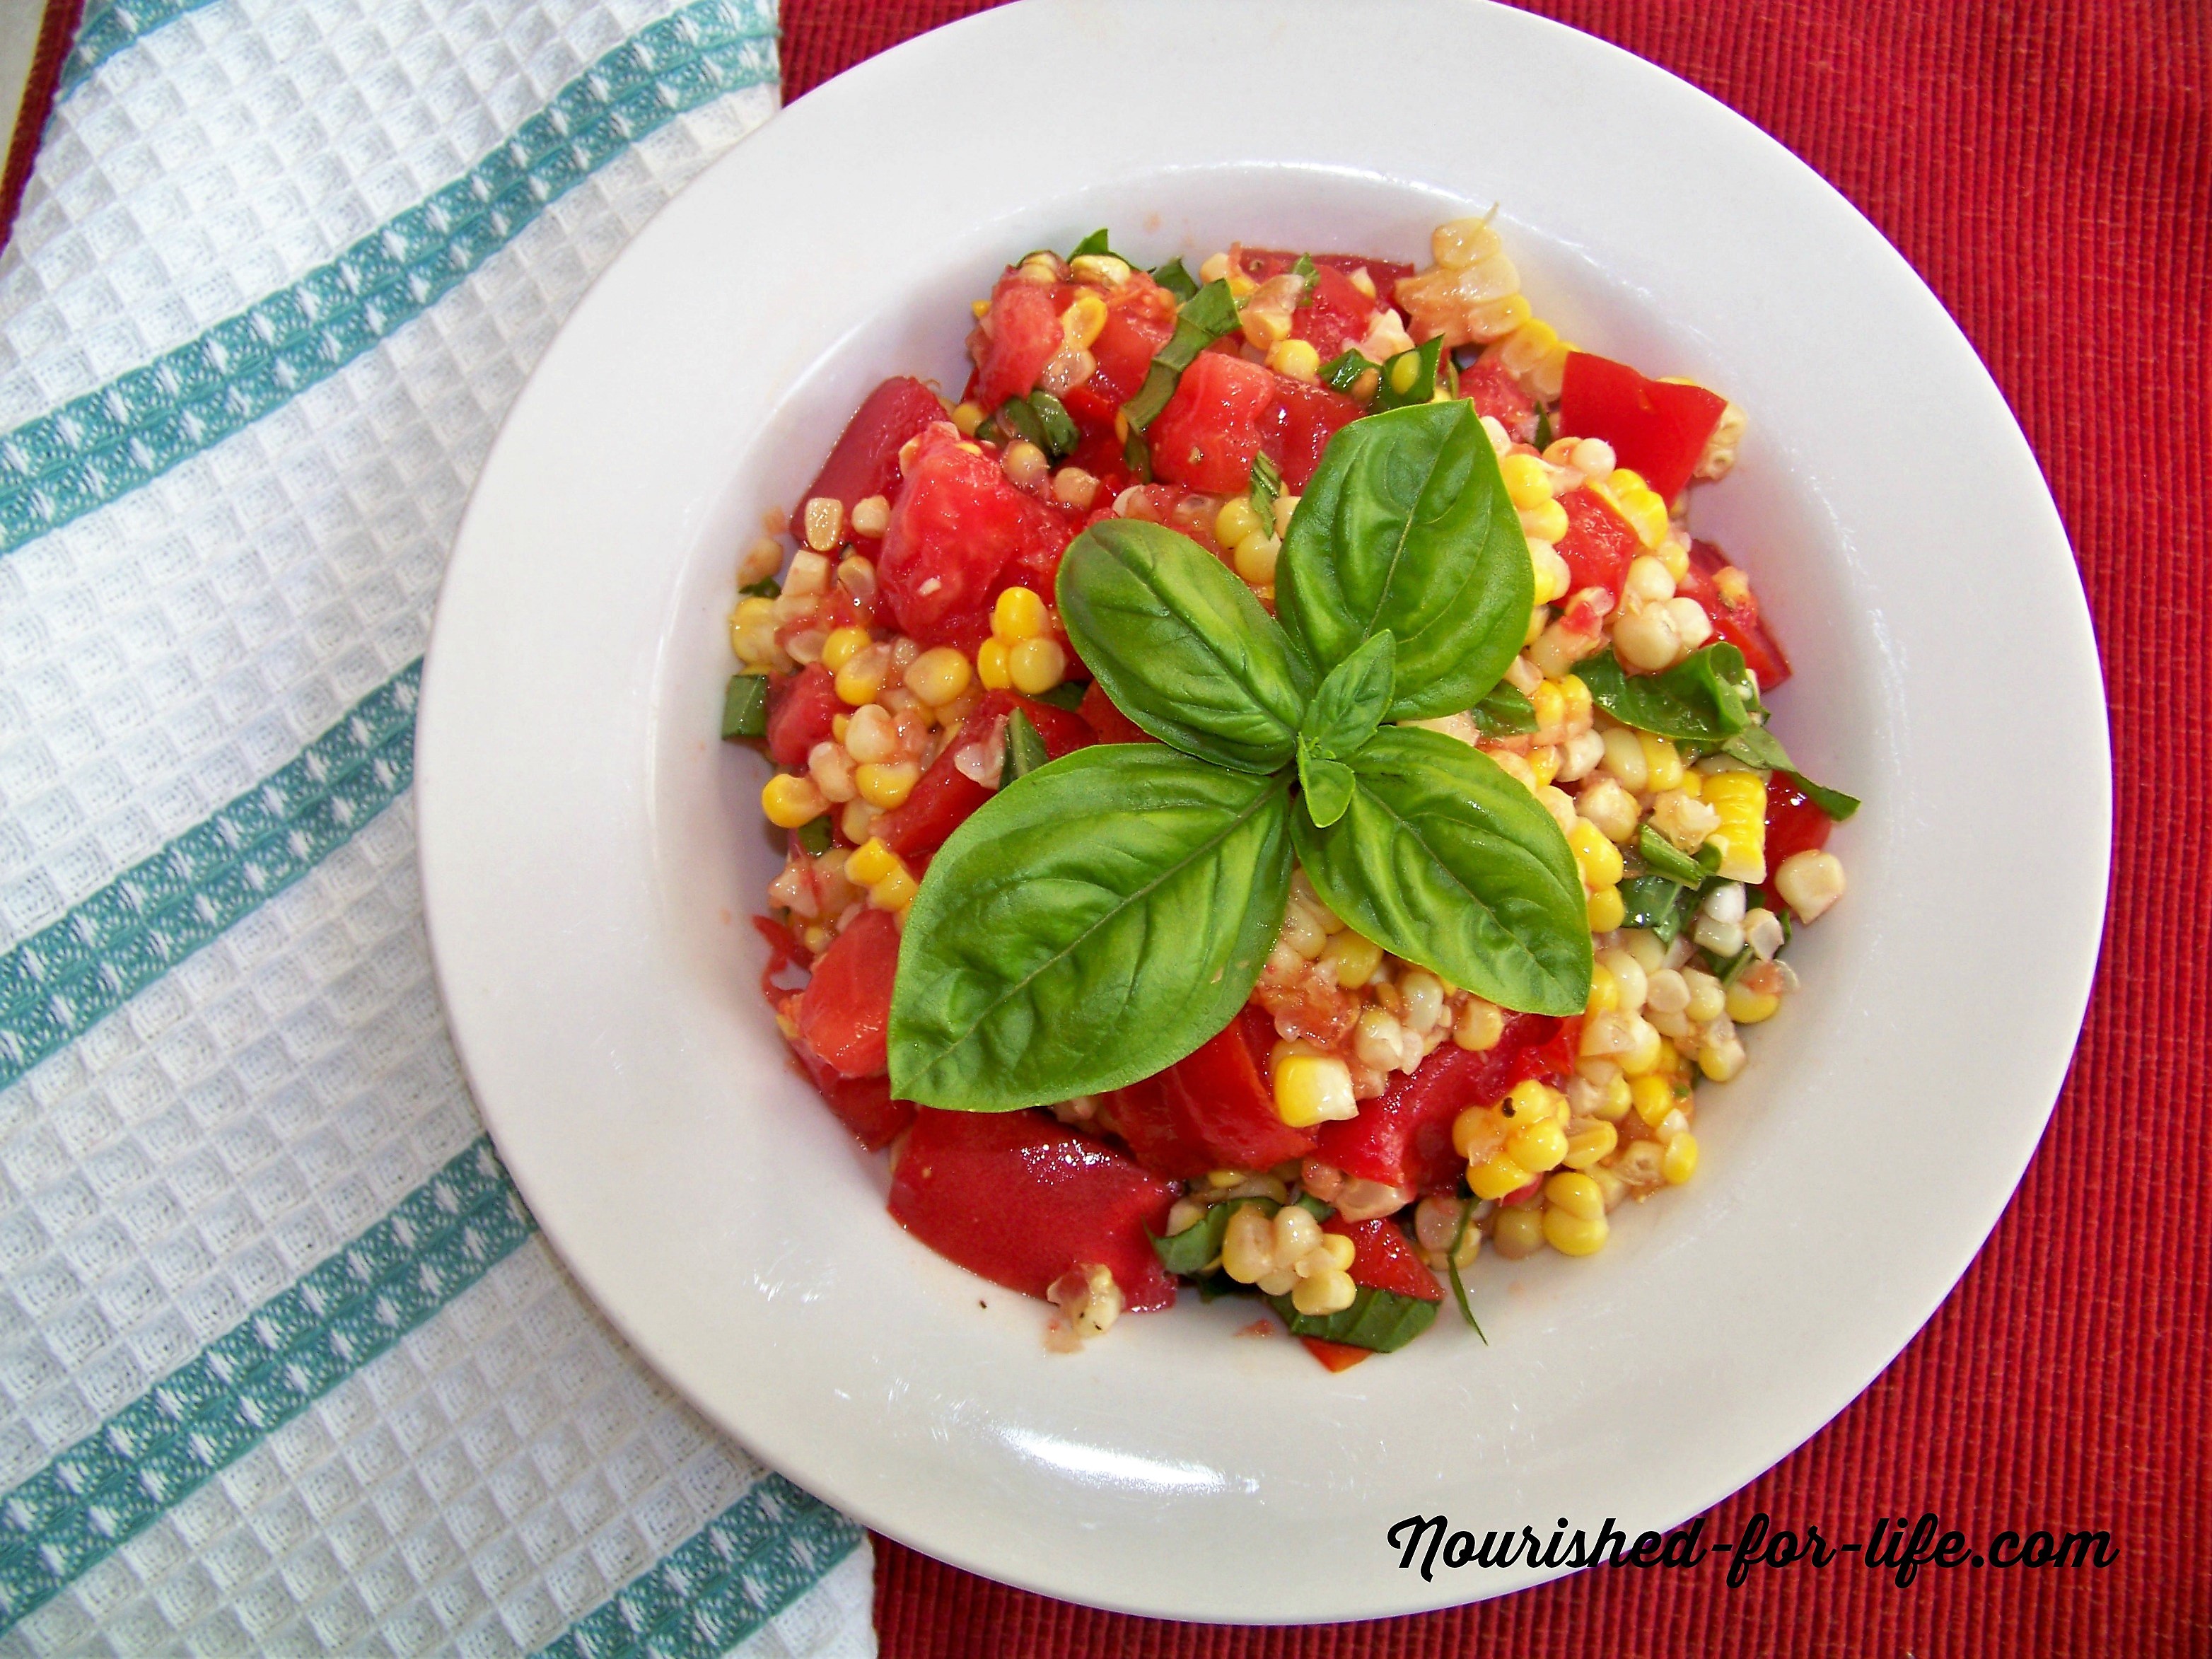
 When we make sweet corn, I always cook a few extra ears for this salad. If your corn is really fresh and tender, you don’t even have to cook it! I chop the freshest most delicious tomatoes we have (preferably a mix of sungolds, grape or cherry, and different colors of heirloom tomatoes) and then add the leftover corn (cut from the cob).