Happy Easter, friends!
I absolutely love spring. It has been beautiful here the past few days and getting outside for soccer games and walks around the neighborhood is so good for my soul! Easter is also one of my favorite holidays, maybe because its spring and also, I think, because the focus is on faith and enjoying time together rather than all of the other trappings that makes some other holidays so hectic and stressful.
Today I have a new recipe for you that is perfect for your Easter celebration this weekend and a book recommendation.
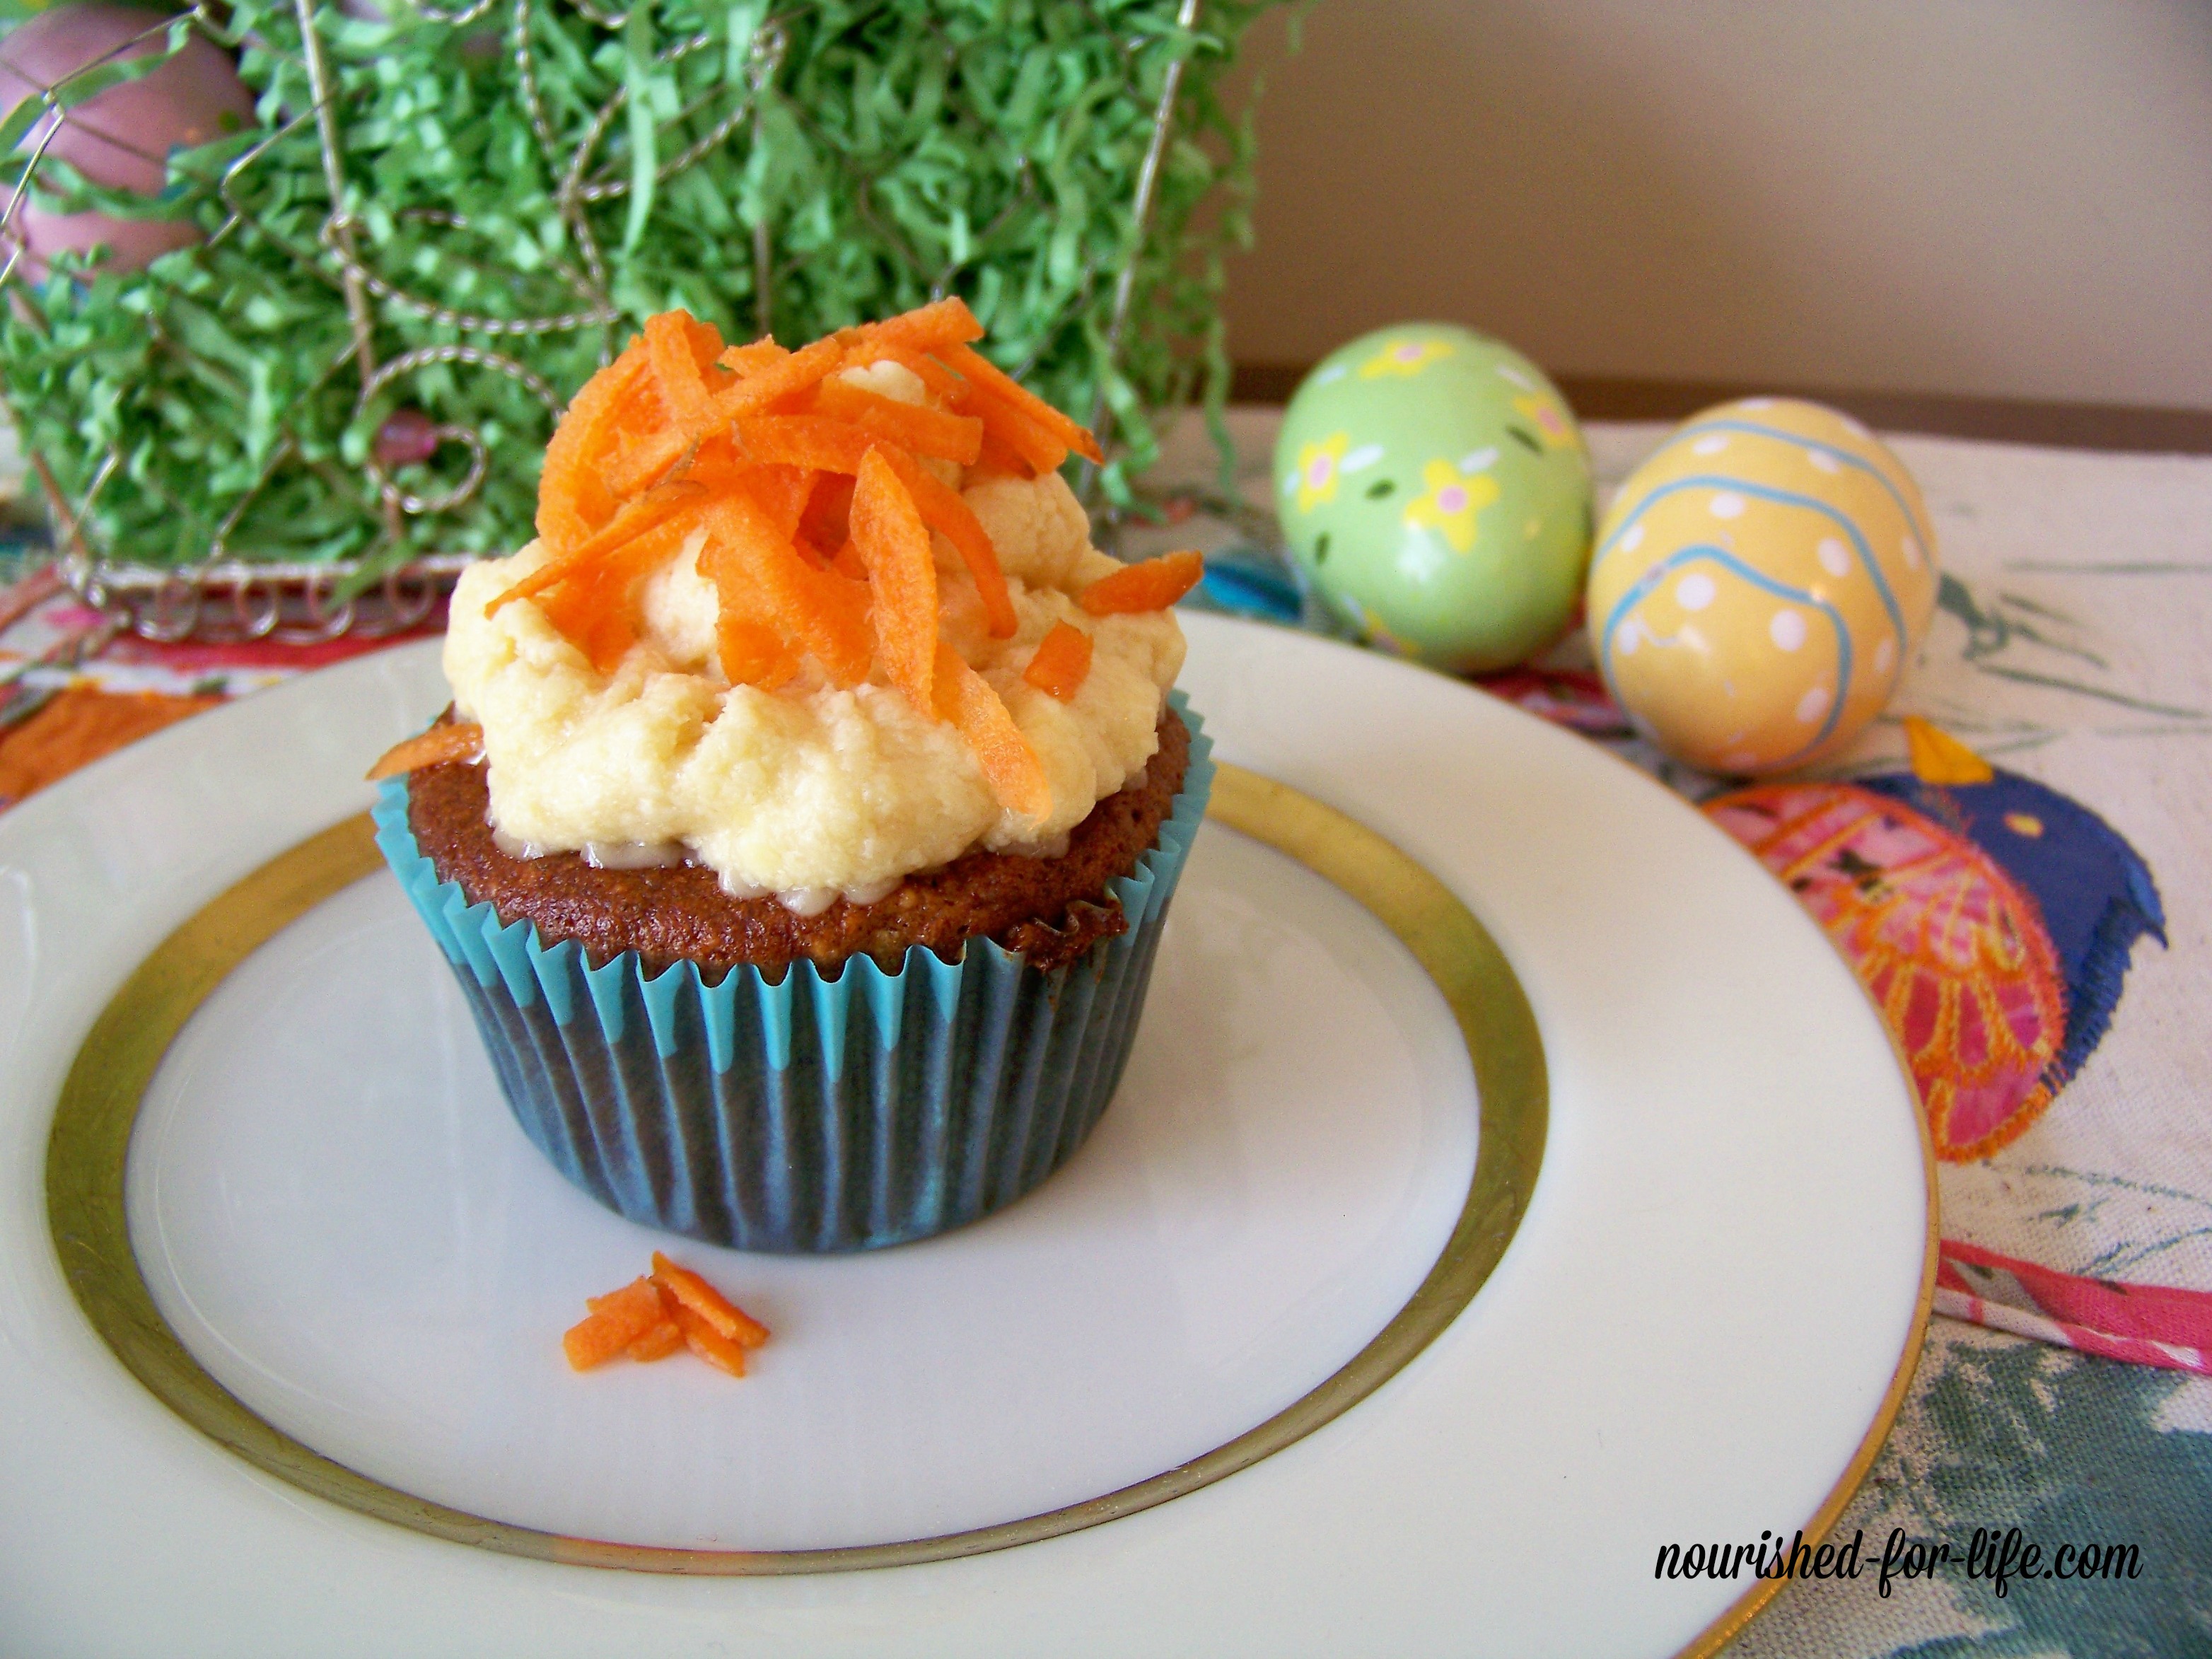
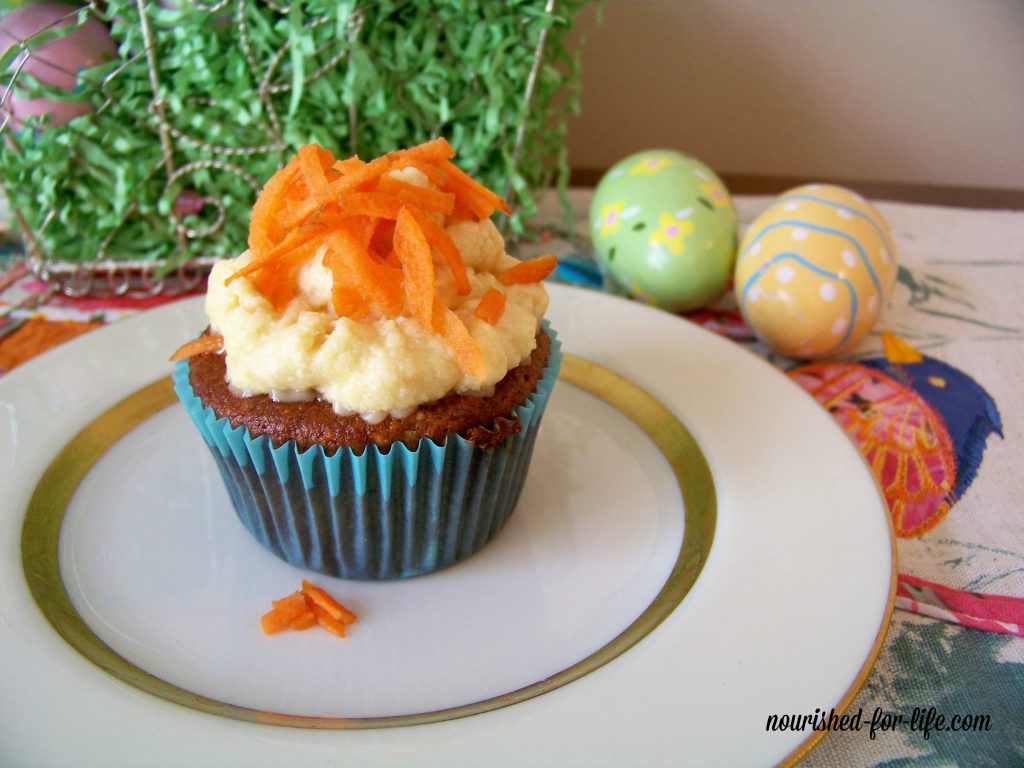
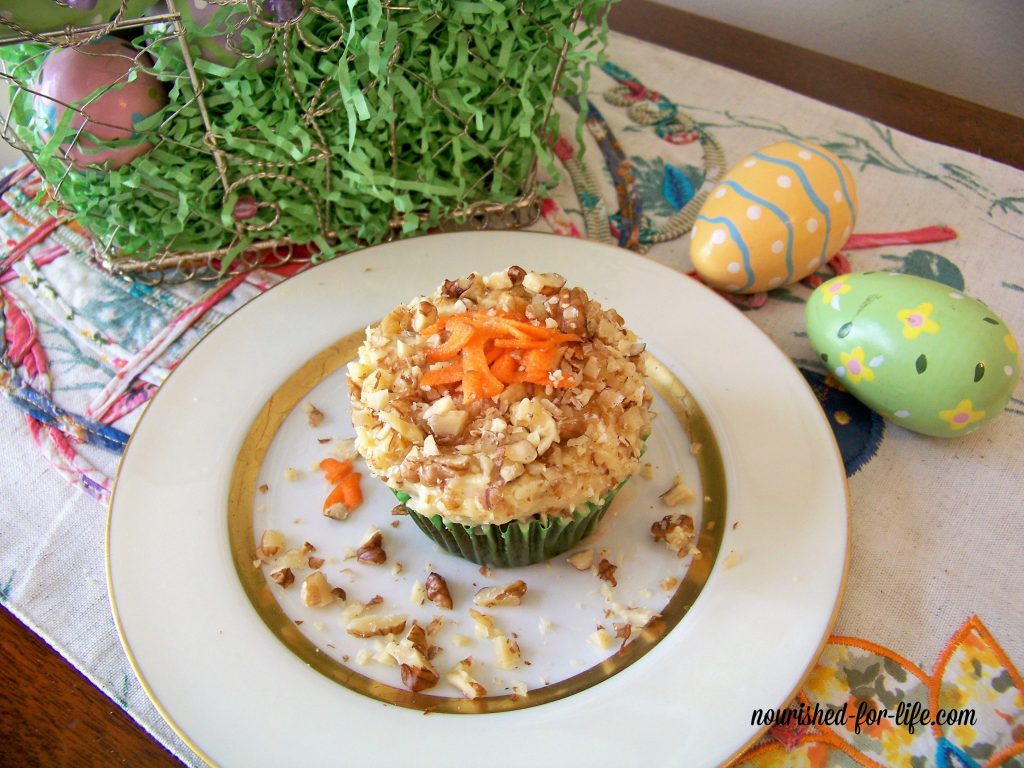
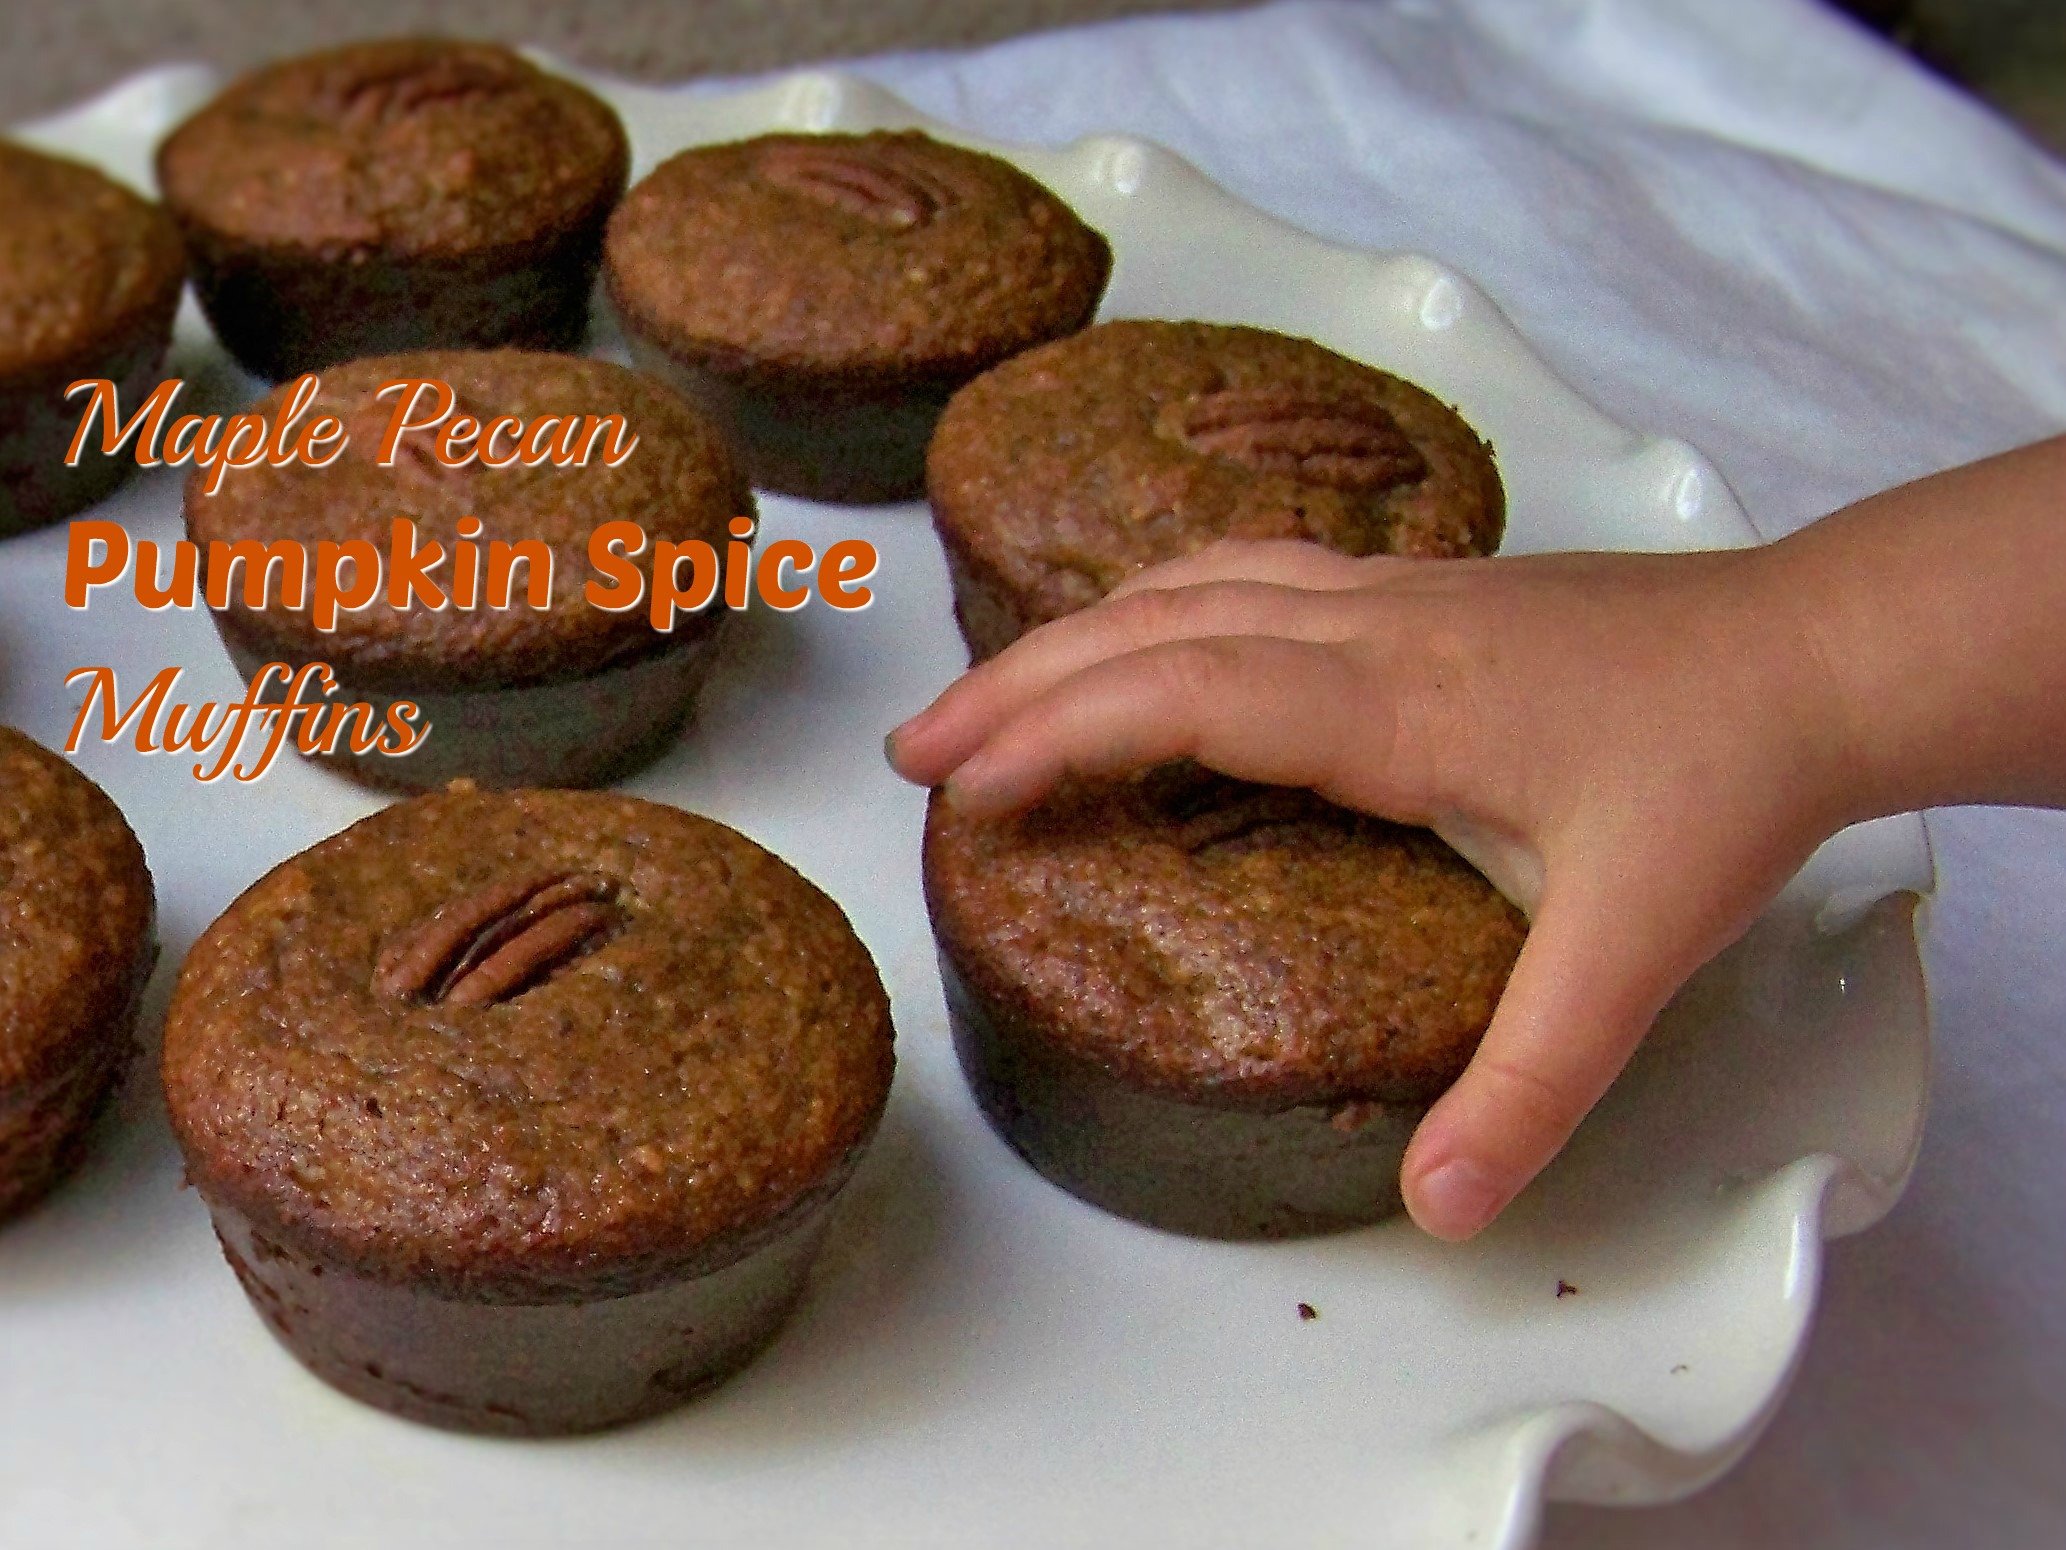
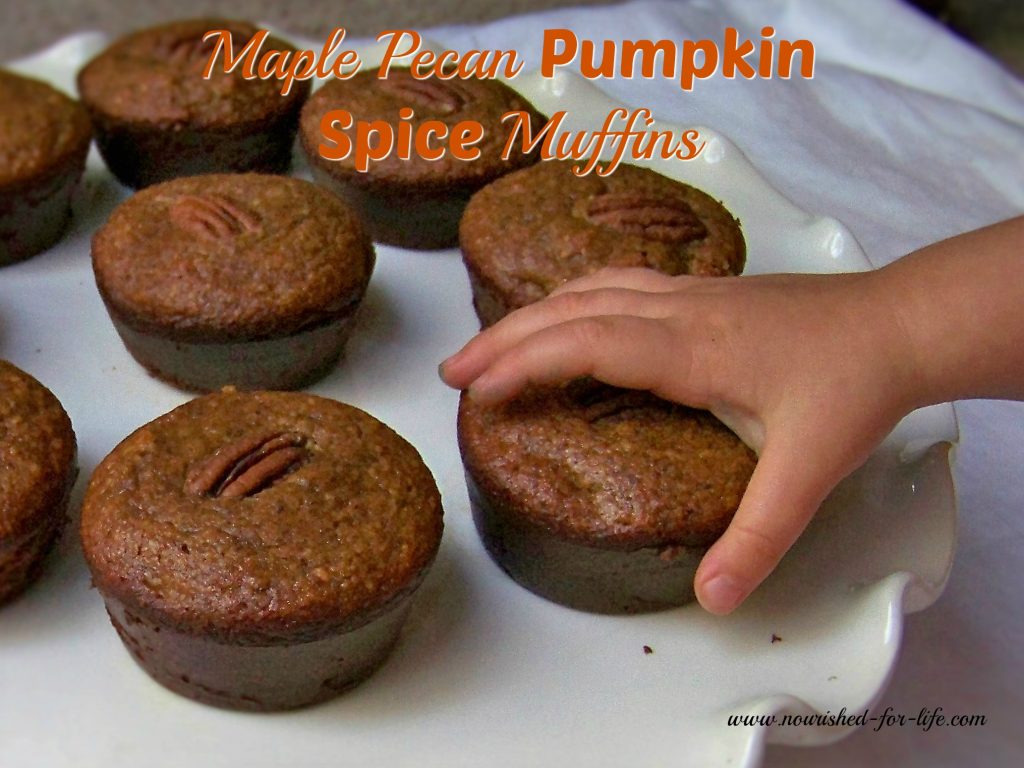
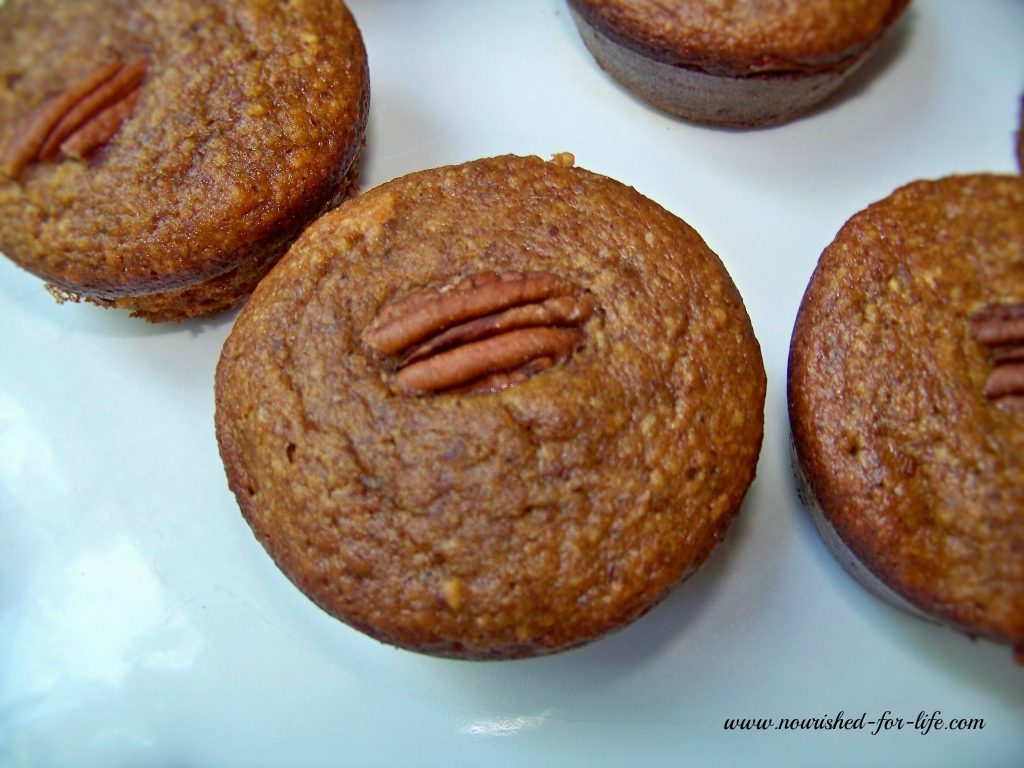
Paleo Carrot Cupcakes
When our daughter turned one, I wanted to make carrot cake cupcakes for her birthday. Of course they had to be gluten and dairy free, but I also wanted them to be free of refined sugar and oils and as healthful as I could make them. I looked at dozens of recipes and none were quite what I wanted. So I used all of my healthy baking tricks and created these. They were a big hit with the whole family. So much so that I made them again for my husband’s birthday a month later and for Juliette’s 2nd birthday as well.
These cupcakes are so healthful, high protein and nutrient dense they could easily be breakfast muffins. Without the icing, they are completely free of any refined sugar. For moist, delicious and nutritious muffins, add in the walnuts and golden raisins and skip the icing. Shhh …. don’t tell my family they’re really super healthy muffins, they think they’re getting cupcakes.
Since I was making these for birthday “cupcakes” and now an Easter treat, I did add icing with powdered sugar to make them a bit more fun and festive, but that is completely optional.
The maple icing is my dairy-free version of a buttercream icing and its delicious with these cupcakes. I love to top them with carrot & walnuts too, but that isn’t necessarily my kiddos favorite. So eat them plain, iced, or with whatever toppers you and yours will enjoy!
Might I suggest, if you are looking for a delicious, fun and healthful treat for your Easter brunch these might be the perfect thing. They will be making an appearance at our house next weekend!
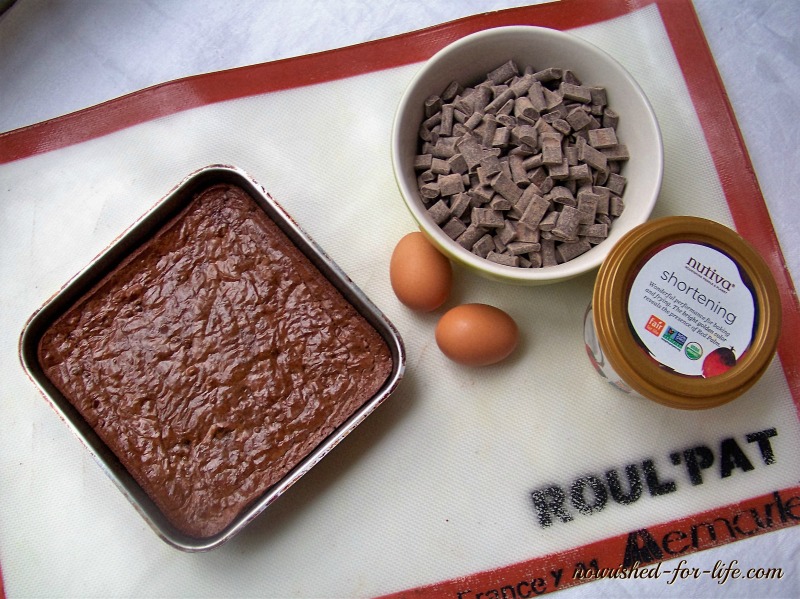
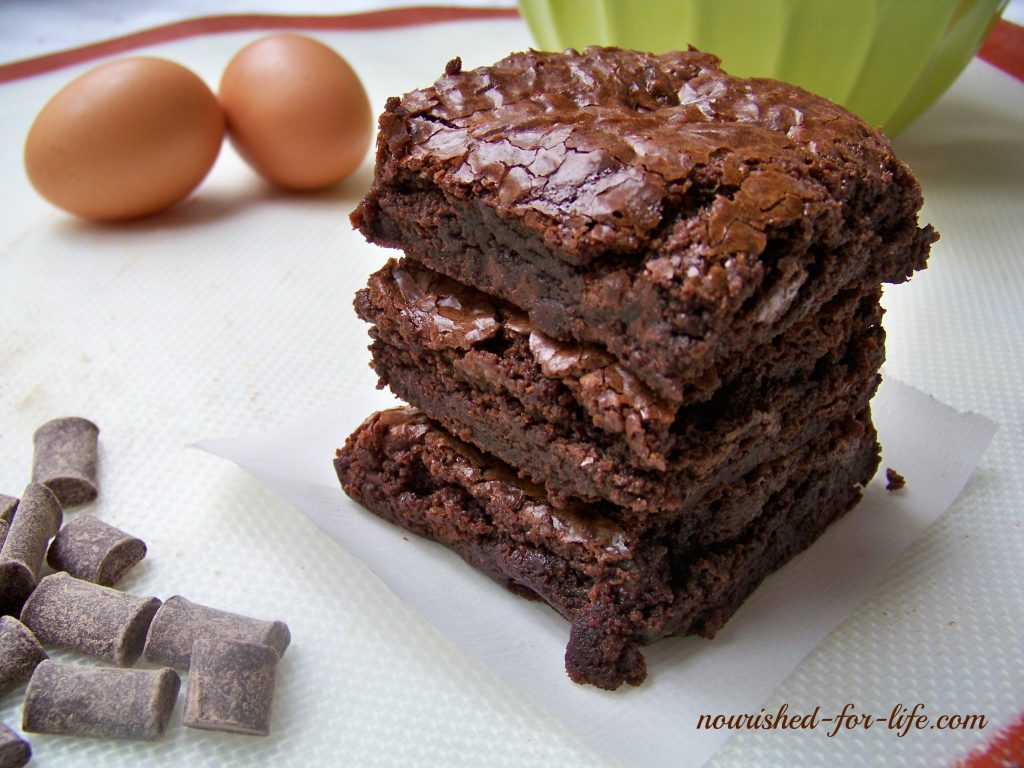
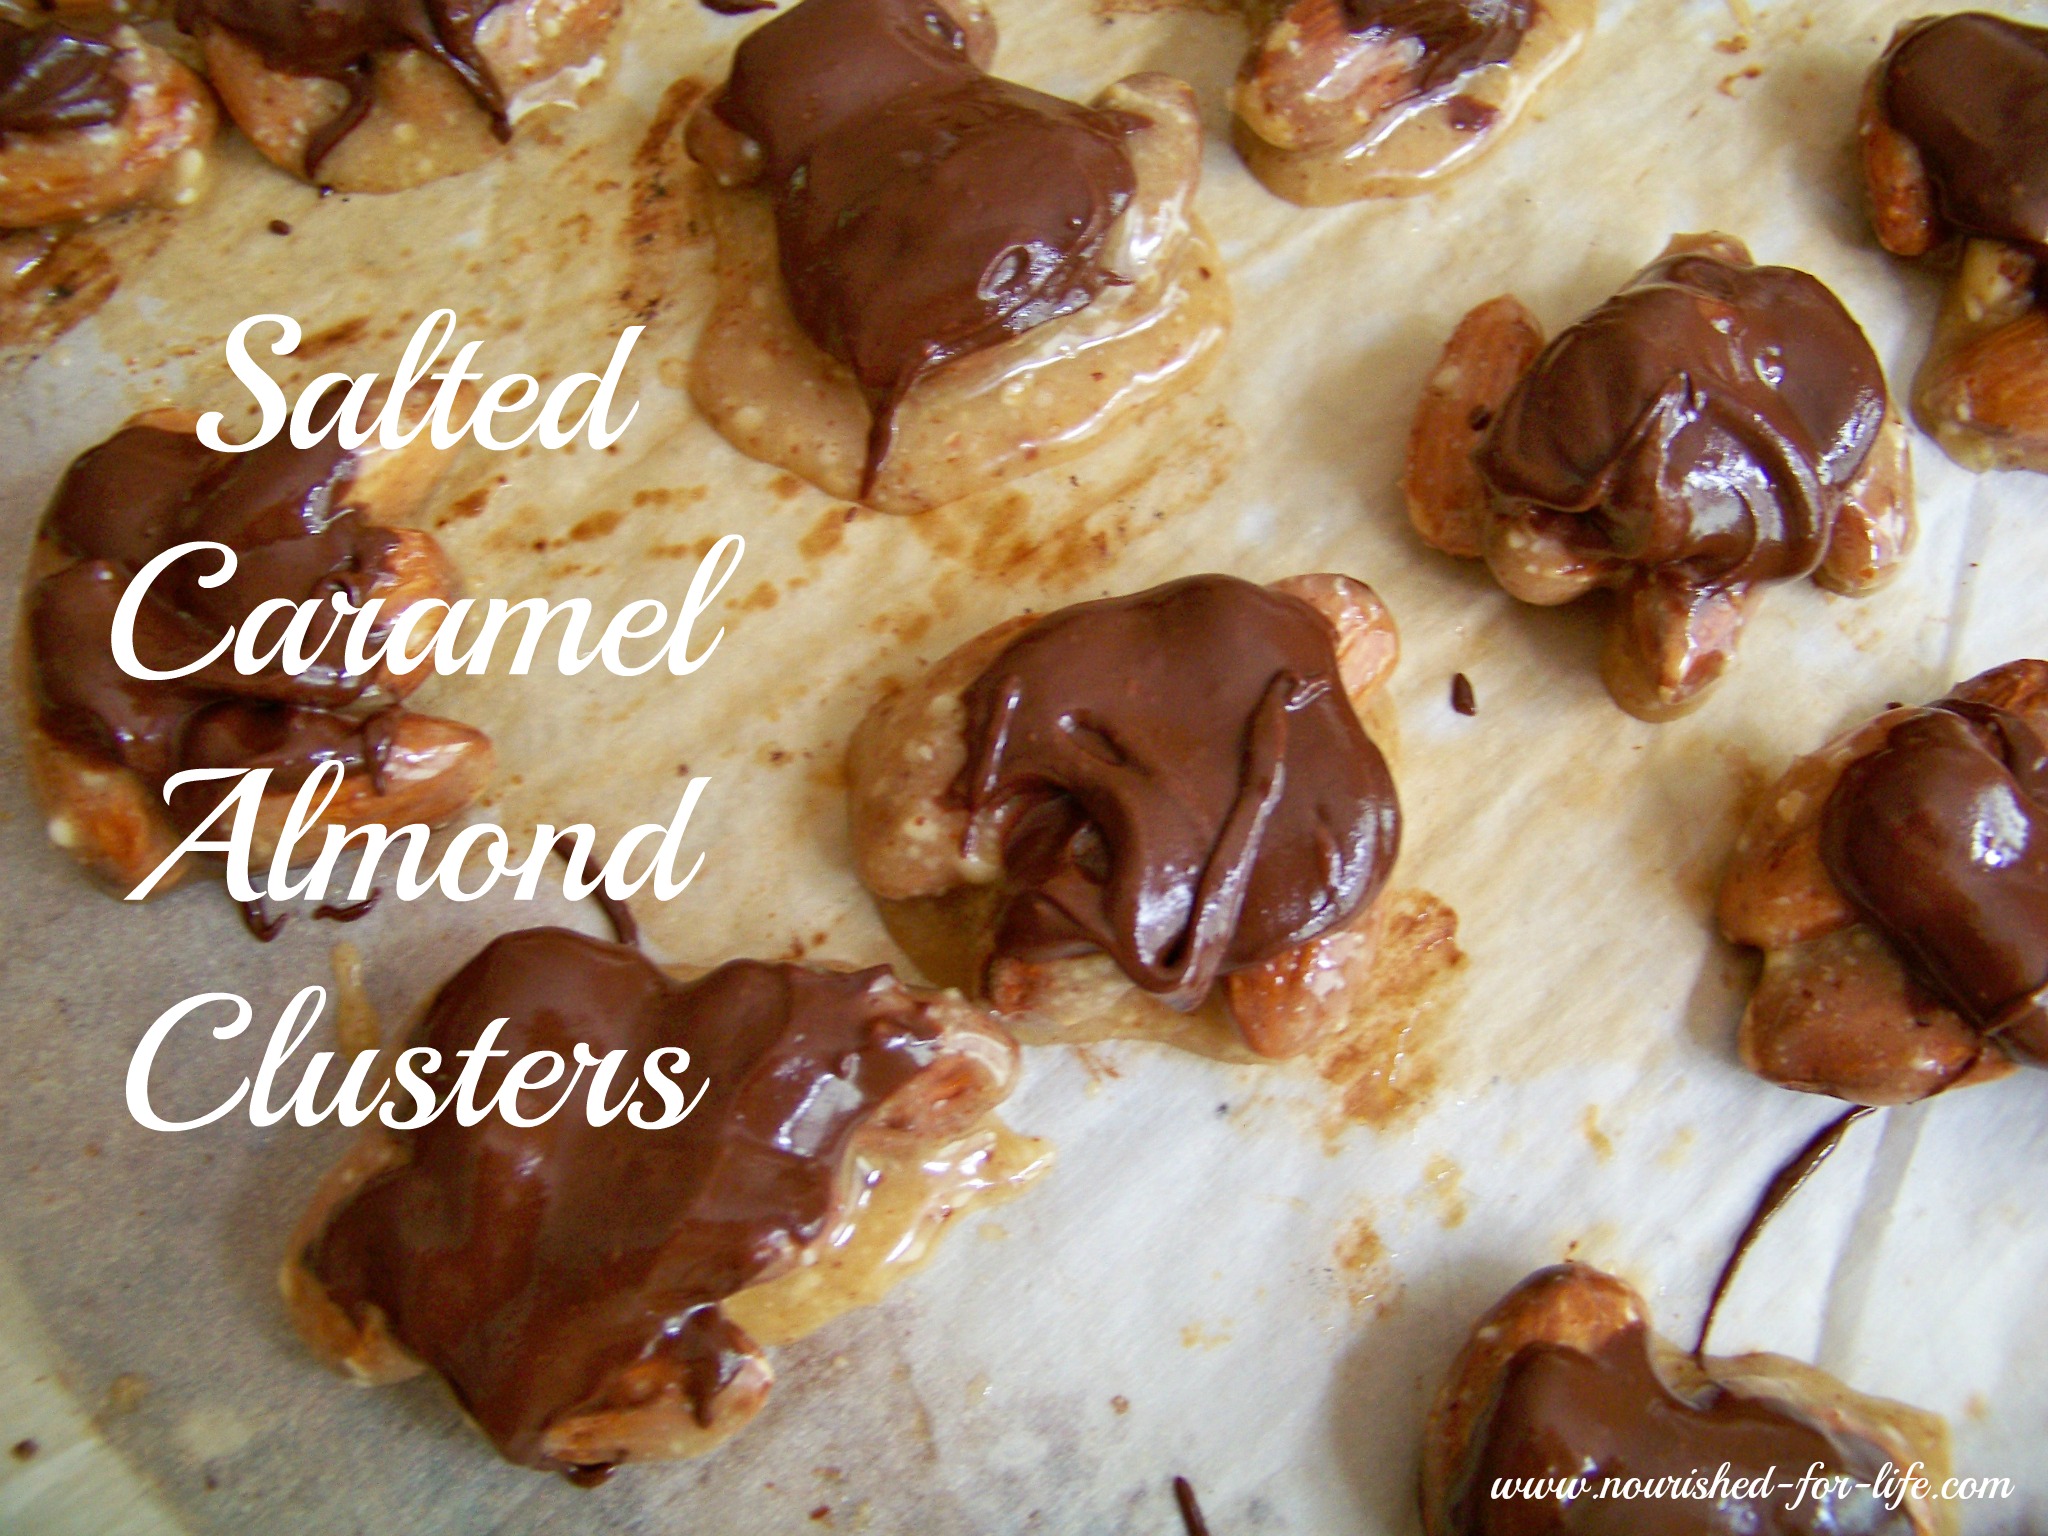
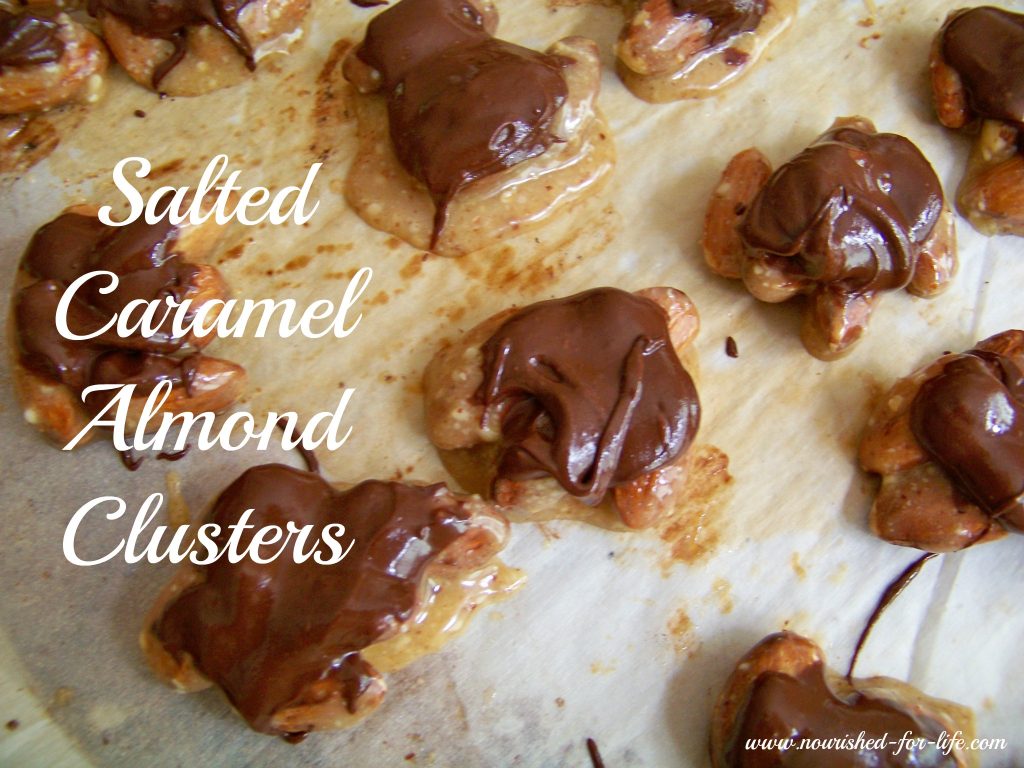
If you’re looking for other Easter treats, you might also consider my Buckwheat Brownies (gluten free, dairy free and refined sugar and oil free) or these amazing little Salted Caramel Almond Clusters.
Lessons from The Blue Zones
The past few weeks I’ve been reading a book called The Blue Zones by Dan Buettner. Buettner and a team of researchers have spent years finding and researching places around the world with extraordinarily high concentrations of centenarians. They have found five such “Blue Zones” and Buettner tells stories of the centenarians he has met in each of the Blue Zones and outlines the diet and lifestyle factors which appear to contribute to the health and longevity of people of these regions. It’s a fascinating read for anyone interested in healthy living. The amazing thing is not just the longevity of the people of these regions, but their health as they age. He tells stories of 80 or 90 year olds he mistakes for 60. And they continue to be very active, walking every day, working in their farms, vineyards and gardens, caring for grandchildren and great-grandchildren, spending time with friends and family and contributing their communities well into their 80s, 90s and 100s.
Here are some of the common factors which appear to increase both the life span and more importantly, the health span of people in these regions:
- Move more — Stay active! Intentional exercise is wonderful, but just adding more movement to your every day life appears to make a big difference. Walk more. Park at the back of the parking lot and walk further to the store or office. If you work at a desk all day, get up and walk around the office for five minutes every hour. Climb stairs. Ride a bike. Garden. Play a recreational sport. Stretch while you’re watching tv in the evenings. Do yoga. Do isometrics while you’re standing in line at the grocery store. Chase your kids or grand kids around. The healthiest people don’t sit still and continue to stay active as they age.
- Eat less — Okinawans say “hara hachi bu“ before every meal–a Confucian-inspired adage that is a reminder to stop eating when their stomachs are 80% full. We tend to eat until we’re full. Okinawans eat until they are no longer hungry. This is a significant difference. As one researcher notes, “We gain weight insidiously, not stuffing ourselves, but eating a little bit too much each day–mindlessly.” (Buettner at 271) As a result of this attitude, people in each of the Blue Zones tend to consume fewer calories every day. Reducing calorie intake has been shown in many studies to prolong life, and an expanding waistline correlates with an increase in almost every western disease including heart disease and diabetes.
- Eat a whole food, plant based diet — In addition to eating fewer calories, people in the Blue Zones also eat nutritionally dense, real unprocessed foods, rather than the calorie-dense and nutritionally deficient foods commonly found in the western world. Each of these cultures also eat a very limited amount of meat. Strict Seventh Day Adventists of Loma Linda, California (the only American Blue Zone) are vegetarians. The other Blue Zones traditionally only had access to meat on rare occasions and reserved it for Sundays or holidays. Traditional Sardinians, Nicoyans and Okinawans eat what they produce in their gardens, supplemented by duram wheat (Sardinians), sweet potato (Okinawans) or maize (Nicoyans). “[S]cientists analyzed six different studies of thousands of vegetarians and found that those that restrict meat are associated with living longer.” (Buettner at 275-76) Beans, whole grains, garden vegetables, fruit and nuts are the basis of all of these longevity diets. If/when you do eat meat, make sure it is from grass-fed or pastured, hormone and antibiotic free animals. When it comes to animal products, spend your grocery dollars on quality, rather than quantity.
- Have a purpose — Okinawans call it ikigai and the Nicoyans of Costa Rica call it plan de vida. Both phrases translate essentially as “why I wake up in the morning”. An 11 year study of people ages 65-92 found that individuals who had a strong sense of purpose, a goal in life, both lived longer and were sharper and higher functioning than those who did not. This may be as simple as caring for grand children or a hobby you enjoy. Volunteerism–helping others–is also important to feelings of fulfillment and healthful aging. Exercising your brain by learning a new language or doing things that are novel and complex has also been shown to decrease memory loss and may decrease risk of Alzheimer’s. (Buettner at 281)
- Relieve stress — Its so important to our health to find time and ways to slow down, relieve stress and increase our serenity and people in the Blue Zones all seem to do this well. Sardinians pour into the streets every day at 5 pm to socialize with their friends and neighbors. Nicoyans take a break every afternoon to rest and socialize. Traditional Okinawans each have a group of life-long friends called a “moai” that they visit with every evening before dinner. For Adventists, Saturday Sabbath is an entire day when they stop their work, homework, sports and weekly activities. They spend the day focused on God, family and spending time in nature (which often includes a hike). All of this results in a greater sense of well-being and lower stress. (Buettner at 284) Chronically elevated stress hormones causes chronic inflammation, which accelerates aging and increases our risk of all of the so-called “age-related” diseases such as heart disease, diabetes, Alzheimer’s and even cancer.
- Belong to a faith community — Centenaries in the Blue Zones are all people of faith. Studies have shown that attending religious services make a difference in how long a person lives. One study found those who attended religious services at least once a month reduced their risk of death by about a third, an impact about as great as that of moderate physical exercise. Faith in God and a higher purpose lowers stress levels and promotes peace. “It appears that people who pay attention to their spiritual side have lower rates of cardiovascular disease, depression, stress and suicide and their immune system seems to work better.” (Buettner at 288)
- Make Family a Priority — Centenarians in the Blue Zones “tended to marry, have children, and build their lives around that core. Their lives were imbued with familial duty, ritual, and a certain emphasis on togetherness.” (Buettner at 290-91) “By the time centenarians become centenarians, their lifelong devotion produced returns: Their children reciprocate their love and care. Their children check up on their parents, and in four of the five Blue Zones, the younger generation welcomes the older generation into their homes. Studies have found that elders who live with their children are less susceptible to disease, eat healthier diets, have lower levels of stress, and have a much lower incidence of serious accidents.” (Buettner at 291) Another study found that elders who live with their families had much sharper mental and social skills.
These are not isolated factors, but tend to go hand in hand. For example, moving more, faith in God or a higher power and close relationships with family all help to relieve stress. I highly recommend reading the stories of fascinating centenarians from around the world and I think you will be inspired to adopt a longevity lifestyle too.
Buona Pasqua! A blessed Easter to you and yours. I hope you each enjoy this special time with nourishing and delicious food and, just as importantly, make the time to nourish your body, mind and soul by connecting with your faith, family, friends and getting outside to enjoy God’s beautiful creation.
XOXO,
Kristi

Paleo Carrot Cupcakes (gluten free, dairy free, refined oil & sugar free)
Ingredients
- 1 ripe banana mashed well with a fork (1/2 cup)
- 4 oz. unsweetened organic applesauce
- 1 c. grated carrots I have also used pulp from my carrot, orange and ginger juice
- 1 c.
- almond butter
- 1/4 c.
- coconut oil
- , melted I put a glass jar in the oven while it preheats to melt the coconut oil
- 3 eggs
- 4 T
- pure maple syrup
- 2 tsp. vanilla
- 1 c.
- almond flour
- 1 tsp.
- baking soda
- 1 tsp.
- sea salt
- 2 tsp. cinnamon
- 1 tsp. nutmeg
- 1/2 c. golden raisins optional add-in
- 1/2 c. chopped walnuts optional add-in
- Dairy Free Maple "Butter"Cream Icing
- 1 c.
- Nutiva Shortening
- I have also used 1/2 c. coconut oil and 1/2 c. palm shortening
- 1 tsp. vanilla
- 1/2 c. pure maple syrup
- 2 to 3 cups powdered sugar
Instructions
- Preheat oven to 350 degrees and grease or line muffin tins to hold 18 muffins.
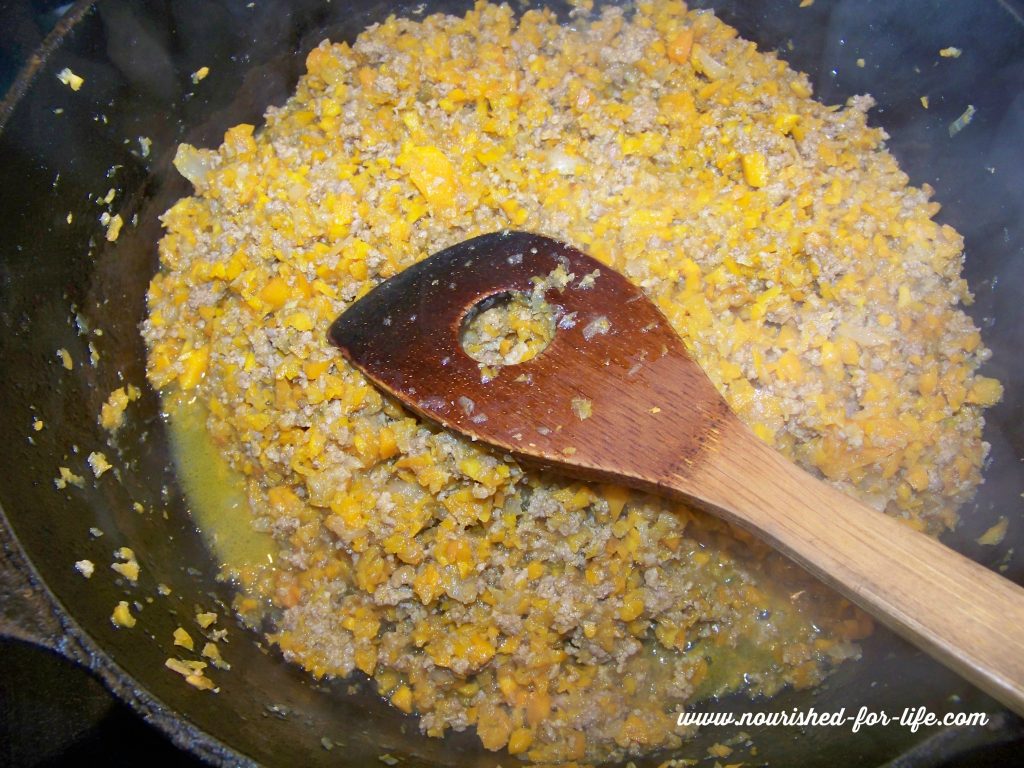
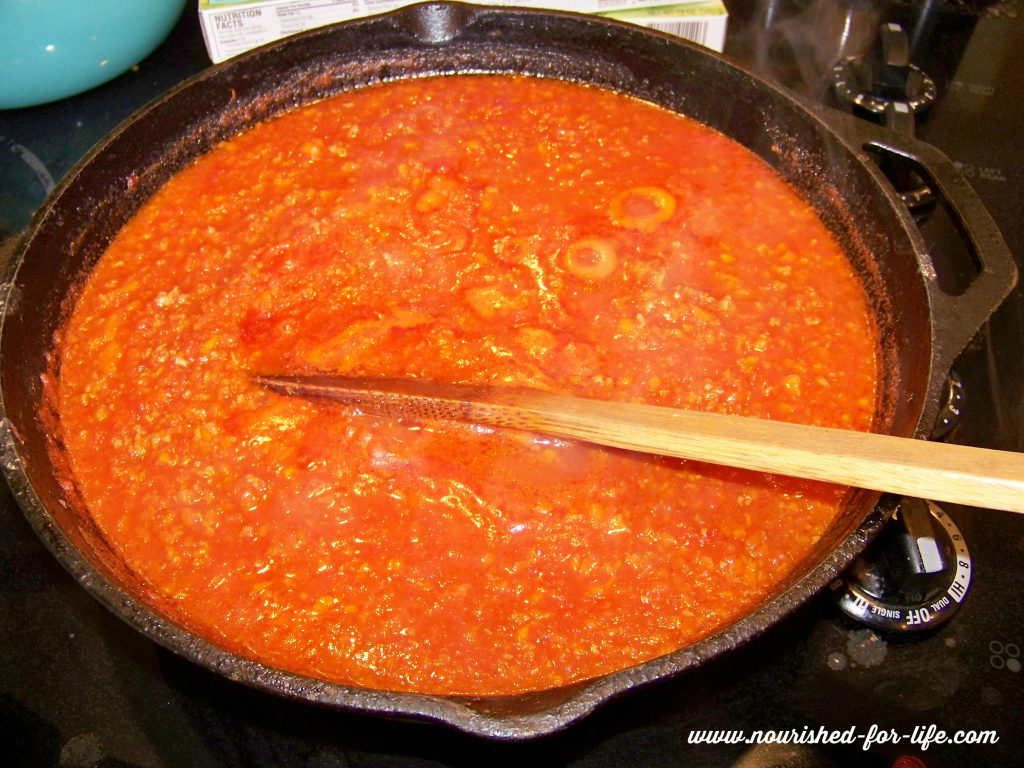
- In a medium bowl, stir together all ingredients in the order listed. Add the golden raisins and walnuts if desired. Mix until well combined.
- Scoop batter into greased or lined muffin pan, filling each cup 3/4 of the way full.
- Bake at 350 degrees for 20-25 minutes, or until cupcakes are golden and baked through. Cool completely.
- While cupcakes are cooling, make the icing. Combine the shortening and 2 cups powdered sugar in the bowl of your stand mixer, fitted with the paddle attachment. Add maple syrup and vanilla and mix well. Mix until combined, adding more powdered sugar as needed to achieve the desired consistency. Ice completely cooled cupcakes and enjoy!


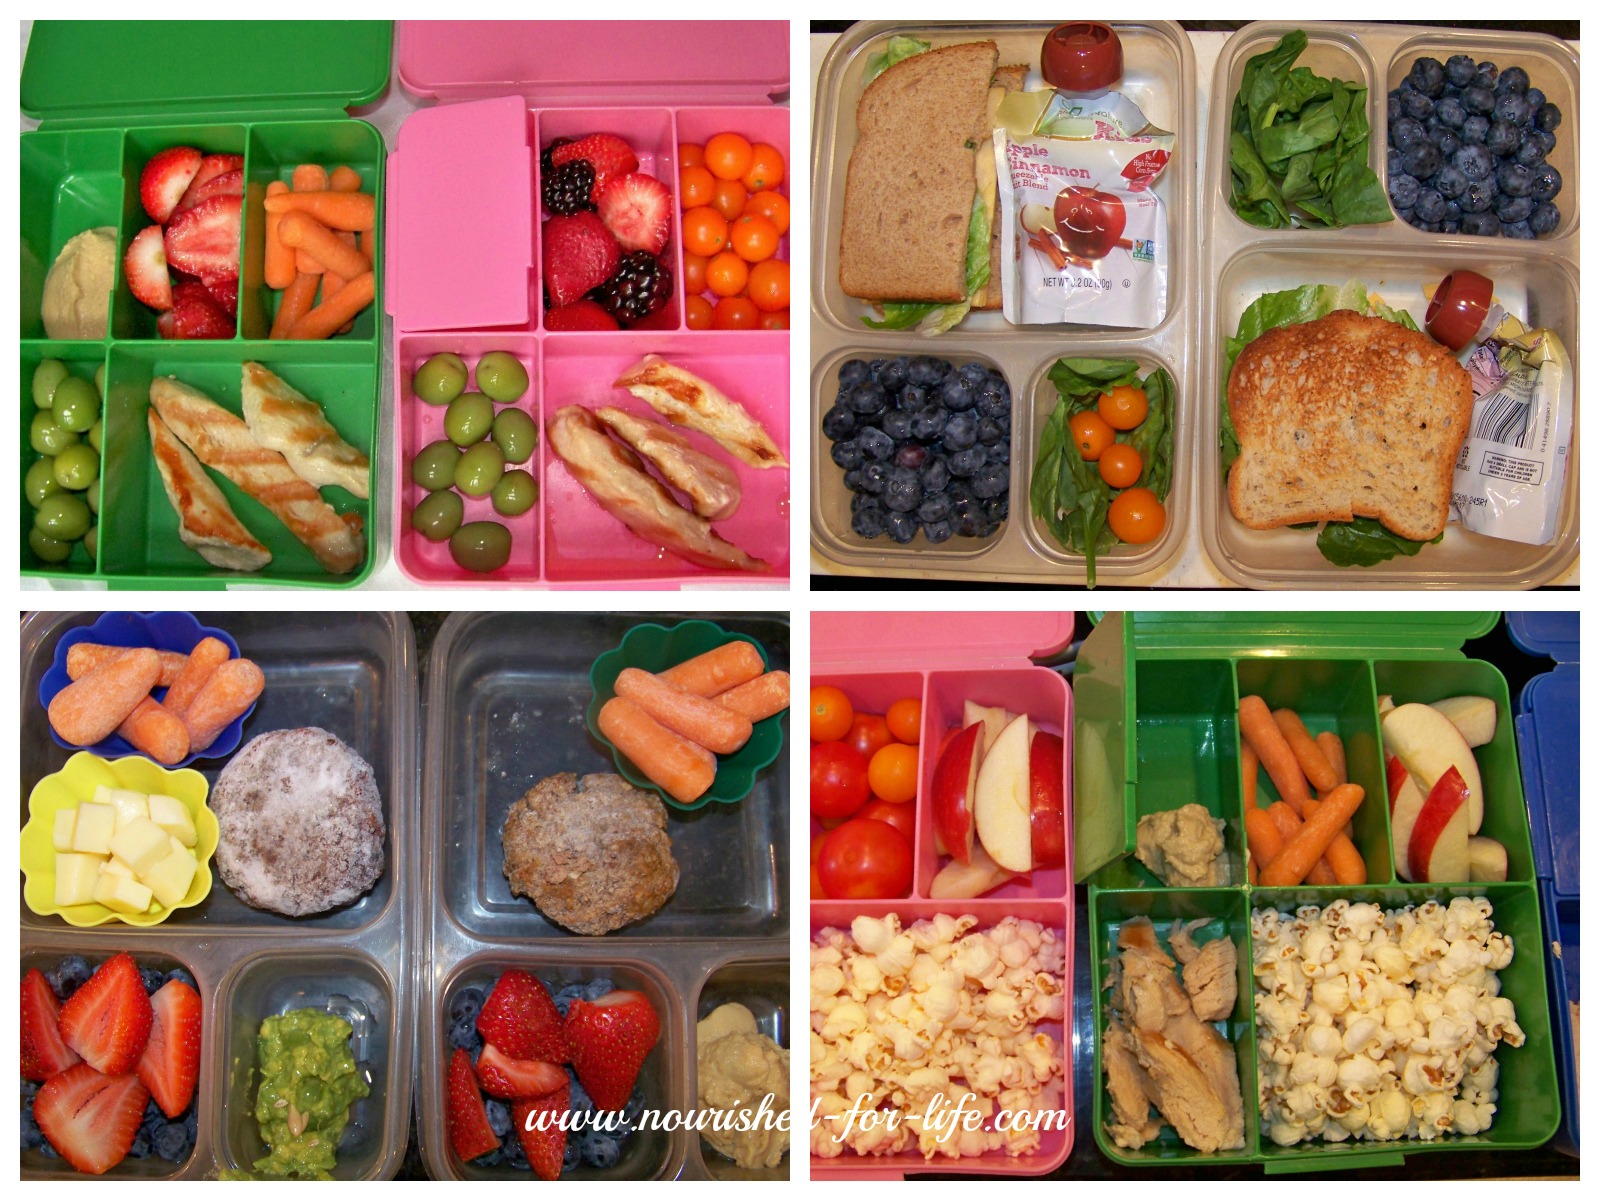
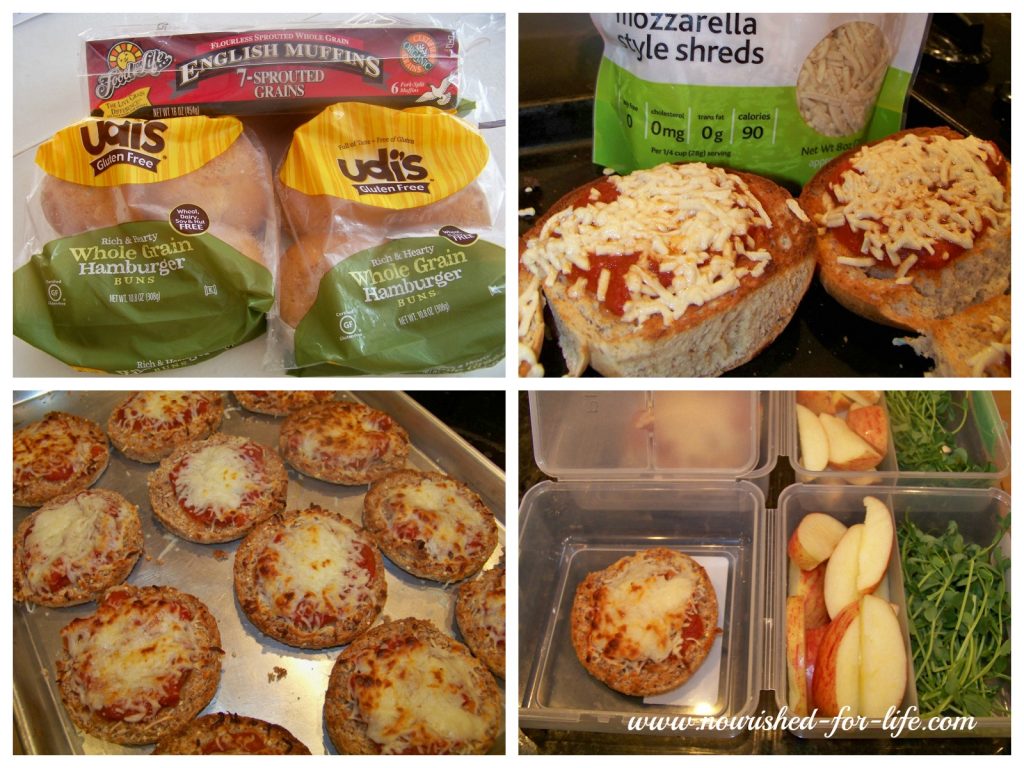
 I recently read about a 2014 study that found home packed school lunches, as a whole, included more sugar, calories and unhealthy fats had lower nutritional value than school lunches. Wow! If this is true, we have some serious work to do, fellow lunch packing parents! I’ll admit packing school lunches is not my favorite activity. But it’s really important to me to feed my family foods that nourish their bodies and minds and we also have multiple food allergies, so its a necessity for us.