Double Chocolate Buckwheat Waffles

You all know I love my chocolate, and I also love buckwheat. And these Double Chocolate Buckwheat Waffles, well, they’re pretty magical!

So when my son and I went on a date to a local coffee shop where they sell the most amazing gluten free, chocolate waffles (warm chocolate-y goodness that reminded me of my Buckwheat Brownies) we had to come home and try to recreate them.

After trying out the few recipes I found on Pinterest, none of them were really what we were looking for. So we started experimenting. At least a dozen batches later, my tasters finally said this one was the winner. It’s not quite Honey + Moon’s chocolate bubble waffles (which I highly recommend trying if you’re local), but they’re just as delicious! We don’t have a bubble waffle iron, but if you do please try these out in it and let me know what you think.

Double Chocolate Buckwheat Waffles

If you’re interested in some of the healthful properties of buckwheat, you can read more about that (and get the recipe for Matteo’s Buckwheat Pancakes) here.

Or just dive right in to making these! They’re part healthy breakfast, part dessert, and 100% delicious. They will make the perfect Valentine’s Day breakfast for all of your loves!

XO,

Kristi

Double Chocolate Buckwheat Waffles (gluten free, dairy free, refined sugar free)

Delicious, healthful, chocolatey goodness in these gluten, dairy and refined sugar free waffles. Egg free/vegan option.
Calories: 2093kcal

Ingredients

  • 1 1/2 cups Buckwheat flour
  • 3/4 c. raw cacao (I like Navitas Organics Raw Cacao)
  • 1 tsp. unrefined sea salt
  • 1 tsp. baking soda
  • 1 tsp organic cinnamon (optional)
  • 1 1/2 c. vegan "buttermilk" (1 T apple cider vinegar or lemon juice + unsweetened, unflavored almond milk, or your favorite plant based milk, to fill a 1-1/2 cup liquid measure; let sit for a few minutes to sour)
  • 2 farm fresh or organic eggs
  • 1/2 c. pure maple syrup
  • 2 tsp vanilla extract
  • 1/2 c. melted coconut oil
  • 1 c. Enjoy Life Dark Chocolate Morsels

Instructions

  • Whisk together dry ingredients in a mixing bowl.
    In a separate bowl, whisk together the buttermilk, eggs, maple syrup & vanilla. Stir buttermilk mixture into the dry ingredients, then add the coconut oil. (This prevents the coconut oil from solidifying if your milk and eggs aren't at room temperature.) Stir until well combined.
    Stir in the chocolate chips. Let the batter sit for a few minutes for the buckwheat to absorb the wet ingredients and the batter to thicken up a bit, If your batter is too thick, add a tiny bit more almond milk. Meanwhile, heat your waffle iron.
    When waffle iron is hot, scoop about 1 cup of batter onto your waffle iron and cook according to your waffle maker's directions. With my waffle iron, the indicator light comes on well before the waffles are actually done. I found setting a timer for 4-5 minutes worked perfectly. If your waffles don't come cleanly & easily out of the waffle maker, you probably need to cook them longer.
    Carefully remove waffles from waffle maker, place on a plate, and keep warm in a 200 degree preheated oven, if desired, while you make the rest of the waffles.
    We enjoy these waffles plain or with berries or banana slices. Feel free to serve with pure maple syrup if you wish! These will keep well in a zip lock baggie for 2-3 days (although I can't say any of ours have lasted that long!) or they freeze well. To reheat, place on a sheet pan and warm in the oven or pop in the toaster.
    Enjoy!!    

Notes

MAKES APPROX. 6 FULL SIZE WAFFLES (24 QUARTERS) OR 9-12 SERVINGS
You can substitute an equal amount of coconut palm sugar in place of the maple syrup if you prefer. I've tried both and it works great.
I haven't tried this recipe with flax eggs, but I think it would work fine for a vegan/ egg free version. If you try it, please let me know!
I'm a dark chocolate girl, so I love the dark chocolate morsels, but we also tried this recipe with Enjoy Life milk chocolate mini chips and they work just fine too.

Buckwheat Brownies

Happy Monday, friends!

As we head into this hectic holiday season I have to confess, I am already worn out! In the past three weeks we have had Halloween (thankfully the kiddos all took it pretty easy on me on their costumes), celebrated 4 birthdays, the end of the soccer season, wrestling, hours of Nutcracker rehearsals, a traveling husband, a teething toddler and then said toddler also had a cold (which means neither toddler nor mama have slept much in the past couple of weeks).

I can only imagine how poorly I would be functioning right now if I wasn’t fueling my body with real whole foods. During these especially hectic and sleep deprived phases of life, we need the nourishment that comes from plants even more. Which is why I take my Juice Plus religiously and do my best to get my green smoothie in every single day, even when I am so tired I can barely see straight. The phytonutrients from all of those fruits and vegetables provides more nourishment and sustained energy for my body than all of the caffeine in the world ever could.

But, after all of that talk about plant nutrition, I hope you will forgive me for sharing a brownie recipe today. Because once in a while we need chocolate too, don’t we?

Buckwheat Brownies

My son has been gluten and dairy free for six years now and his baby sister and I have since joined him. In the last six years I have tried a LOT of brownie recipes. When I bake, I like to use the most healthful ingredients I possibly can. But I have to be honest–the recipes I’ve tried with black beans and other mystery ingredients just don’t cut it for me. Neither have any of the other gluten and dairy free variations I’ve tried, whether healthy or not. None have ever measured up to the perfectly moist, rich, chocolatey, chewey not cakey, dense but not too dense, gooey but not too gooey brownie I have in my head.

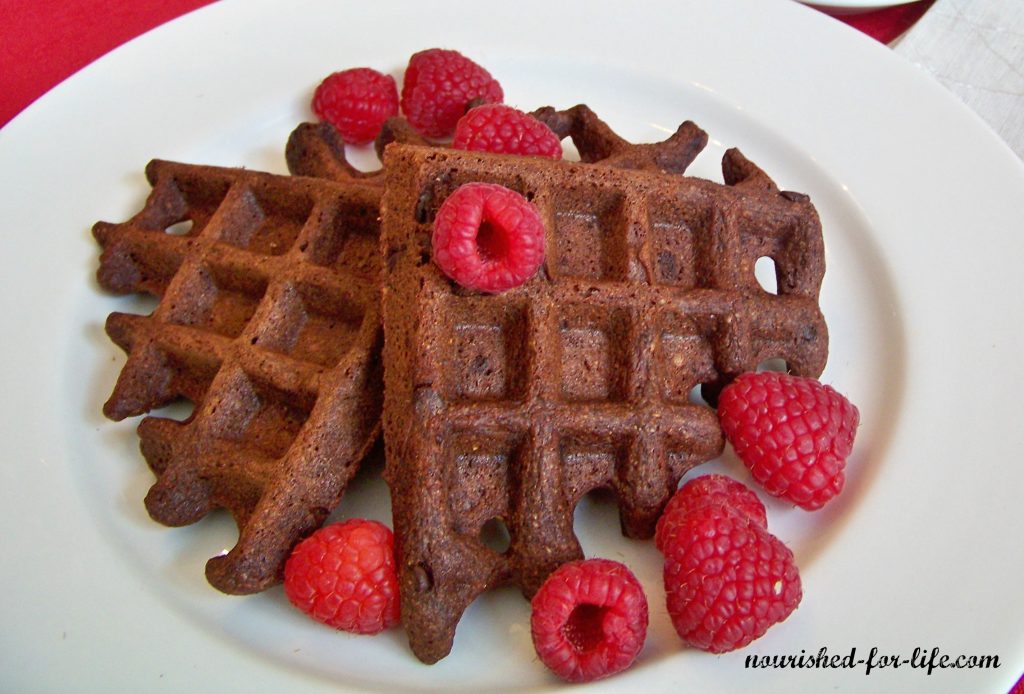
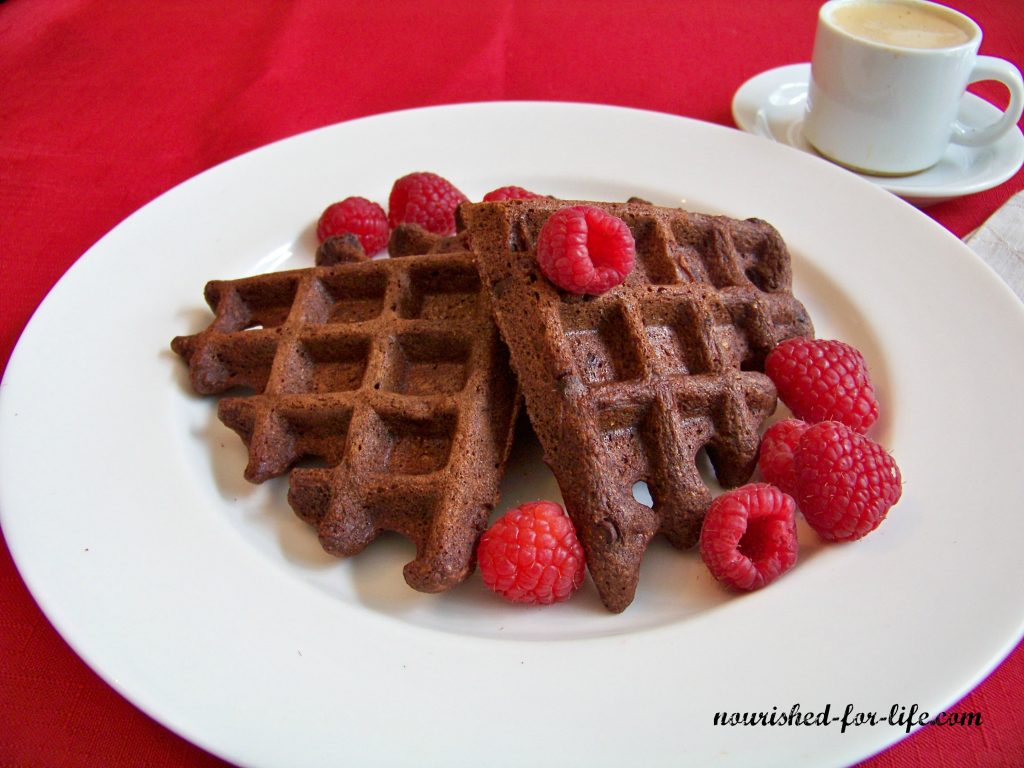
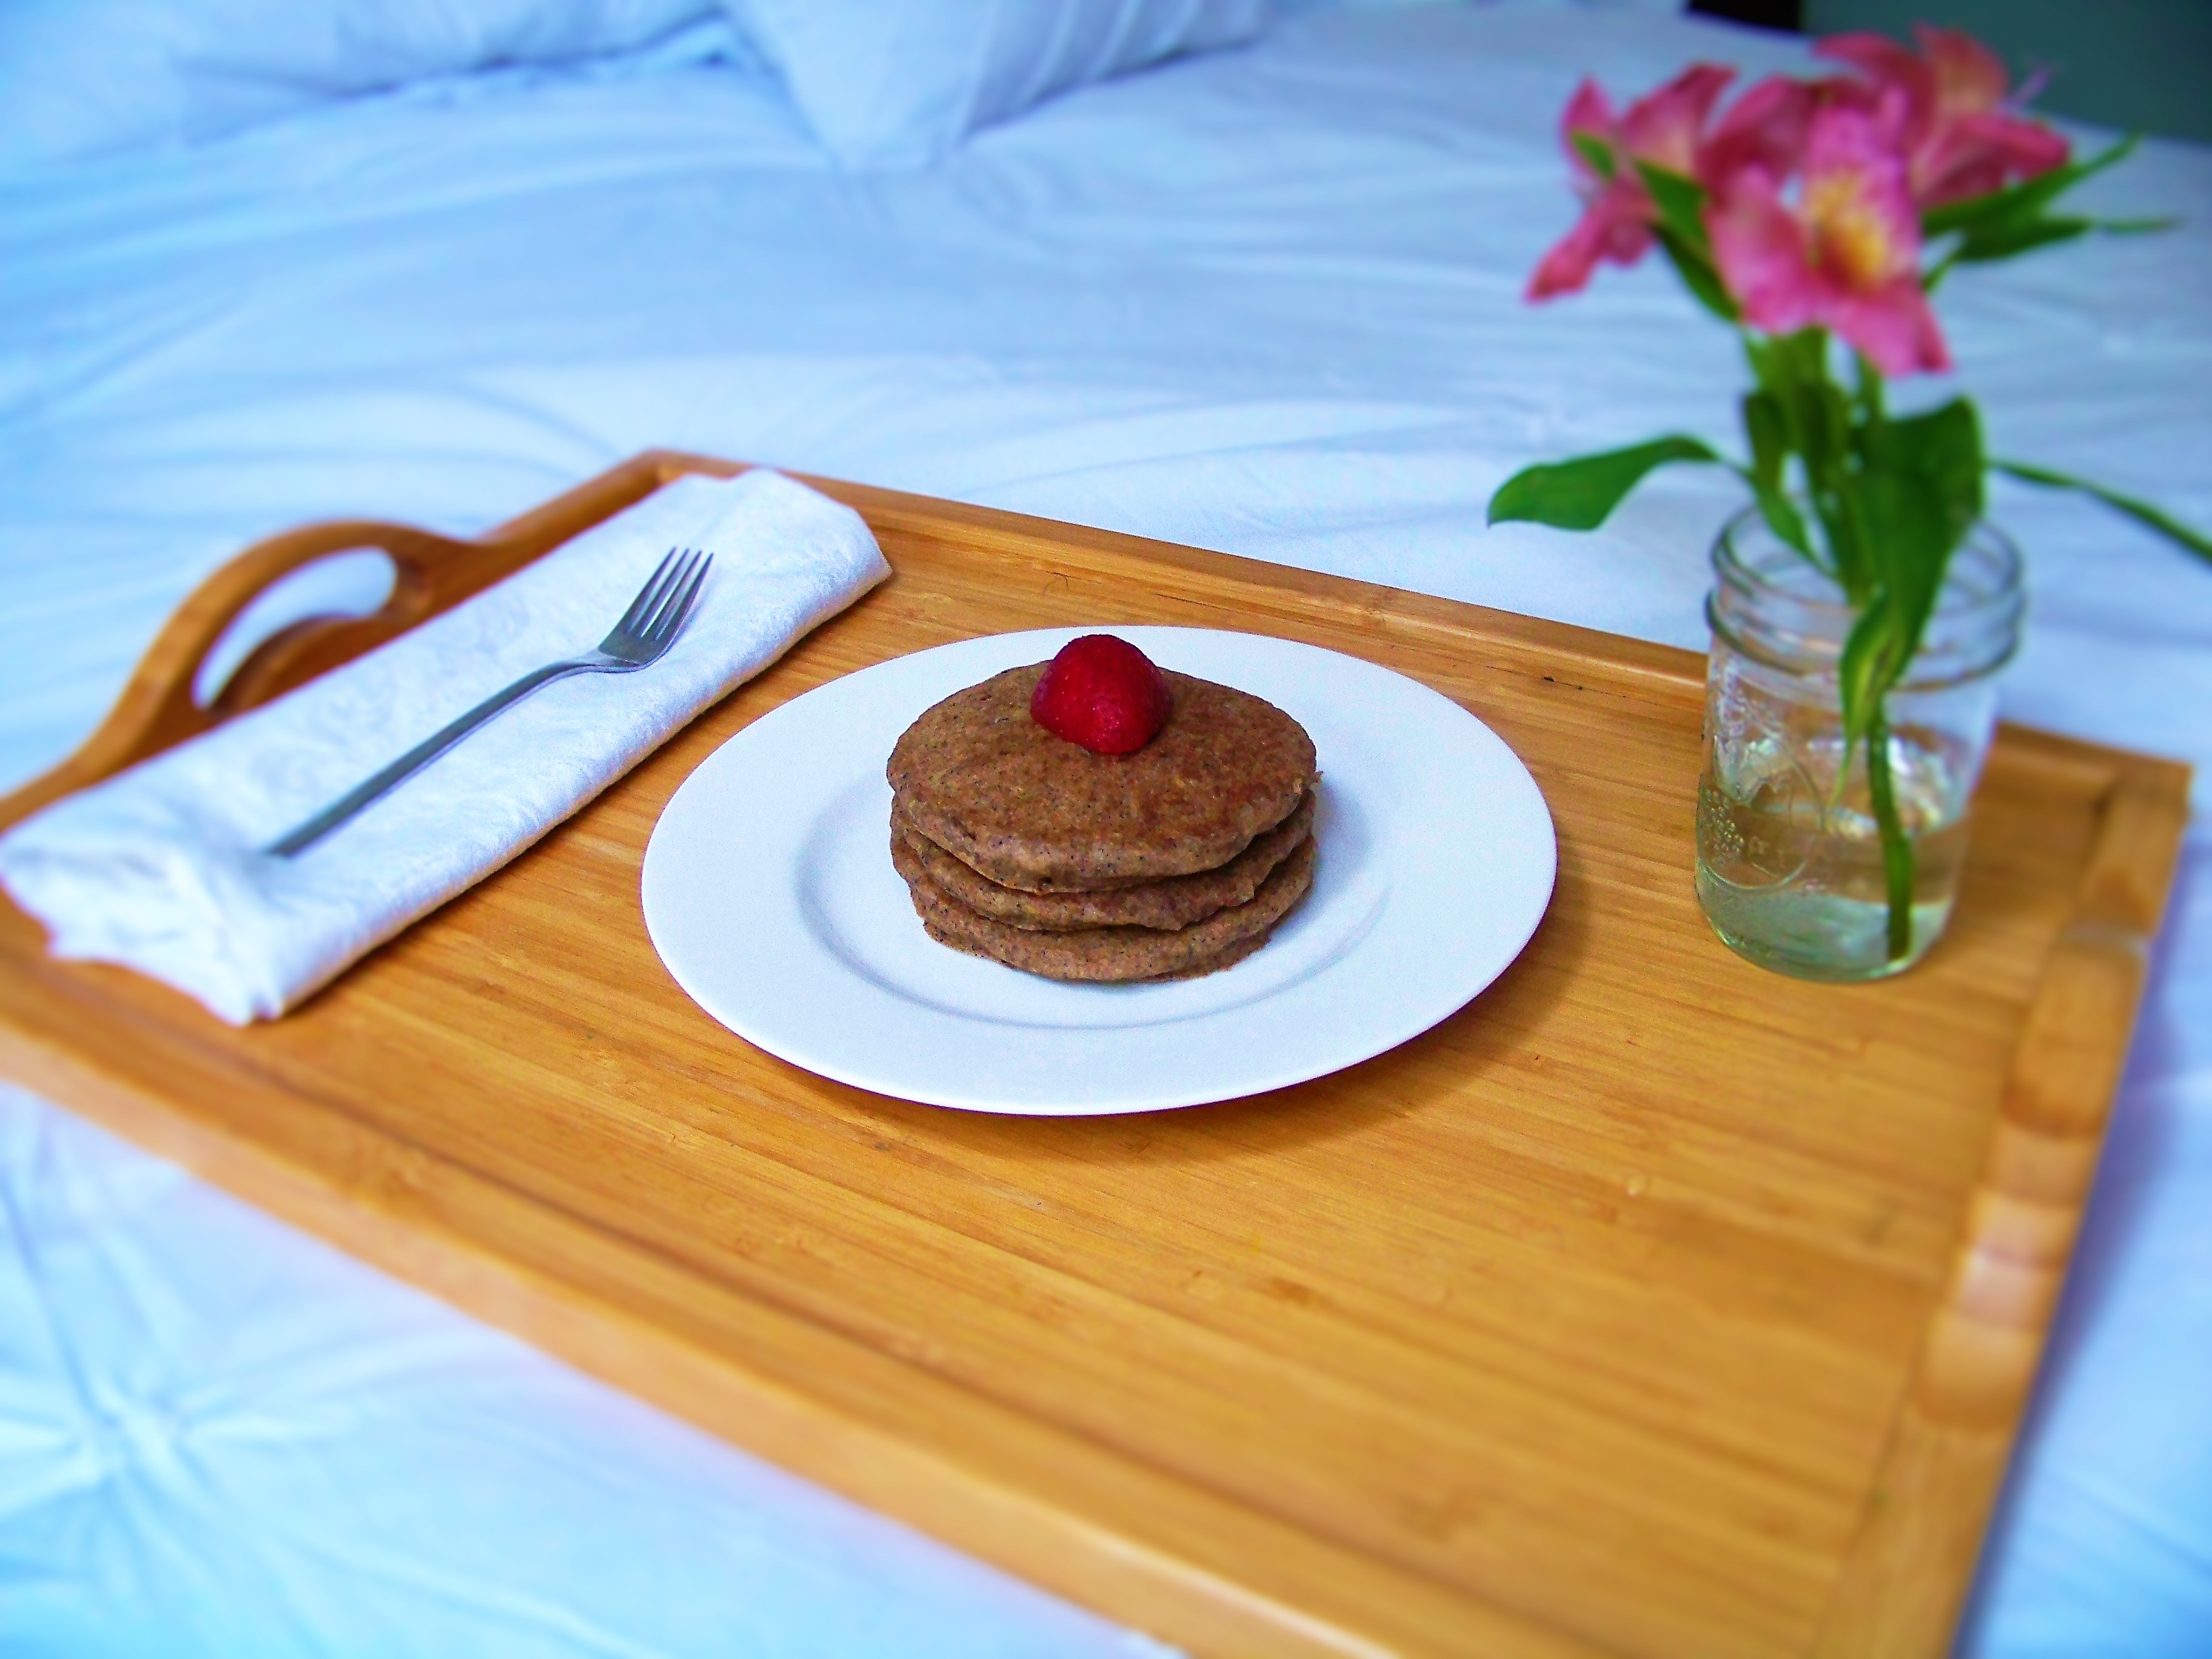
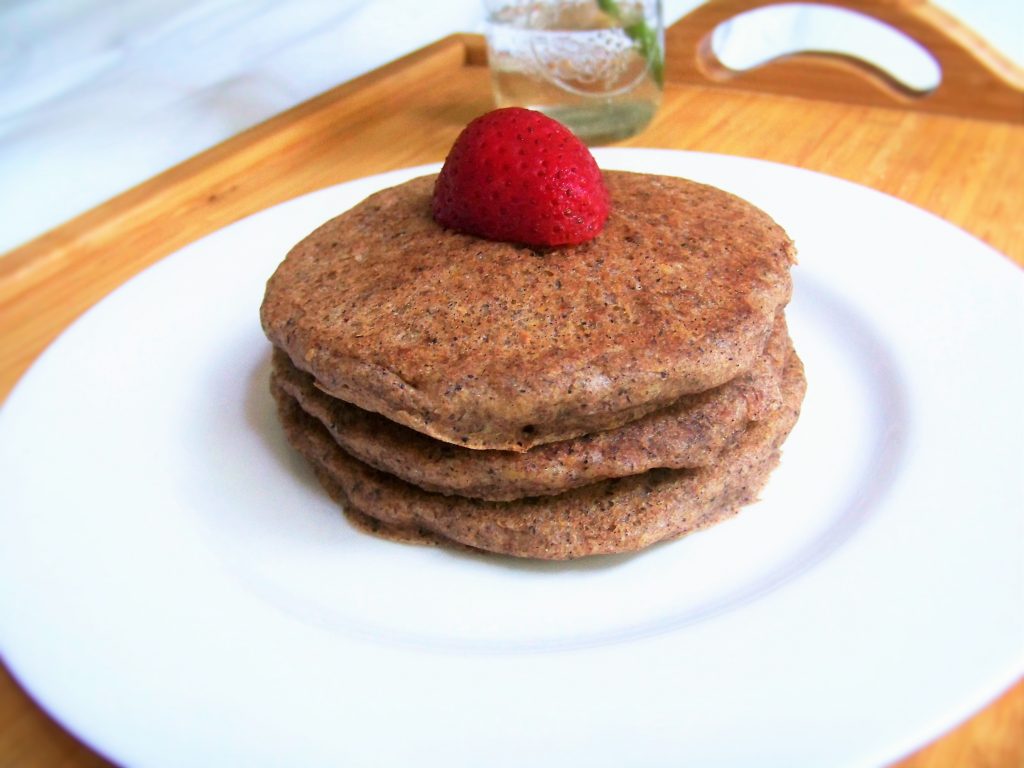
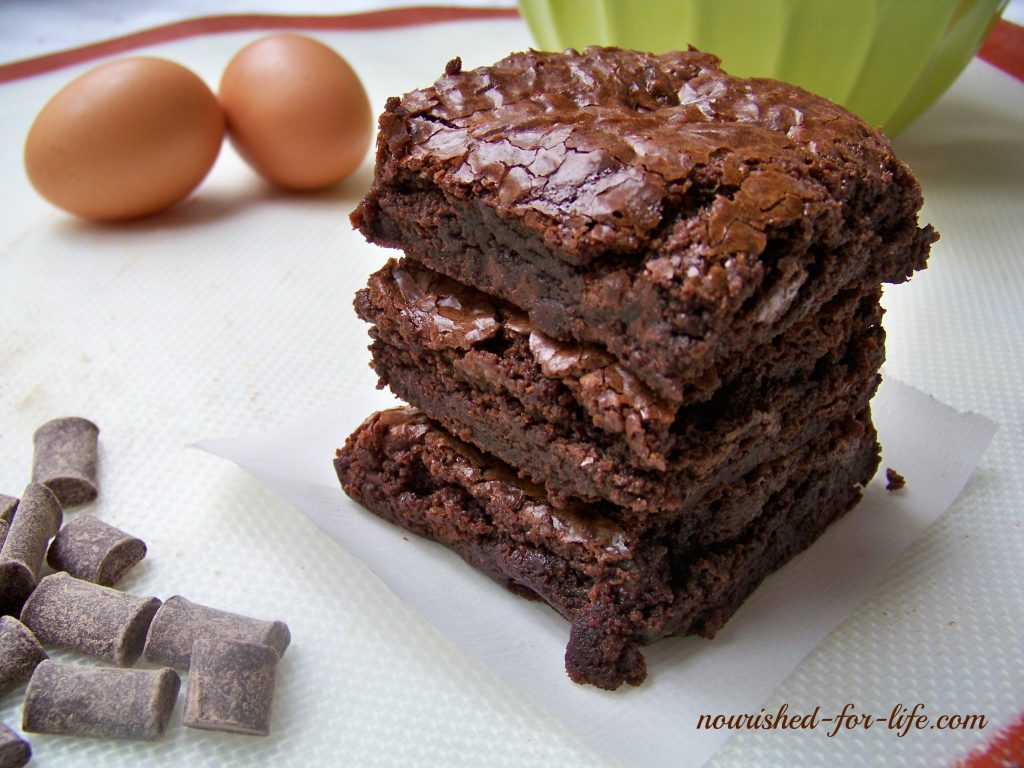
That is, until these. It turns out buckwheat–one of my favorite flours–is the perfect solution! You can read more about the health benefits of buckwheat (and get our favorite pancake recipe) here. No one will ever know these brownies are gluten free unless you tell them. They are moist, amazing, and unlike many gluten free baked goods they stay moist and keep well (tightly wrapped) for up to a week.

Buckwheat Brownies

I use Nutiva coconut sugar, which is still sugar and should only be eaten in moderation as a special treat. But it is more healthful than conventional white sugar, which is heavily processed, bleached and almost always made from GMO sugar beets. Nutiva’s coconut sugar is organic and non-GMO. It is unrefined, which means that unlike white sugar which is completely empty calories devoid of any nutrition, coconut sugar retains some small amounts of nutrients from the coconut. According to Vani Hari, the Food Babe, coconut sugar has 10,000 times the potassium, 20 times the magnesium and 20 times the iron of conventional white sugar. It also contains inulin fiber, which slows the absorption into the blood stream. It also has just over half of the glycemic load of white sugar, which helps you avoid that blood sugar/insulin spike and crash.

I also like baking with Nutiva Shortening, which is a blend of coconut oil and red palm oil. Both are naturally solid at room temperature (so no hydrogenation, the process which turns Crisco shortening and margarine into toxic trans fats), minimally processed, healthful fats. It makes a close to perfect substitute for butter. But if you can have dairy, real organic butter works great here too.

Buckwheat Brownies

I may have mentioned it before, but its worth repeating: When baking with gluten free flours, use a scale! Baking by weight is so much more accurate than volume and allows you to substitute flours or make adjustments to a recipe with a lot more success!  You can buy a good, inexpensive scale from Amazon. I have this one.

Buckwheat Brownies

You may be wondering why a health coach who preaches the evils of sugar is sharing a brownie recipe. But I love chocolate and I’m completely fine with an occasional treat when it’s made with the most healthful ingredients possible.

My personal rules for sweet treats and desserts (that I follow most of the time) are:

1) Make them out of the most healthful ingredients I can (and avoid artificial colors, flavors & sweeteners, high fructose corn syrup, trans fats and unpronounceable preservatives and additives as much as humanly possible).

2) Enjoy sweet treats after a healthy meal, never on an empty stomach. This helps to avoid the blood sugar spike & sugar headache I get from eating sweets on an empty stomach. And if I have already enjoyed a satisfying meal, one treat should be sufficient to satisfy my chocolate or sweets craving.

3) When you eat a sweet treat, make it a good one and enjoy it mindfully. I try not to eat treats that aren’t worth it and I never eat them on the run. It’s so easy to get in the habit of grabbing something to munch on anytime you walk by the pantry or as you sit in the car or at your desk. Try to get out of the habit of mindless snacking. This will make a huge impact on your health. Choose your snacks wisely–fruits and vegetables as much as possible, and when you do choose to eat a sweet treat, sit down and savor every bite!

Buckwheat Brownies

Enjoy and Happy Thanksgiving, friends! I hope you are all surrounded by loved ones this week and take the time to count your blessings! I am thankful for YOU and for the commitment you make to your health and the health of your family with the choices you make every day!

XOXO,

Kristi

Best Ever Buckwheat Brownies (gluten, dairy & refined sugar free)

No one will know these moist, amazing brownies are free of gluten, dairy and refined sugar and are made with nutrient dense buckwheat flour.
Prep Time10 minutes
Cook Time22 minutes
Total Time32 minutes
Servings: 16 Brownies
Calories: 10426kcal

Ingredients

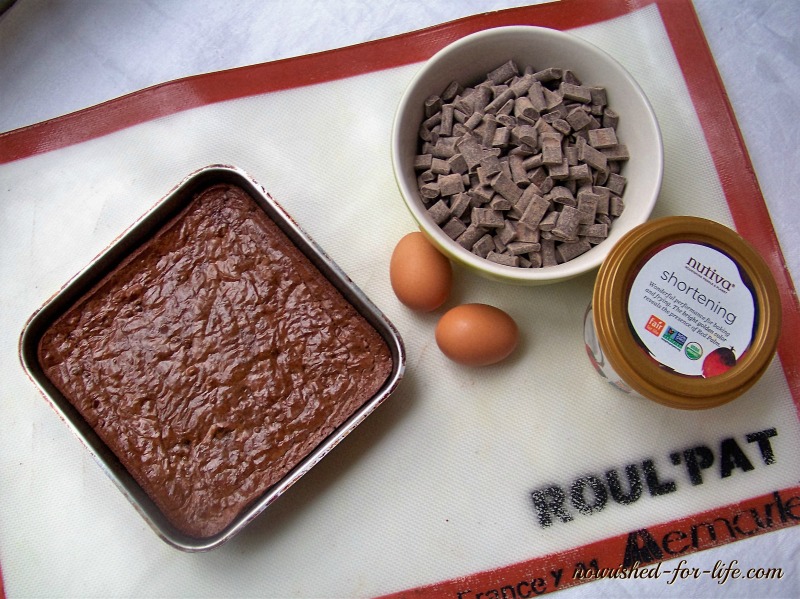
  • 6 oz. Enjoy Life semi-sweet chocolate chunks (or 5 oz. Enjoy Life dark chocolate morsels)
  • 8 (Approx 175 g) T. Nutiva shortening (or organic butter, if you can have dairy)
  • 1 c. Nutiva coconut sugar
  • 2 farm fresh eggs
  • 1/2 tsp. Vanilla extract
  • 87 g approx. 2/3 c. Buckwheat flour
  • 1/2 tsp. Baking Soda
  • 1 tsp. Sea salt
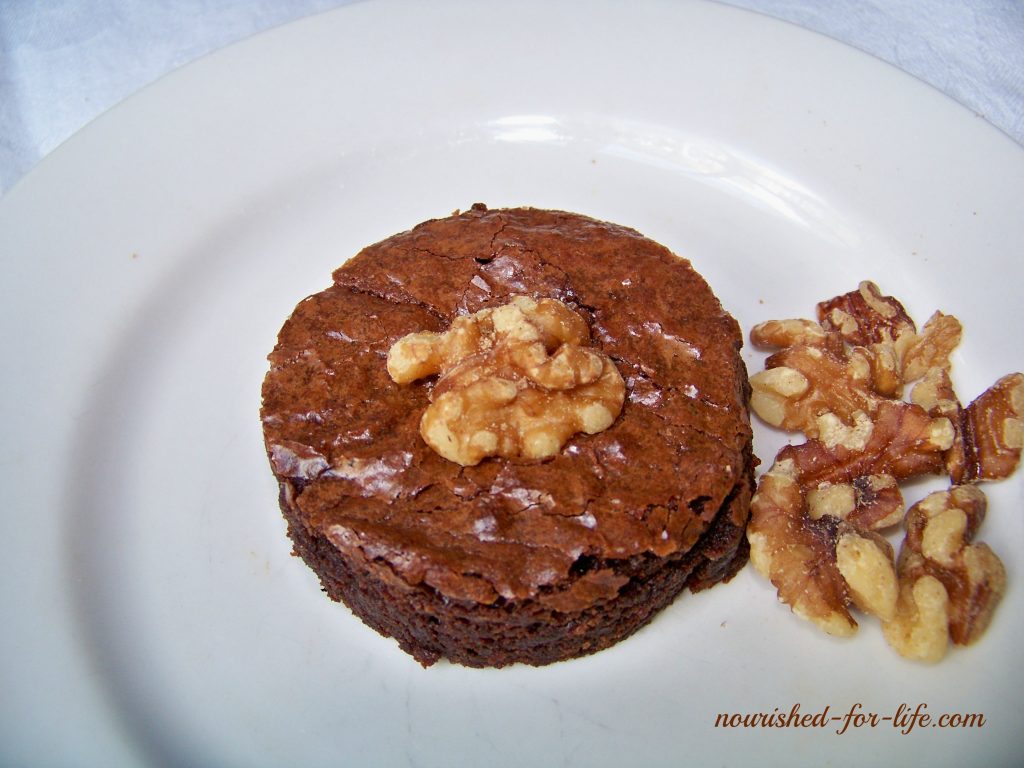
  • 1/2 c. Enjoy Life chocolate chips or chopped walnuts optional add-ins

Instructions

  • Pre-heat oven to 325 degrees. Grease a 9 x 9 baking pain.
  • In a double boiler over medium high heat (or in a heat-proof bowl sitting over a saucepan with an inch or two of water in it) melt the chocolate and shortening and stir together. Let cool and then whisk in the coconut sugar. Whisk in the eggs, one at a time, making sure they are completely incorporated. Then add vanilla.
  • In a separate bowl, whisk together the buckwheat, baking soda and sea salt.
  • Add the flour mixture to the chocolate mixture and stir until combined.
  • Stir in the chocolate chips or walnuts, if desired,
  • Smooth batter into prepared pan and bake a 325 degrees for 20-22 minutes. Do not overbake! If you use a glass or an 8x8 pan you may have to adjust the baking time a bit. Let baked brownies cool and enjoy!
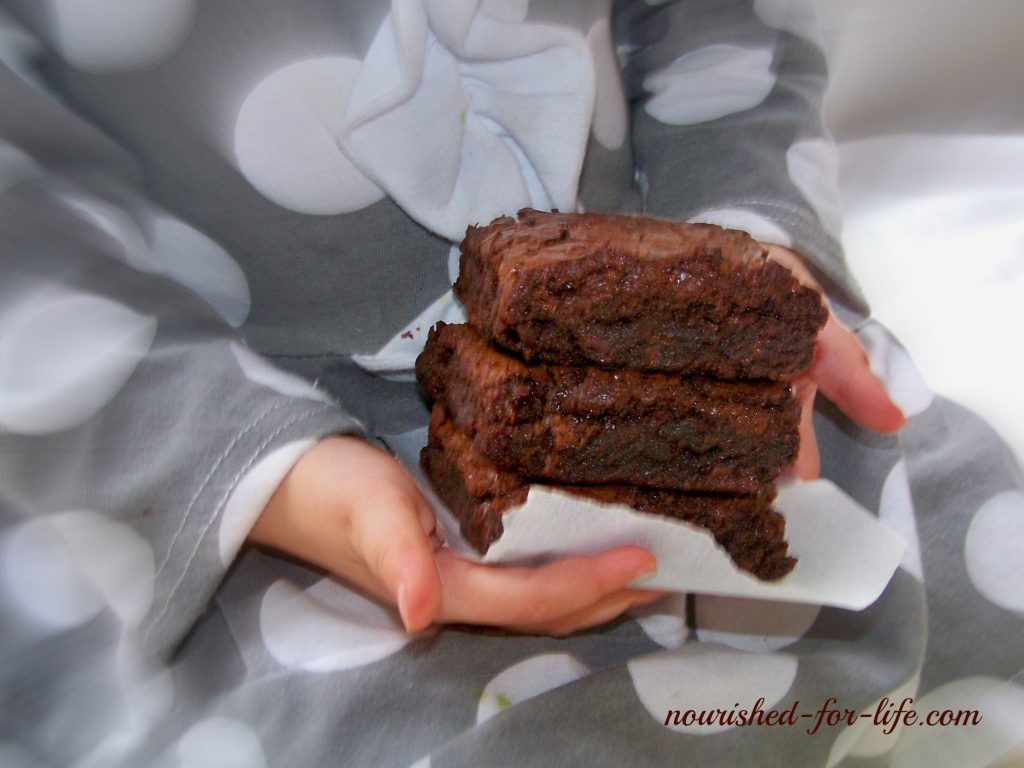
  • These brownies keep well, wrapped tightly, for several days and up to a week or freeze well for several months.

Notes

*I'm usually a dark chocolate girl, but I actually prefer semi-sweet chocolate in these. If you want a lighter brownie with a bit of a caramel taste, cut back to 5 oz of the semi-sweet chunks. If you like a darker chocolate brownie, by all means use the dark chocolate morsels instead.
**If you don't use Enjoy Life chocolate chips (which I highly recommend!) please use a good quality chocolate. It really does make all the difference in these brownies. I've tried them with a common grocery store brand of chocolate and they were just not the same.
***I honestly can't decide whether I like these better with chocolate chips or walnuts. So you choose! They're delicious either way!

Matteo’s Buckwheat Pancakes

Five years ago when my son Matteo was diagnosed with intolerances to gluten, dairy and soy, I had a really steep learning curve. For the longest time we lived on clean meat, fruit, vegetables and rice while I tried to learn how to cook and bake with our limitations. In the end, we’ve adjusted quite well and our whole family is healthier for it. Aside from eating a lot more fruits and vegetables (did you know we should all eat at least 9 servings of fruits and vegetables a day?) we’ve learned to enjoy quinoa, buckwheat and a variety of nutrient dense grains, seeds and other whole foods.

Buckwheat isn’t actually wheat at all, or even a grain. It’s an incredibly nutrient dense fruit seed with over 80 vitamins, minerals and phytonutrients including manganese, copper, magnesium, phosphorus and folate. It is low glycemic and high in protein, fiber and antioxidants. Among its many health benefits, buckwheat has been found to help reduce inflammation and lower unhealthy LDL cholesterol, blood pressure and blood glucose levels. It’s a great alternative for those with celiac or gluten sensitivities and a good source of protein for vegetarians and vegans. But you should add buckwheat to your diet even if you aren’t vegetarian and don’t avoid gluten. Especially these pancakes.

Buckwheat Pancakes

These buckwheat pancakes were one of my first successful efforts in the world of gluten free baking so it seems fitting the recipe should be part of my first blog post. There was a time when Matteo would eat them two (or even three) times/day. They’re that good. Kid and in-law approved. The recipe is very forgiving and endlessly adaptable. If you’re used to white buttermilk style pancakes, try substituting unbleached all-purpose flour (or your favorite all-purpose gluten free blend) for one-third to one-half of the buckwheat flour and gradually increase the buckwheat as you acquire a taste for it.

Buckwheat Pancakes

Serve them with 100% real maple syrup (none of that fake artificially flavored corn syrup stuff please!!) And whatever you do, don’t skip the cinnamon and orange extract. Trust me on this one. Cinnamon has many healing properties, and cinnamon and orange are fantastic together and in combination with real maple syrup.

I’ve made several dozen batches of these pancakes in the last week to photograph. As I sorted through all of the too dark, too light or mis-shaped pancakes looking for the perfect ones I decided these aren’t picture perfect, food stylist pancakes.  They’re better. Thick, hearty, nutrient-dense, delicious, four-hungy-kids-waiting-impatiently-for-their-breakfast pancakes. No need for perfection. Your hungry family will love them just as much as mine does.

Buckwheat Pancakes

Matteo’s Buckwheat Pancakes

Ingredients

  • 6 oz. approx. 1-1/4 c. buckwheat flour
  • 2 oz. 1/2 c. ground flaxseed (flax meal)
  • 1 tsp. Baking powder
  • 1/2 tsp. Baking soda
  • 1 tsp. Sea salt
  • 1 tsp. Cinnamon
  • 2 eggs at room temperature* (or flax gel for vegan option, see note below)
  • 4 oz. 1/2 c. Melted coconut oil (applesauce also works well as a substitute in this recipe, it will just make your pancakes a bit cakier)
  • 1 tsp. Vanilla extract
  • 1 tsp. Orange extract
  • 8 fl.oz. 1 cup almond or coconut milk, at room temperature*
  • 1 Tbsp. Apple cider vinegar

Instructions

  • Mix milk and Apple cider vinegar and let it sit for a few minutes.
  • Whisk together dry ingredients. In a separate bowl or a large measuring cup, mix wet ingredients together. Then add to dry ingredients and stir until combined. These are fairly thick and hearty pancakes. If you like your pancakes thinner, feel free to add a bit more almond milk or water to the batter.
  • Lightly oil your pancake pan and warm it over medium-high heat. Cook pancakes 3-5 minutes per side, flipping to the second side when you start to see a few bubbles form.
  • Serve with 100% real maple syrup.