I hear a lot of questions about salad dressing, and with good reason. Bottled salad dressings are typically filled with highly questionable or downright harmful ingredients like highly processed GMO oils, sugar or high fructose corn syrup, artificial flavors and chemical emulsifiers and preservatives.
I often dress my salad with a drizzle of flax or extra virgin olive oil and a squeeze of lemon juice or balsamic vinegar. You can find two of my favorite salads where I do just this here and here. For Mexican themed salads I love to use organic salsa or fresh homemade pico de gallo and guacamole in place of dressing.
But making your own dressing is quick and easy if you have a well stocked pantry and spice cabinet. Just follow a basic formula of 2-3 parts oil to one part acid (any variety of vinegar or citrus juice) and then experiment with adding herbs and spices to come up with your own favorites. (Technically, a vinaigrette is 3 parts fat, one part acid.) Save your old salad dressing bottles, spice or jam jars, or I like to use and re-use these very affordable salad dressing bottles from Amazon. There are other great options on Amazon as well.

Use minimally processed and health promoting oils like flax, coconut or extra virgin olive oil. Look for cold pressed or expeller pressed, organic oils.
Avoid processed “vegetable” oils including soybean, safflower, sunflower, cottonseed, peanut, canola and corn oil.
These grain or seed oils are highly processed processed and refined. Can you imagine the energy and effort it takes to extract oil out of a kernel of corn?! The oil is generally extracted from the seed or bean with high heat (which destroys any nutritional value and oxidizes the oil, turning it rancid and harmful to the human body) and toxic petroleum based solvents such as hexane, traces of which remain in the oil. Then the oil must be further chemically refined to eliminate undesirable smells, flavors and colors and make it palatable. Some of these oils go through an additional process called hydrogenation, to make them solid at room temperature and increase the shelf life. These hydrogenated oils (trans fats) are used in processed foods and sold as margarine or shortening.
Soybean, corn and canola oils are almost certainly from GMO crops (unless they are certified organic). These crops have been genetically modified to withstand exponentially higher quantities of the herbicide glyphosate (Roundup), which is an endocrine disrupter and “probable carcinogen”, according to the World Health Organization. Glyphosate kills everything except the genetically modified crop and then remains in our food.(1)(2)
We have been told by various adversory groups and the government’s own dietary recommendations to avoid saturated fats and replace them with polyunsaturated fats (PUFAs) instead. As a result, between 1909 and 2009, the consumption of PUFAs increased by 300%!(3) Soybean oil consumption alone has increased 1000-fold since 1900.(4) In 1999, at the turn of the millennium, soybean oil made up an astonishing 20% of calories consumed in the United States.(5) And this has turned out to be incredibly detrimental to our health.
In his book Eat Fat, Get Thin (which I highly recommend) Mark Hyman, MD, Director of the Cleveland Clinic Center for Functional Medicine, explains how this erroneous dietary advice occurred in the first place and details the studies that show diets high in PUFAs (in the form of hydrogenated oils/trans fats AND liquid vegetable oils) are among the leading causes in the epidemic of western diseases we now face including obesity, heart disease, diabetes & cancer.
One of the issues with the studies on which this dietary advice was based is that they didn’t differentiate between the two types of PUFAs–omega-6 fatty acids and omega-3 fatty acids. Omega-3 fatty acids fight inflammation and disease, while omega-6 fats fuel inflammatory pathways in the body.(6)
A healthful diet should include equal amounts of omega-6 and omega-3 essential fatty acids. The typical American diet now contains many, many more omega-6s than omega-3s. (7) Too many omega-6 oils in our diet promotes inflammation in our bodies(8)(9). Dr. Jospeh Hibbeln, a leading researcher at the National Institutes of Health, believes that the over-consumption of omega-6 fats and the underconsumption of omega-3 fats have led to increases in:
- cardiovascular disease
- Type 2 diabetes
- obesity
- metabolic syndrome (pre-diabetes)
- irritable bowel syndrome and inflammatory bowel disease
- macular degeneration (age-related blindness)
- rheumatoid arthritis
- asthma
- cancer
- psychiatric disorders and
- autoimmune disease (10)
Most Americans cook with these oils at home, eat them in restaurants, and they are found in almost every packaged, processed food we buy. Even commercially raised meat is high in omega-6s. Wild game and grass fed or pastured animals are high in omega 3-s, because the animals are consuming mostly grass and green plants. But since the Industrial Revolution, commercial farmers have been feeding animals grains and seeds high in omega-6s and low in omega-3s, rather than the animals’ traditional diets. This means even the meat most of us eat is high in omega-6s and very low in omega-3s.(11)
You can reduce your consumption of inflammatory omega-6 oils by changing the fats you cook with at home, avoiding processed packaged foods, avoiding fast food and being careful what you choose in restaurants and switching to meat from grass fed or pastured animals. Making your own salad dressing with healthful oils is also a good start to regaining the right balance of omega-6 and omega-3 essential fatty acids.
Making your own dressing is so easy and gives you endless flavor options with health promoting, real foods. Here are four of my go-to salad dressings, along with our favorite salad pairings. Try all of them and then experiment and come up with your own favorites!
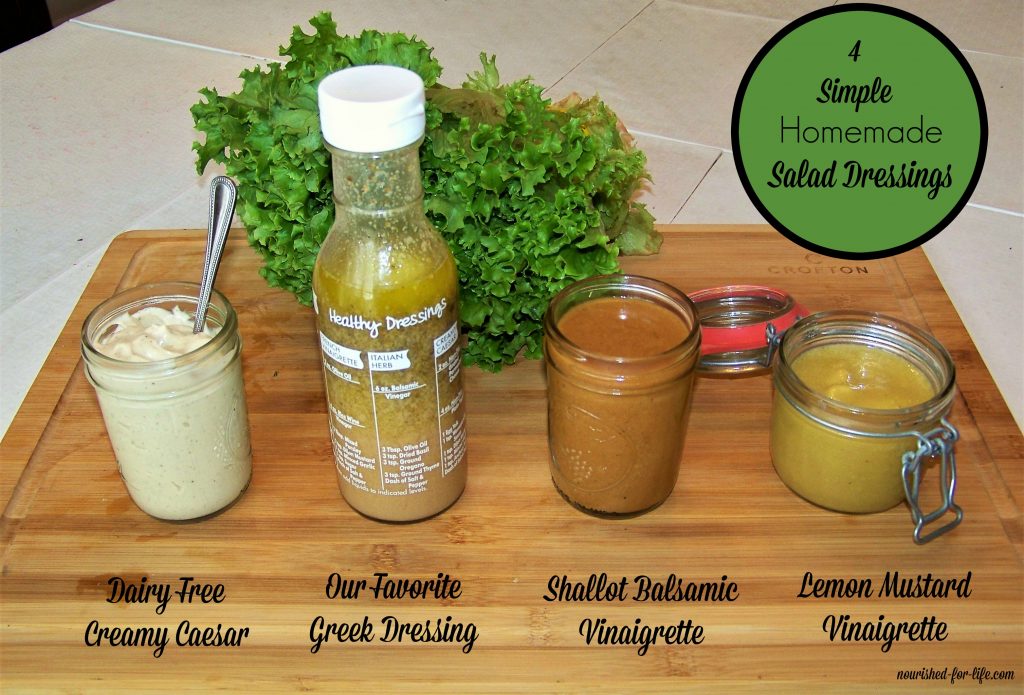
Greek Dressing
3/4 c. good quality extra virgin olive oil (I use California Olive Ranch)
1/2 c. Red wine vinegar (or Bragg’s apple cider vinegar)
2 tsp garlic powder
2 tsp onion powder
2 tsp dried oregano
1 tsp ground mustard seed
1 tsp black pepper
1 tsp good quality sea salt (I use Celtic sea salt or Redmond Real Salt)
Pour all ingredients into a glass jar or a 12 oz. dressing bottle and shake well. Refrigerate until ready to use.
Good quality extra virgin olive oil solidifies and turns cloudy in the refrigerator. This is one way you can tell whether your olive oil is pure and of good quality. In a study done a few years ago at UC Davis, the vast majority of EVOO tested was found to not actually be extra virgin or to be adulterated with lower quality processed oils. So when you’re paying for extra virgin olive oil for its health benefits, its good to confirm you actually have the good stuff! Just take it out of the refrigerator 15-20 minutes before you want to use it, or let the bottle sit in a bowl of warm water for a few minutes. Shake well and enjoy this dressing with green leaf, red leaf or romaine lettuce, topped with tomato, cucumber, red onion and black olives. Optionally add a bit of feta or goat cheese.
Lemon Mustard Vinaigrette
1/4 cup fresh lemon juice (juice from 1-2 lemons)
2 T Dijon mustard
Sea salt and pepper to taste
3/4 cup extra virgin olive oil
Place all ingredients in a small jar or dressing bottle with a lid and shake well. Alternatively, add the first three ingredients to your Vitamix, blend, and then drizzle in the olive oil with the blender running till you have a smooth creamy emulsification. We like this dressing on spinach, kale, bok choy or other dark leafy Asian greens such as pak choy, mizuna or yukina savoy. On each salad I like to add crumbled bacon (please only use nitrate-free bacon from clean, pastured animals), sliced hard boiled egg (or feta cheese) and a handful of walnuts, pecans or sunflower seeds. The tartness of the dressing and some added fat from the bacon, egg and nuts really cuts through these sometimes slightly tough or bitter greens.
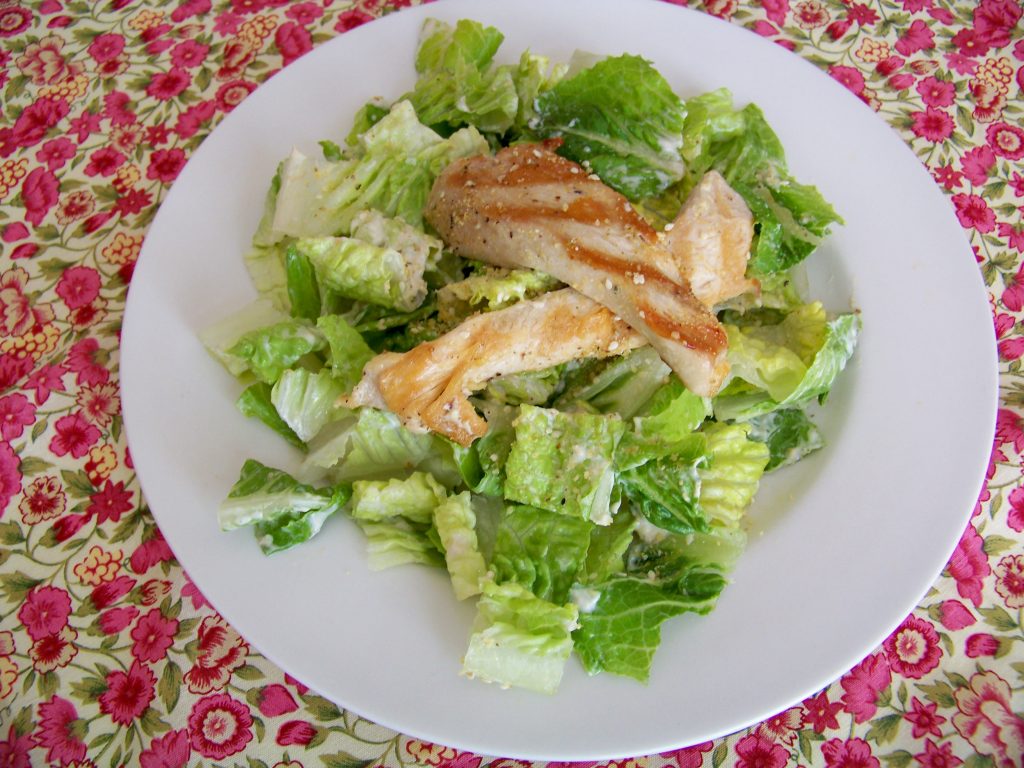
Dairy Free Creamy Caesar Dressing
*Adapted from Once Upon a Time: Recipes and Recollection from a Rover City (Jr. League of Evansville 2003)
3 cloves fresh garlic
3/4 c. mayonnaise (For the healthiest option, make you own mayo. If you use store bought, look for one with the fewest and best ingredients possible. We usually use Real Mayo which isn’t perfect but better than some other options.)
2 tsp. capers with brine
1/2 to 1 tsp. anchovy paste (we like the full tsp–the saltiness and umami from the anchovy makes up for the missing cheese in this recipe, but tailor this to your anchovy taste!)
1 T fresh lemon juice
1 tsp Worcestershire sauce
1 tsp. Dijon mustard
Sea salt and fresh ground black pepper to taste (I use Celtic Sea Salt or Redmond Real Salt)
Place all ingredients in your Vitamix or a good quality blender and blend until smooth. We love to toss this dressing with chopped romain and top it with grilled chicken for a gluten and dairy free Chicken Caesar Salad. Sometimes I make crutons from gluten free bread to make my kids happy, but its just as good without.
Shallot Balsamic Vinaigrette
1/4 c. balsamic vinegar
1/2 tsp sea salt
1/4 tsp fresh ground pepper
l shallot, cut in half or quarters
2 T raw honey
3/4 c. extra virgin olive oil
Place first 5 ingredients in your Vitamix and blend. With blender running, slowly add olive oil and keep blending until you have a smooth emulsification.
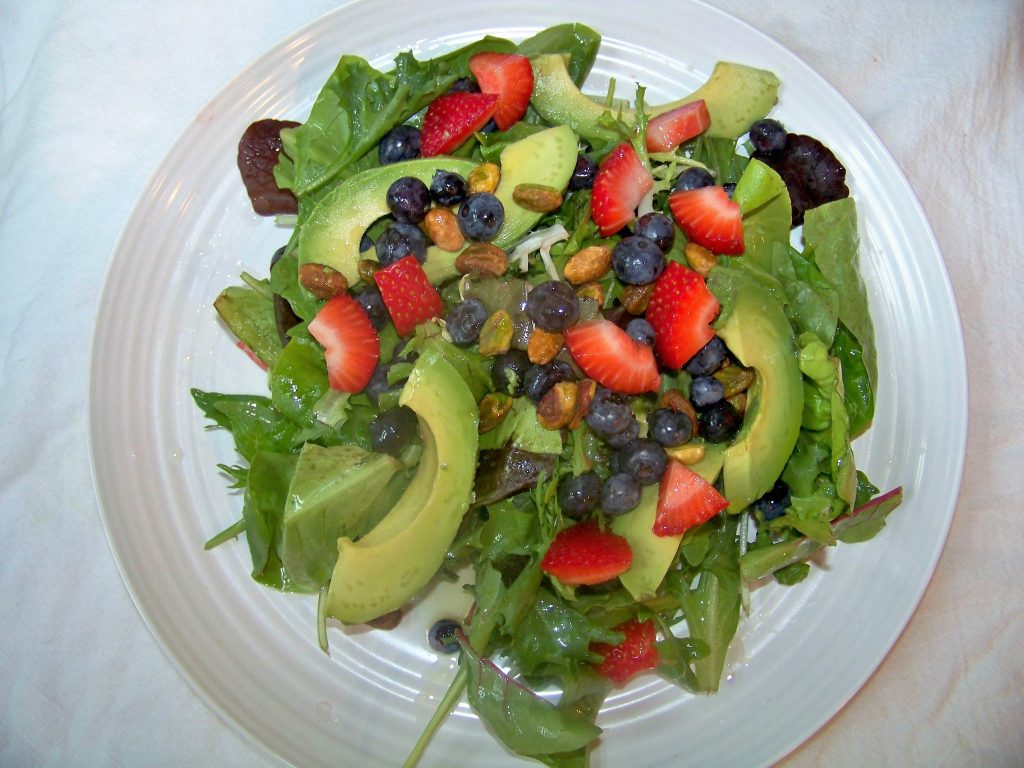
We enjoy this dressing on mixed greens with berries or dried fruit and nuts. I also like beets and an avocado with this dressing. Optionally add some crumbled Gorgonzola or blue cheese.
In other news …
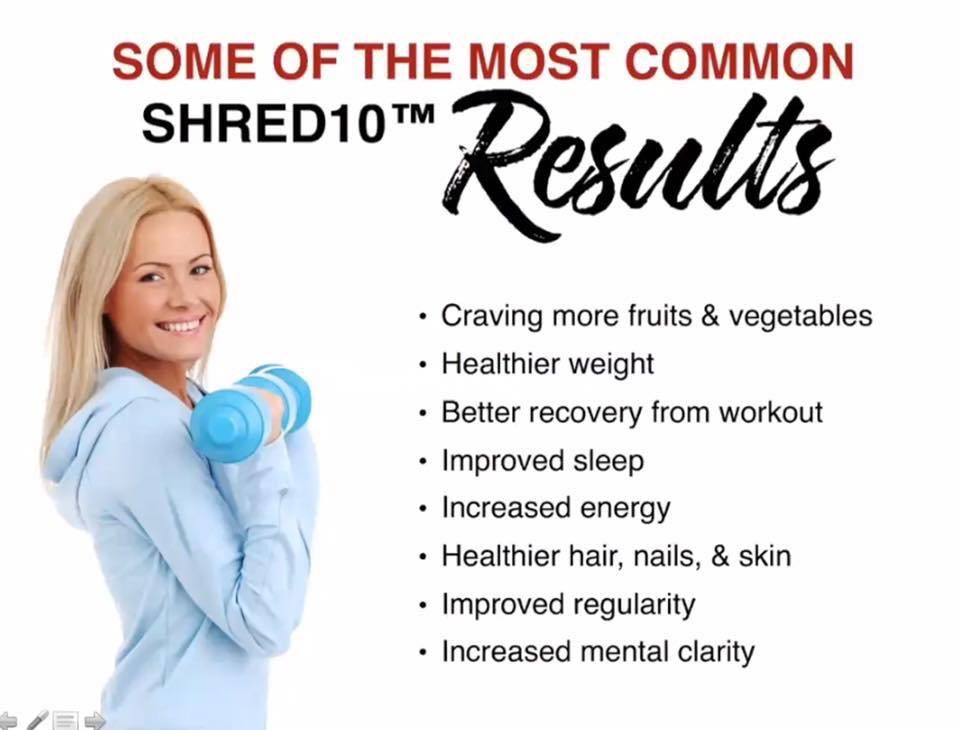
Shred10
I am hosting two new Shred10 accountability groups starting Monday, March 6 and Monday, April 3. You do not have to be local to join in! This ten day program will help you jump start your health and includes help with meal planning and recipes, daily private coaching from me by text or phone and plenty of encouragement and accountability to help you achieve your health and wellness goals.
If you are ready to take the next step in your health journey, contact me for more information. Life is way too short not to be your healthiest and feel your best every single day!!
Prime Time Health
Four Wednesday evenings in March, beginning this Wednesday, March 8, I’ll be teaching a workshop series called Prime Time Health. This workshop is a wealth of information for any adults or seniors who want to take charge of your own health and learn how to feel better, sleep better, have more energy, reduce inflammation and prevent disease. If you want to live longer and better, this series is for you!
Register here or contact me for more information.
Taste the Shred
On March 16, from 6 to 7 pm, we have an event at the Newburgh Central Library called Taste the Shred. Chef Adam Edwards will be cooking up several recipes from our Shred10 guidebook for you to taste. Join us to learn more about this health changing ten-day program and see for yourself how delicious healthy can be!
Register here or contact me for more information.
Spring is in the air, friends! Its a perfect time to get outside, breath deeply and get serious about changing your health and your future!
XOXO,
Kristi
PS. Make sure to follow Nourished for Life on Facebook for all of the latest news and even more health and wellness related information!
Sources:
- https://www.ncbi.nlm.nih.gov/pubmed/19539684
- https://www.iarc.fr/en/media-centre/iarcnews/pdf/Q&A_Glyphosate.pdf
- TEDxHarvardLaw — Dr. Stephan Guyenet, The American Diet
- Mark Hyman, MD, Eat Fat, Get Thin (2016) at p. 80
- Hyman at p. 117
- Hyman at p. 77, 118
- http://www.sciencedirect.com/science/article/pii/S0753332206002435
- Hyman at 79
- https://www.ncbi.nlm.nih.gov/pubmed/19022225
- Hyman at 124-24, citing Hibbeln JR, Nieminen LR, Blasbalg TL, Riggs,JA, Lands WE. Healthy intakes of n-3 and n-6 fatty acids; estimations considering worldwide diversity. Am J Clin Nutrition. 2006 Jun:83(6 Suupl.); 1483S-93S.
- Hyman at p. 117

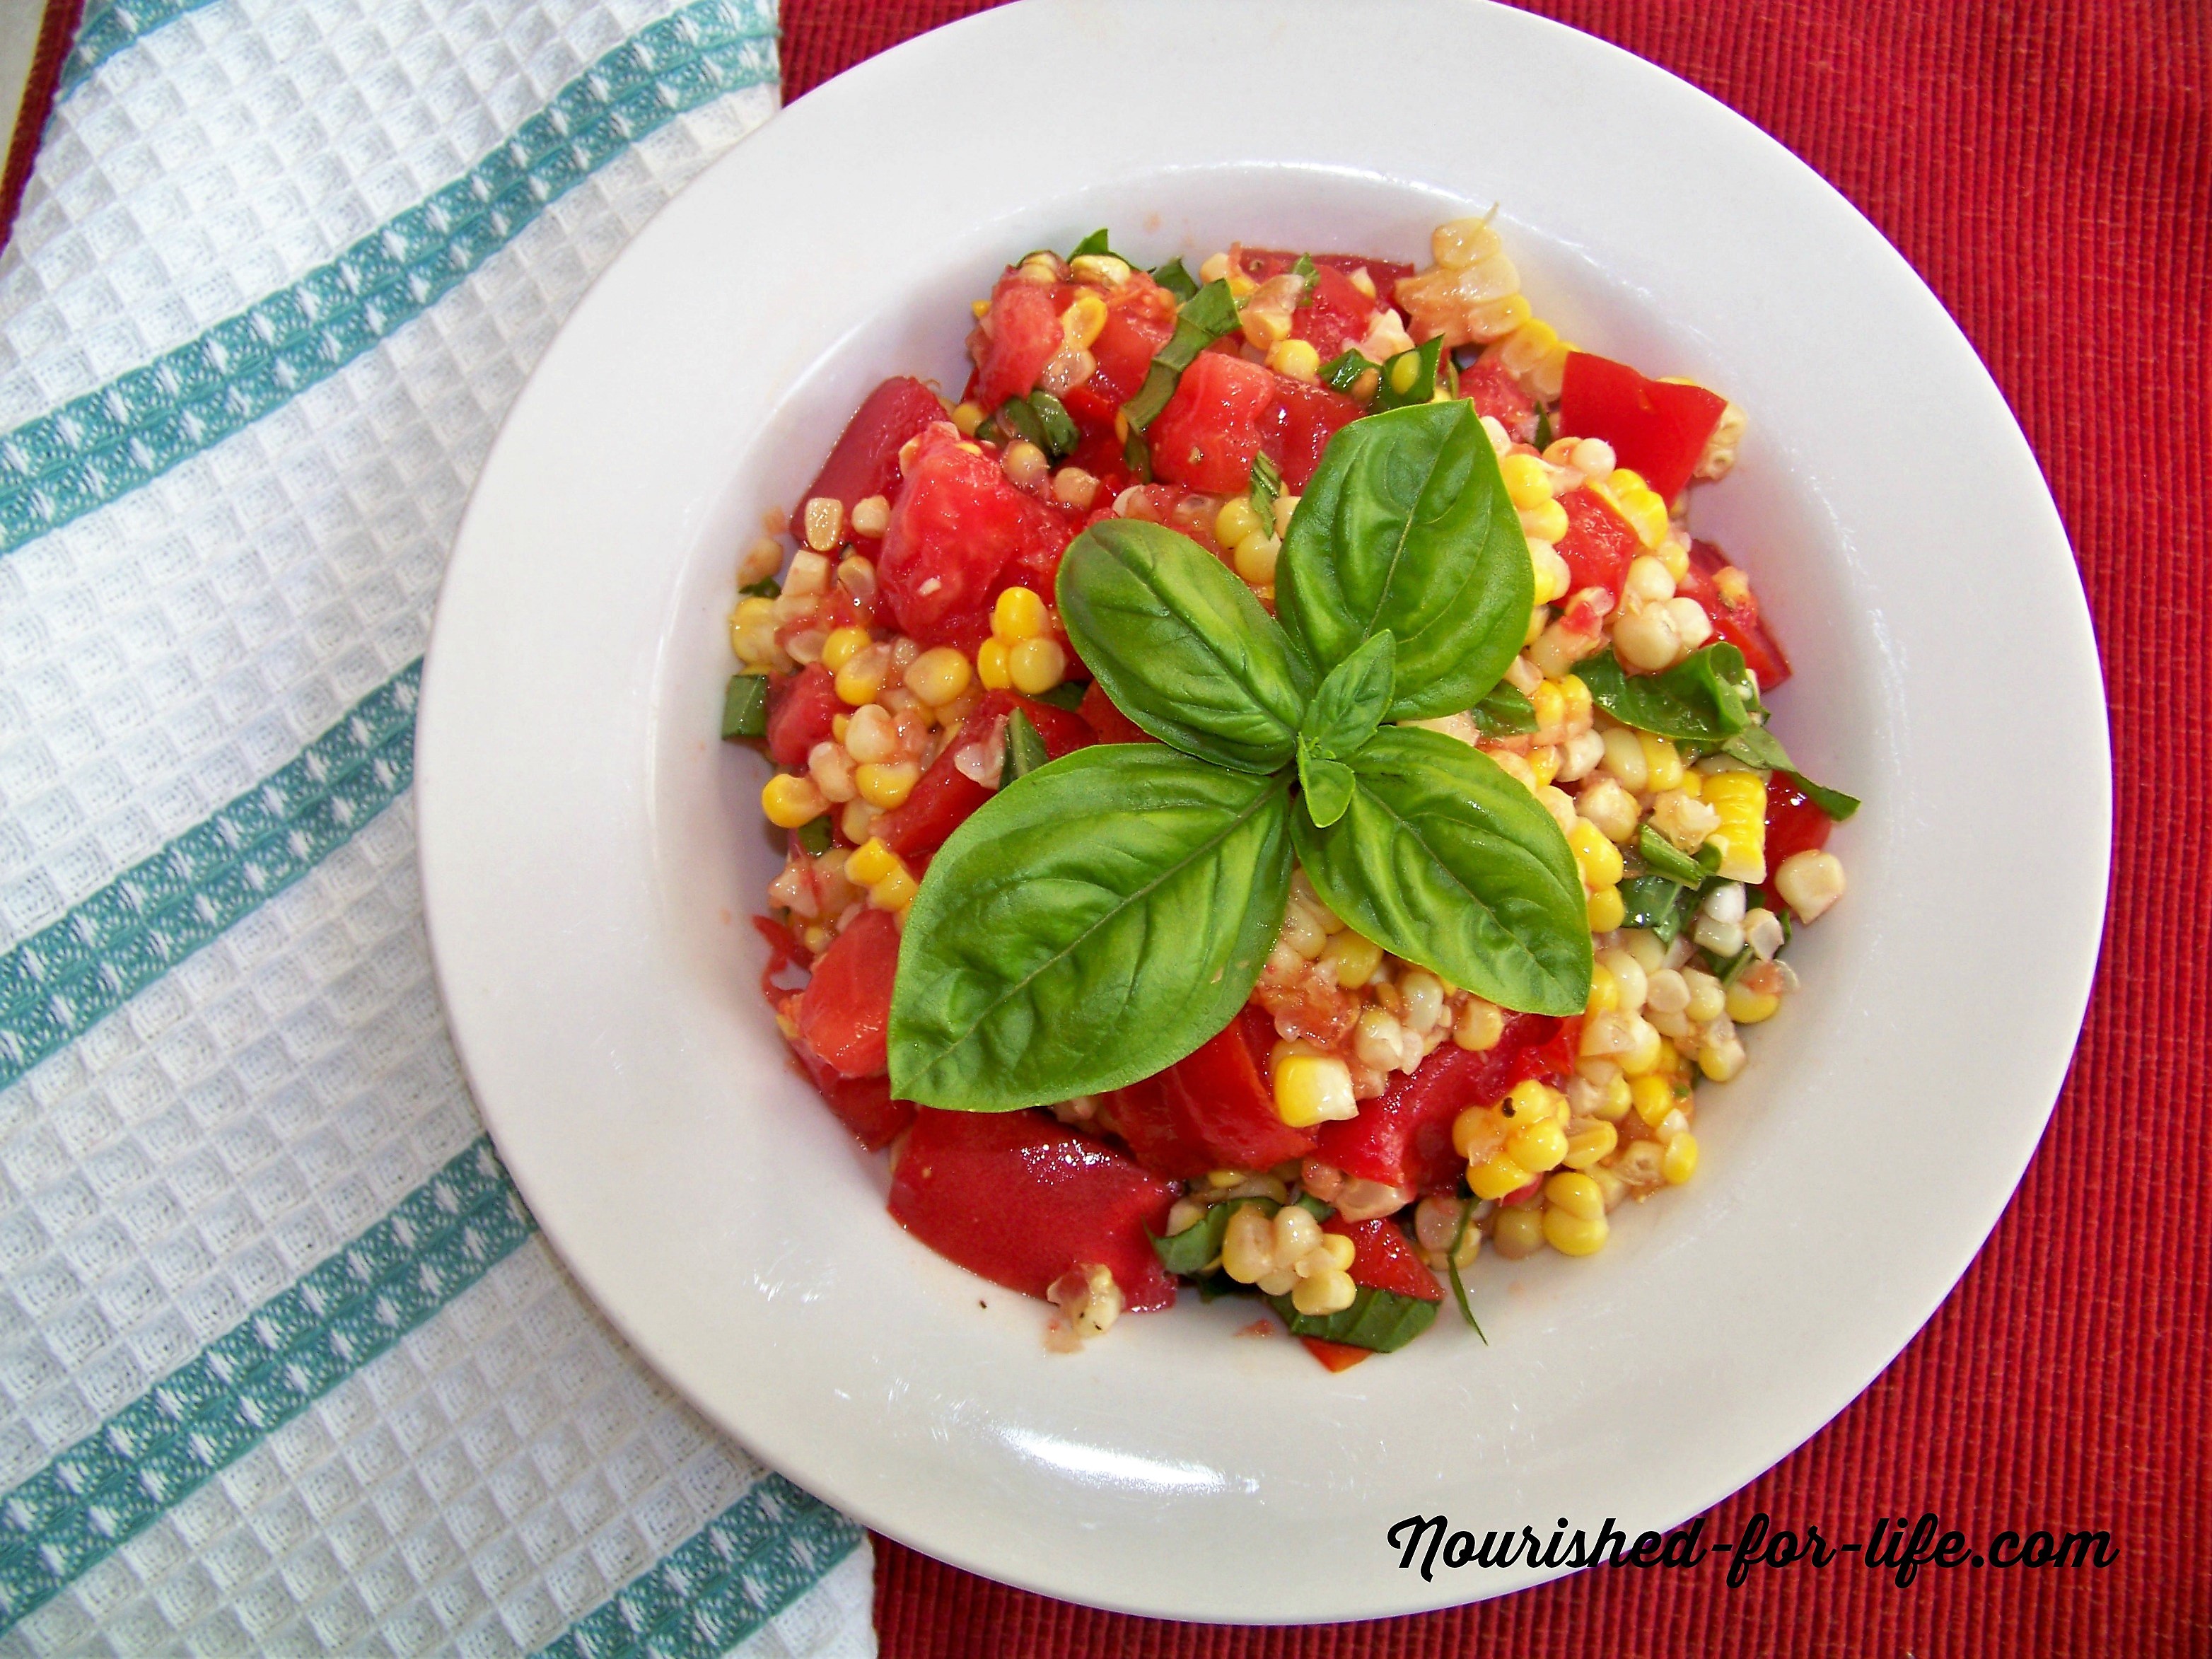
 When we make sweet corn, I always cook a few extra ears for this salad. If your corn is really fresh and tender, you don’t even have to cook it! I chop the freshest most delicious tomatoes we have (preferably a mix of sungolds, grape or cherry, and different colors of heirloom tomatoes) and then add the leftover corn (cut from the cob).

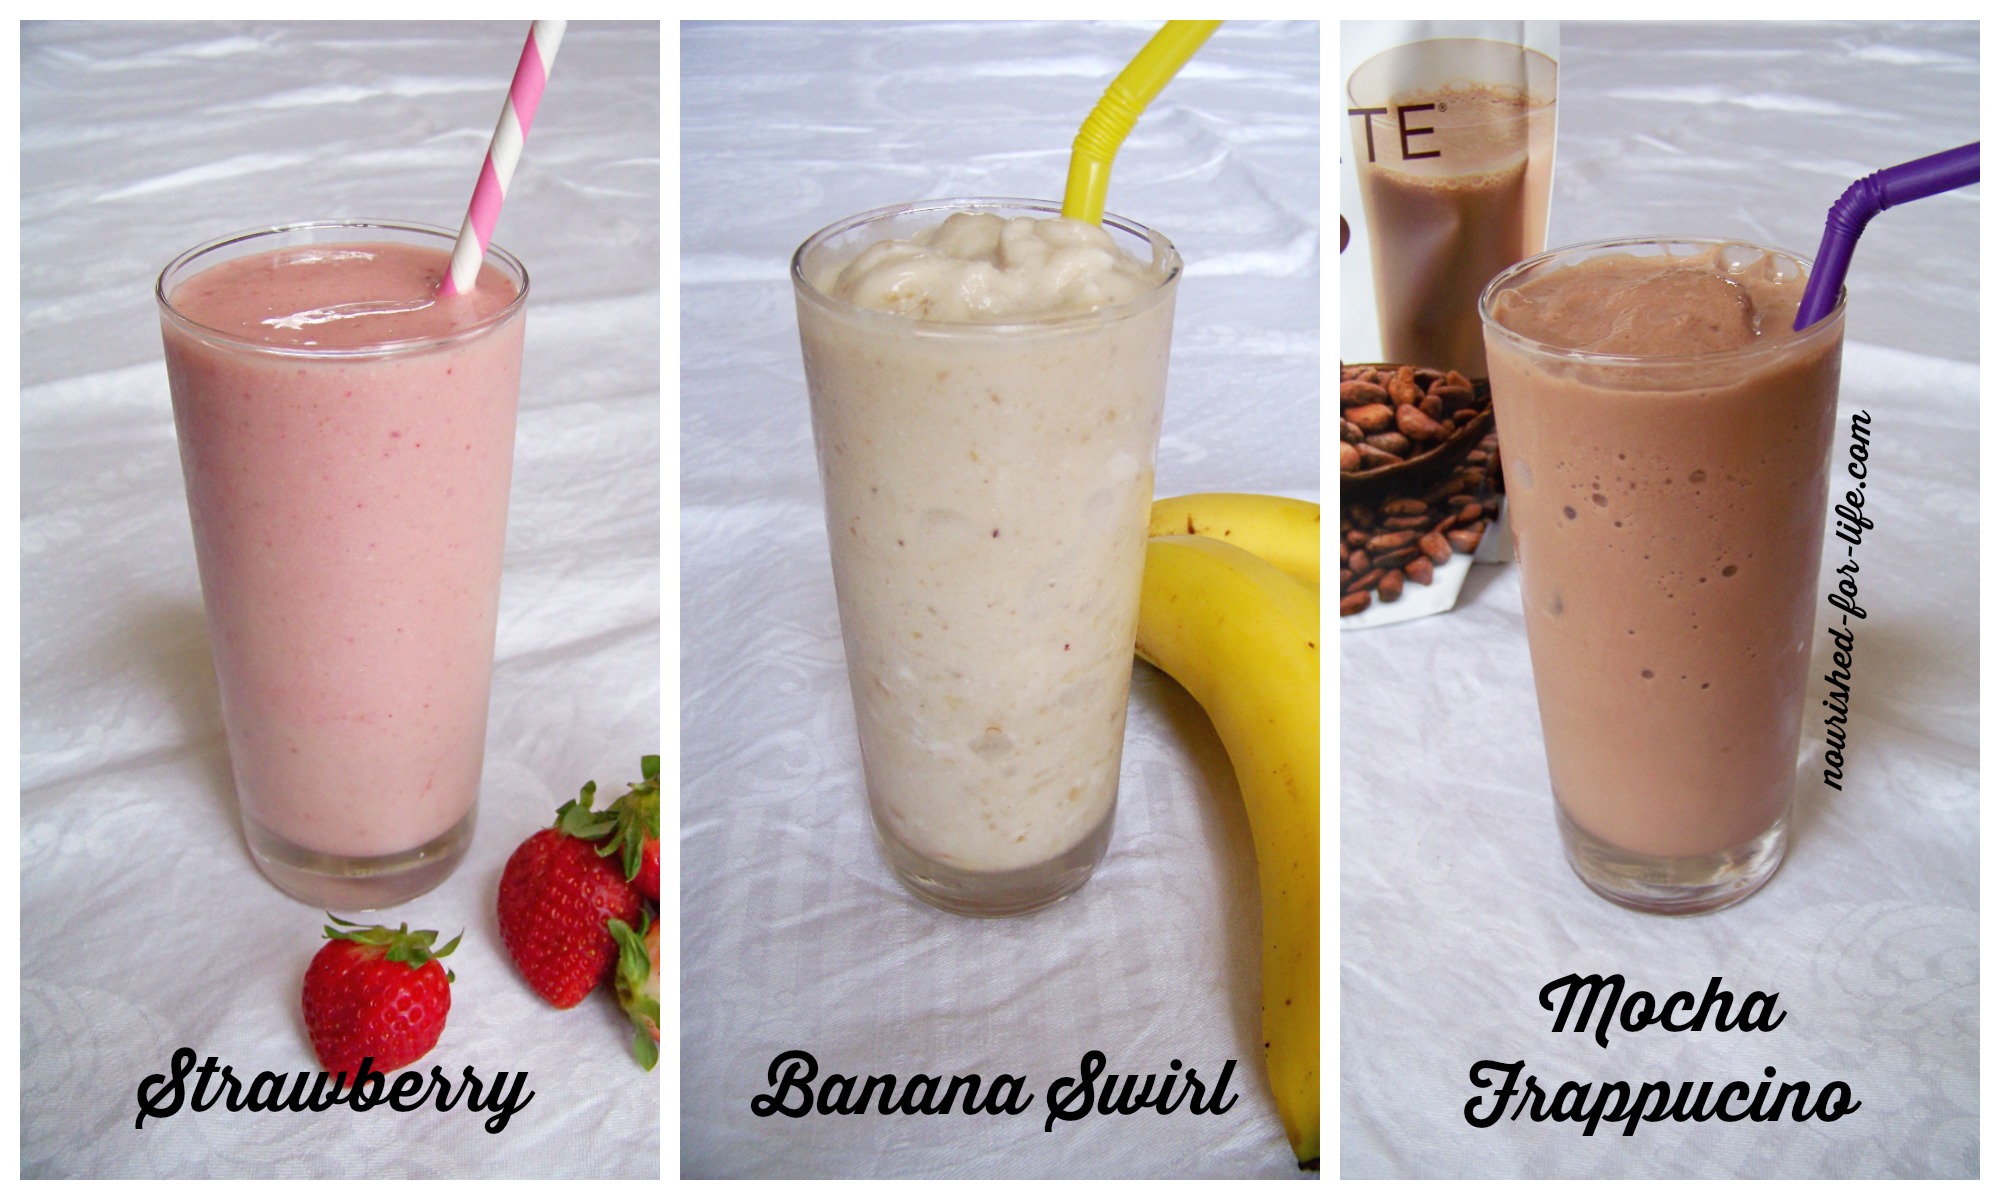


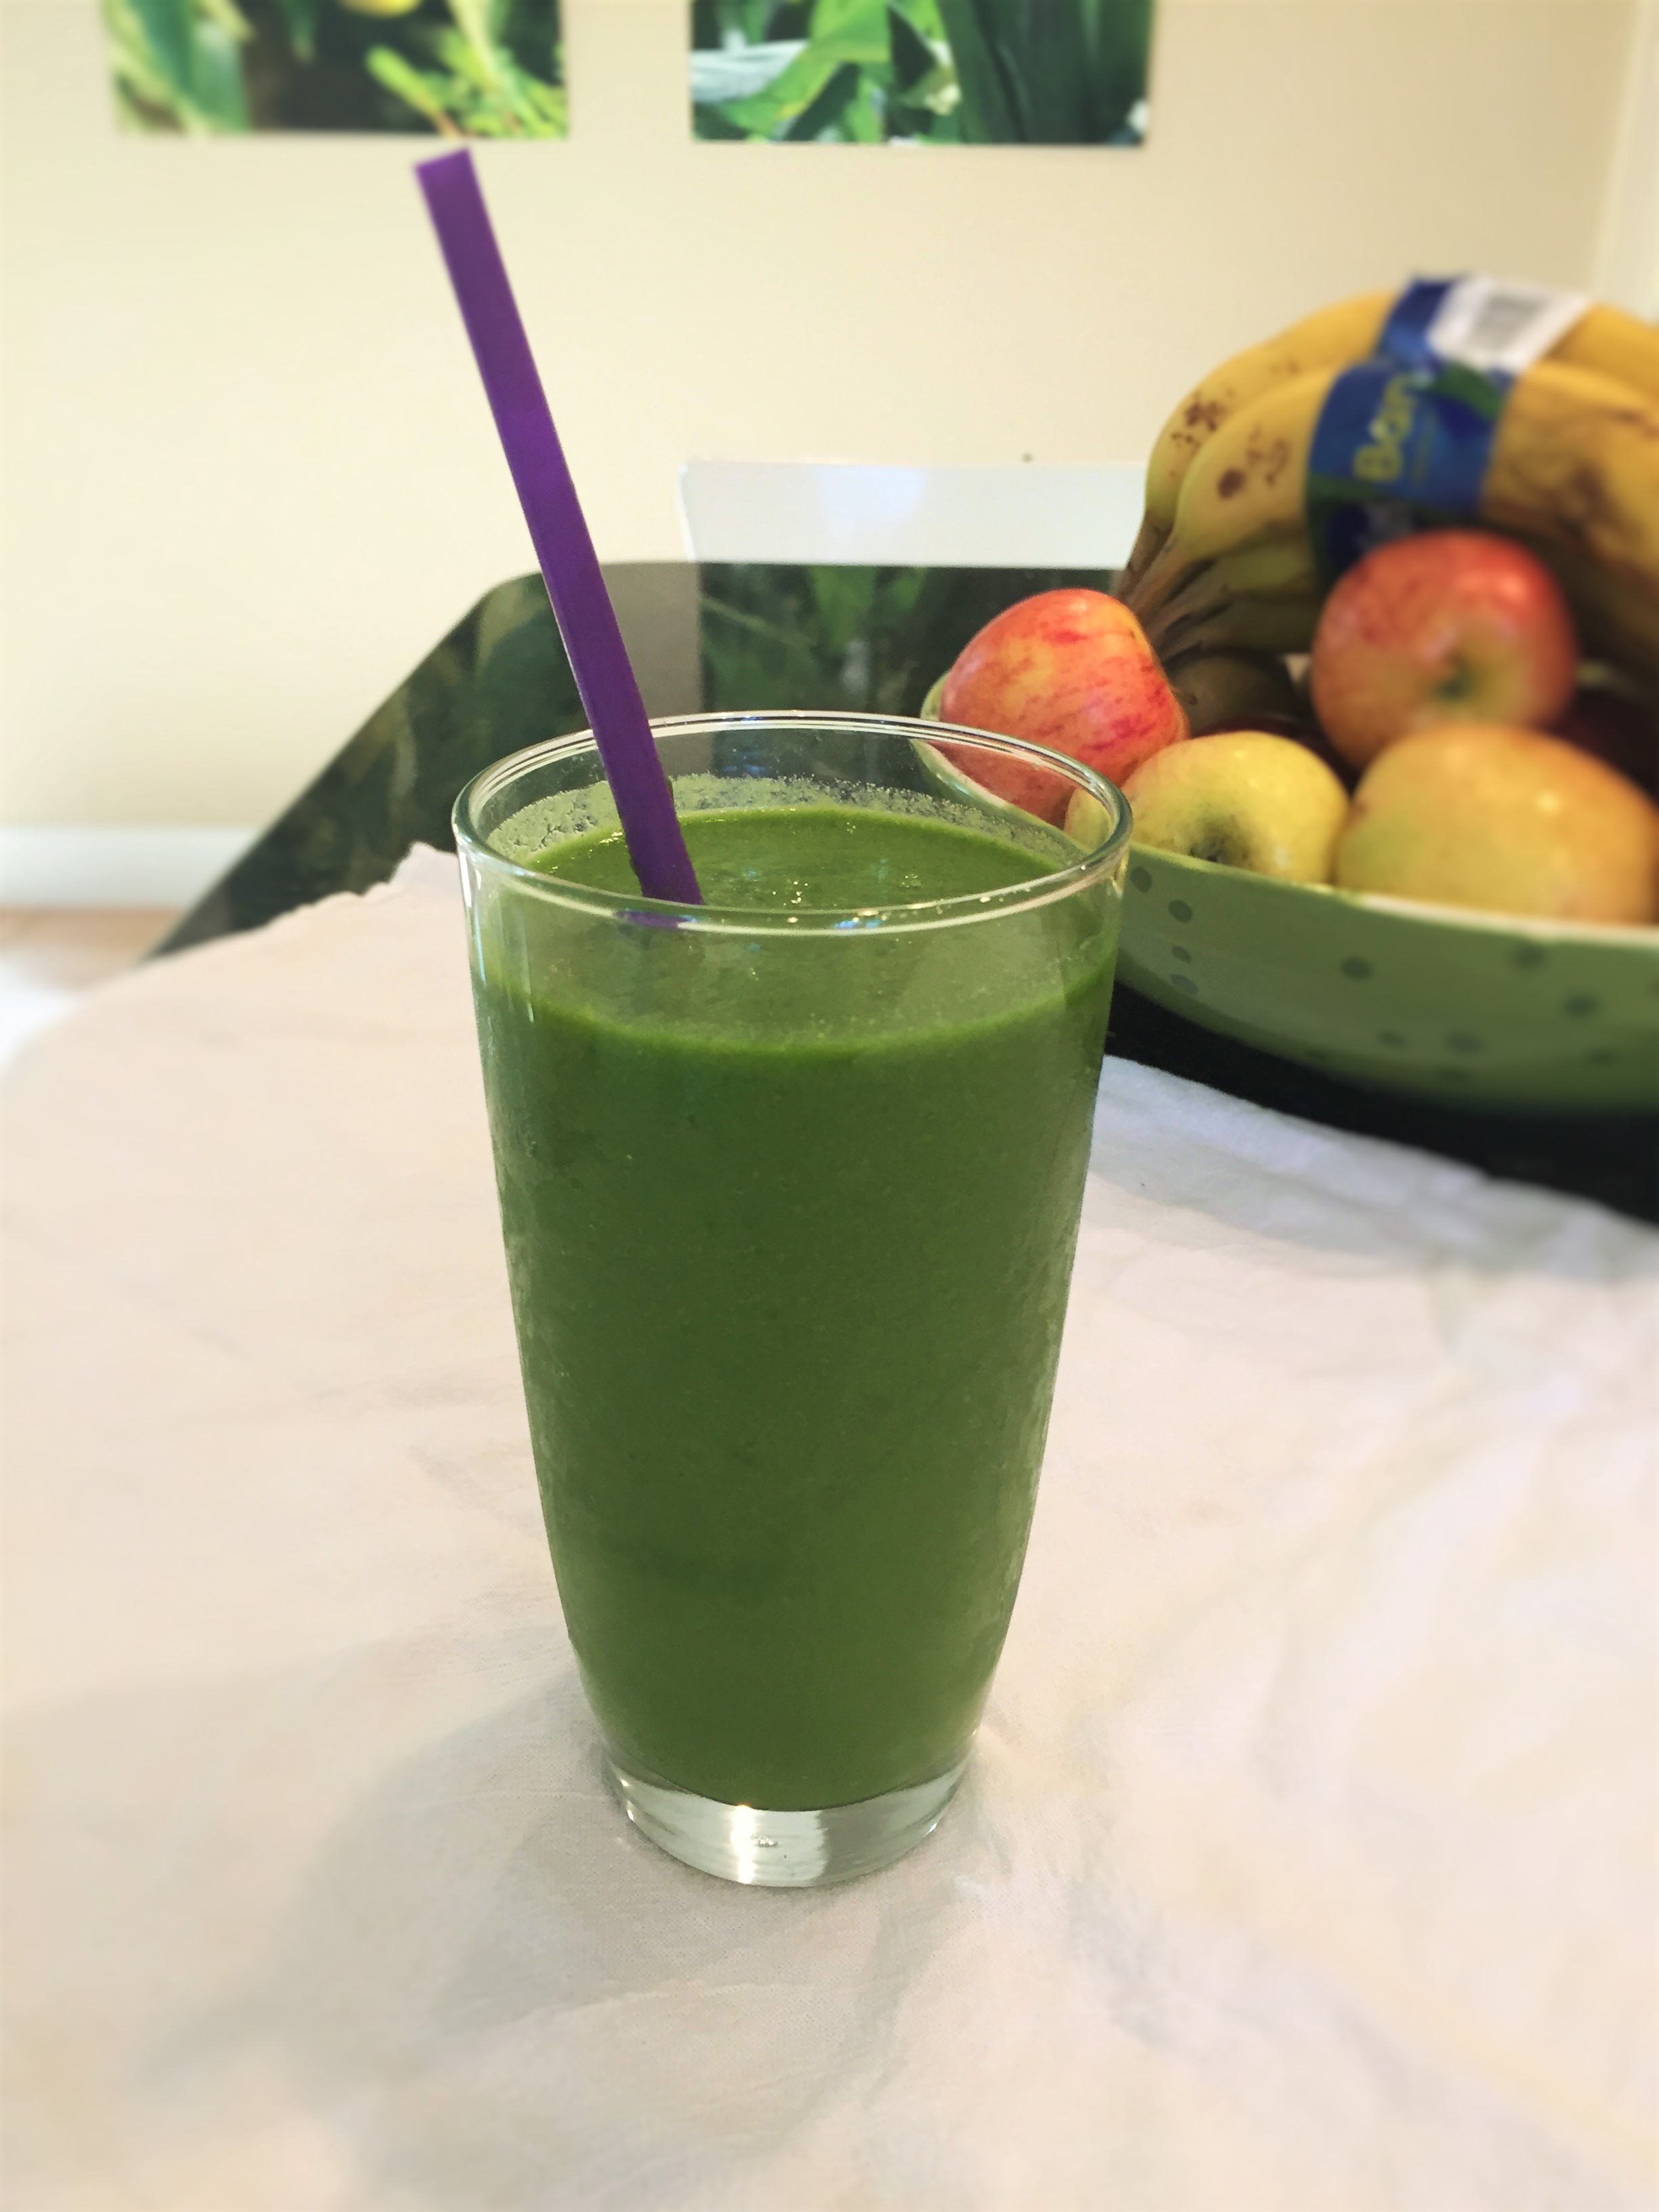
 Good morning, friends! I thought today I’d let you in on one of my favorite “secrets” to improving your health and feeling great all day–green smoothies.